Electronics hobby blog
Sawing and painting area
ezContents 26 April 2017
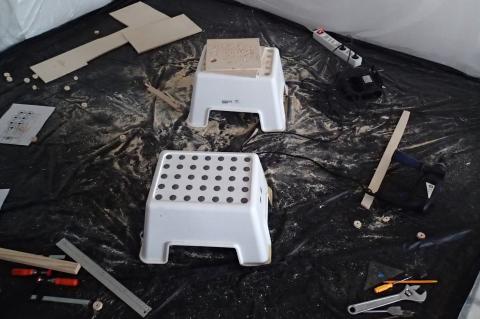
When you don't have a garage or a barn where you can saw and paint you are forced to be creative in creating an isolated area for that purpose. I have made such an place and would like to share it so maybe you will find it useful.
Debounced clock circuit
ezContents 22 April 2017
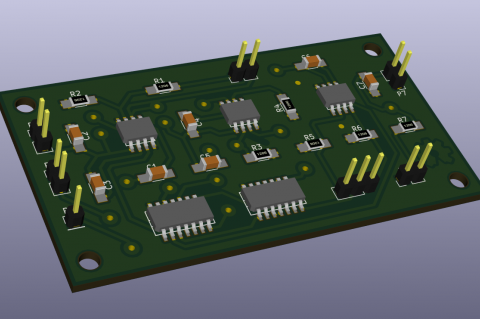
The most important part of a computer architecture is a clock circuit. The circuit described here has the option to run freely in a-stable mode and also operate in single step debugging mode. In this post I will describe how to implement this design in KiCad and manufacture a double sided printed circuit board.
Etching 555 astable timer PCB
ezContents 14 April 2017
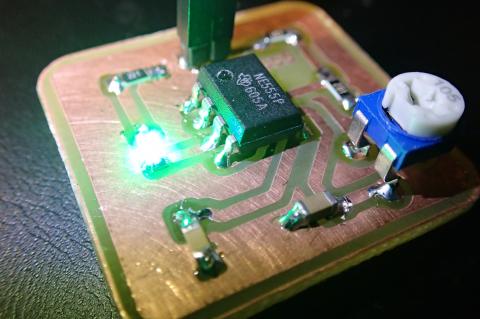
There is something about blinking leds. Numerous projects are created with the 555 timer chip. To continue the tradition I will describe in detail the creation of a 555 astable timer board that was designed in the previous blog post.
Designing PCB with KiCad
ezContents 14 April 2017
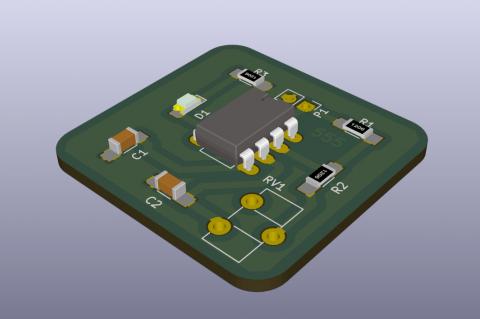
KiCad is a great schematic and PCB design tool. It is easy to learn and fun to use, above all it is free. In this blog post we are going to design a simple circuit based on the 555-timer chip in astable mode.
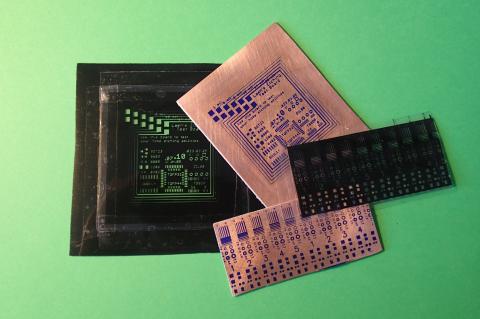
PCB fabrication - Part 2: Etching
ezContents 8 April 2017
After the dry film is applied to the copper layer, it can be etched. There is an option to use ferric chloride (FeCl3), but it can not be reutilised and needs to be disposed.
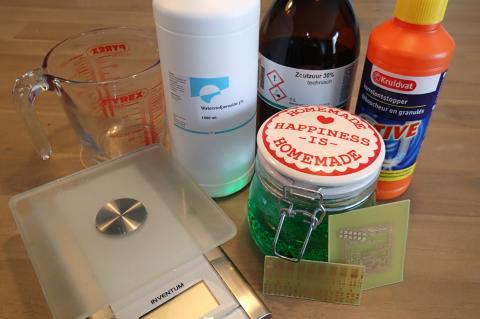
PCB fabrication - Part 1: Dry film
ezContents 3 April 2017
Being able to make your own printed circuits boards is a skill that can come in handy. There are several ways to do this and I will describe the one that I use. First part of the process is the creation of a layer on top of the copper that prevents the solvent to dissolve it.
UV LED PCB Exposure Box
ezContents 1 April 2017
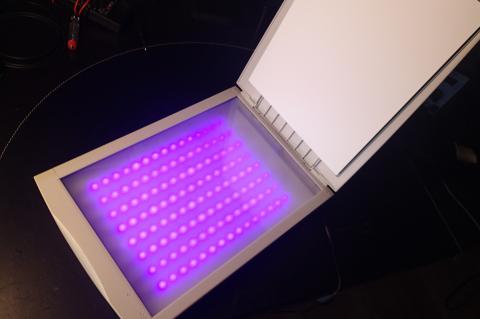
During the process of manufacturing of home-brew PCBs you need to expose the photosensitive film with ultraviolet light. A cheap and low power solution can be found in UV led strips.
LED digital watch kit
ezContents 31 March 2017
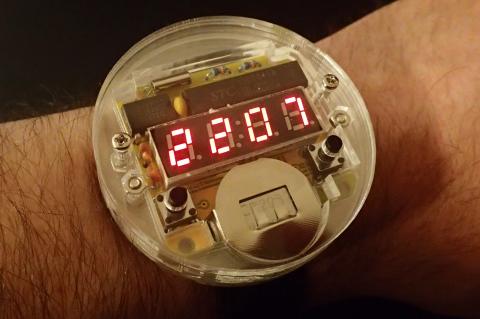
If you can not afford a real NIXIE tube watch, there is an alternative. It is this 4-digit 7-segment LED watch kit. It costs less than 10 euros and you can find it on most Chinese reseller websites. It comes as a kit and you will need to do a bit of soldering and assembling.
Printing with ABS
ezContents 29 March 2017
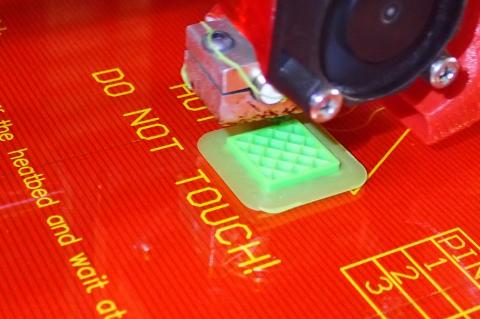
The most important advantages of ABS are impact resistance and toughness. Lego is made from ABS. It will also not deform in hot water, compared to PLA. On the downside ABS is hard to print. You need very hot printbed (around 110 degrees Celsius) and Kapton tape, so the first layer will stick properly. ABS can also warp and curl. There are also other issues in the Marlin firmware that need some attention.
Using composer
ezContents 11 March 2017
Composer is a dependency manager for PHP. It allows you to declare the libraries your project depends on and it will manage them for you.