Electronics hobby blog
Build a 3D printer - Part 12: Power supply
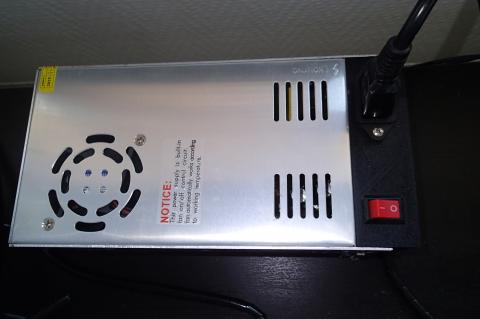
After hooking up of all the connections to the RAMPS 1.4 board we will need to provide power to the board. The standard 5V output of the USB connector is only sufficient to power the Arduino and the LCD display, so we will need external power. The minimum power that needs to be provided is 12V x 20A (240W). But just to be sure we will use a 12V x 30A (360W) power supply.
Build a 3D printer - Part 11: Electronics
Build a 3D printer - Part 10: LCD Screen
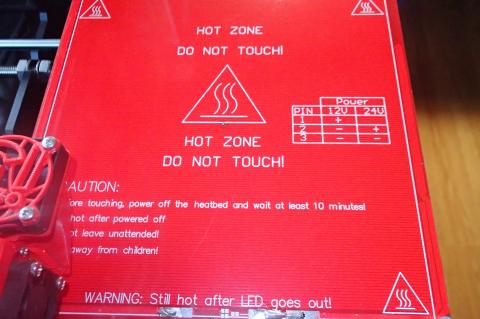
Build a 3D printer - Part 9: Heated bed
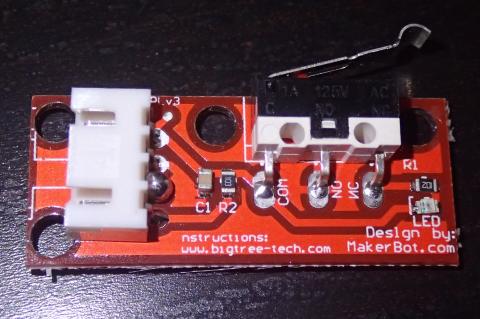
Build a 3D printer - Part 8: Endstops
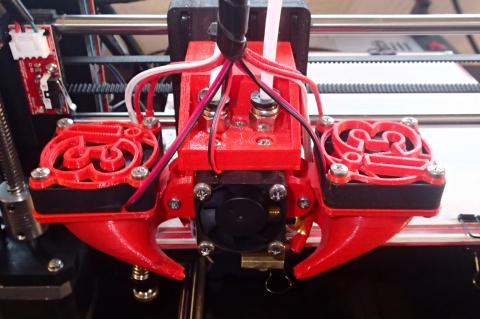
Build a 3D printer - Part 7: Extruder
Build a 3D printer - Part 6: X-axis
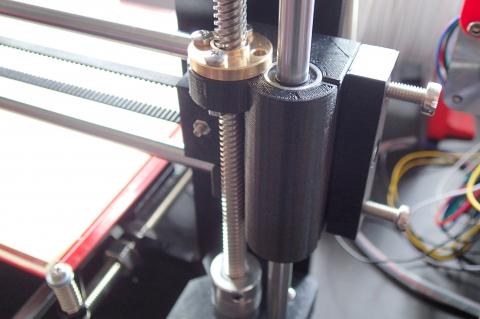
Build a 3D printer - Part 5: Z-axis

Now that we have built the frame and& the Y-axis is operational, we can focus on the Z-axis. This will allow to lift the extruder and print new layers. As the layers can be 0.1 mm in thickness we will need a stepper motor that is capable to turning in small steps.
Build a 3D printer - Part 4: Frame support
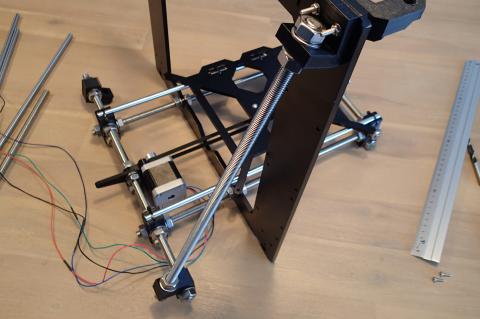
The 6 mm aluminum frame cutout can now be mounted on the base of our frame. We could leave it as is, but adding the extra 10 mm threaded rod supports will give it that extra stability. The extra rods will also give us place to mount other additions to the printer.
Build a 3D printer - Part 3: Y-axis