We have now finished building our frame and one of the last mechanical parts that is left to assemble is the extruder.
There are various options for extruders. The most common one is the Wade extruder. Most important property of this extruder is that the drive mechanism (gears and the stepper motor) and the hotend are combined together. In the picture below you can see this model. It was the first extruder that I have built for this an earlier version of my 3D printer project. It has it's advantages as it works better for flexible filaments as TPE and TPU.
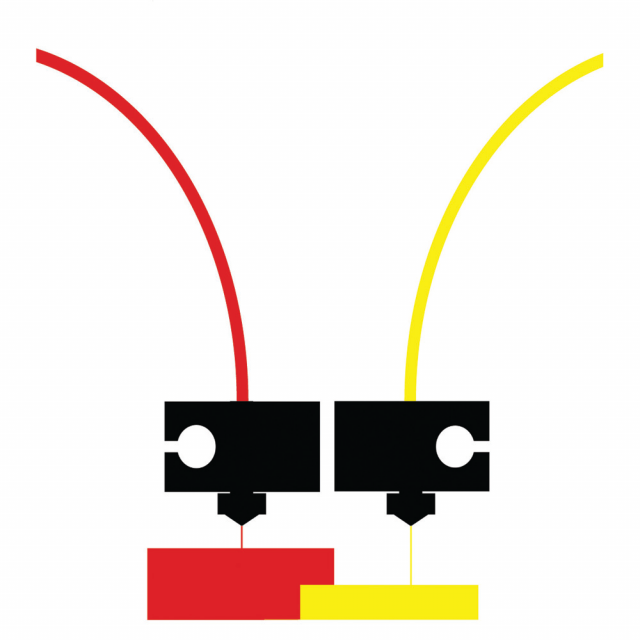
The other type of extruder is the Bowden system. It's characterised by the decoupling of the hotend and the drive mechanism. In our project we are going to use a more advanced version of this extruder which is dual head Bowden. It is the E3D Chimera. Apart from the stepper motors, which we mounted earlier on the frame support bars, the Chimera is the hotend part. It is housing 2 outlets where you can feed two types of filament. You can see a schematic of this in the drawing below.

To build this extruder we will need to download and print the Chimera mount. For our version we will need to print the main mount Chimera mount v0.07 without sensor, 2x fun duct fixed and 2x fan grid. You can print the fan grids from this project, but I have found these nicer 40mm i3 fan covers. Apart this the 3D printed parts and the Chimera hotend you will need:
- 2x 40mm fan
- 1x 30mm fan
- 1 meter of PTFE tubes for 1.75 mm filament
- 2x PTFE couplers for 1.75 mm tubes
- 10x M3 x 20 mm screws
- 7x M3 x 12 mm screws
- 4x M4 x 45 mm screws
Assemble the extruder according to the picture that I provided. It is pretty straightforward to do this. You can also check the Chimera mount project for additional pictures. Mount the extruder to the X-CARRAGE with the M4 x 45 mm screws. Connect 50 cm PTFE tubes to both drive mechanisms and you are all done. Make sure that the chimera hotends are horizontally aligned at the same level. You have around 0.05 mm margin or error.
In the picture below you can see a picture after the 3D printer is completely finished with the Chimera in action.
