To house my set of MiSTer PCBs boards, which are: IO Board v5.6, SDRAM extra slim (XS), USB Hub v2.1 connected with USB Bracket with L-shaped connector, I wanted to 3D print a case. Unfortunately I could not find a design one that met all my needs, so I decided to remix existing Thingiverse designs and combine them into this case.
I have loaded up existing designs into blender and started modifying them.

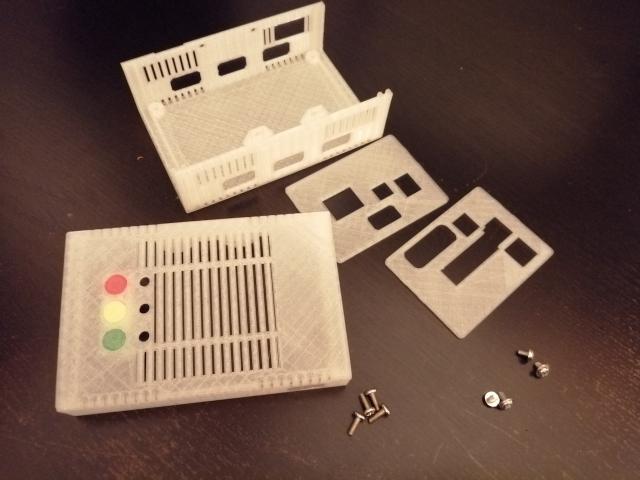
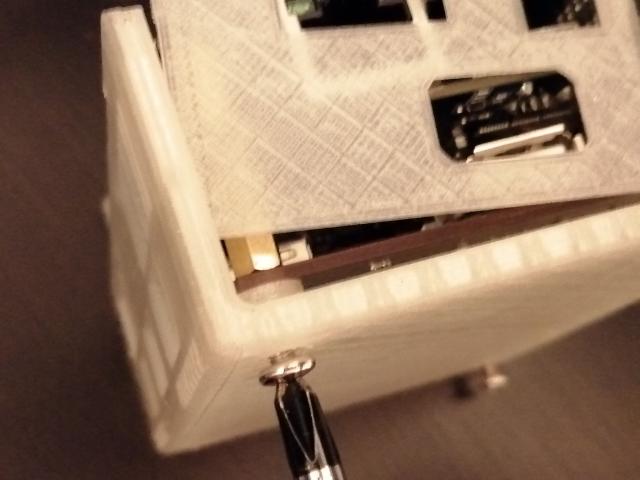
After some time I have ended up with these parts, which could be 3D printed. You can use the screws that come with DE10-Nano to fasten it to the bottom case part. Old computer ATX case and PCI card screws can be used to close it up (shown later in this blog post).
You can download my MiSTer case design from Thingiverse website.
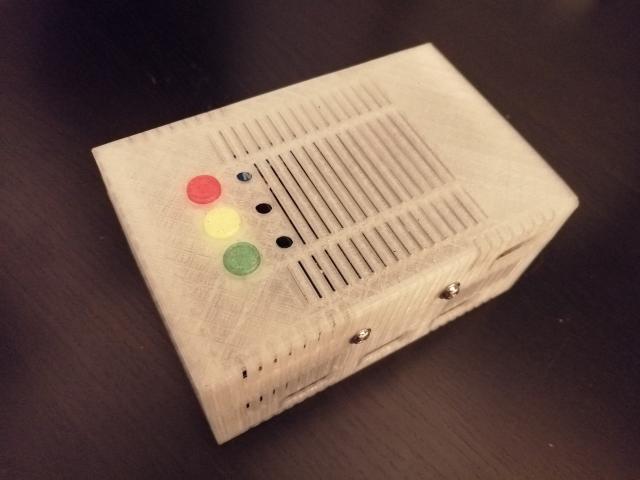
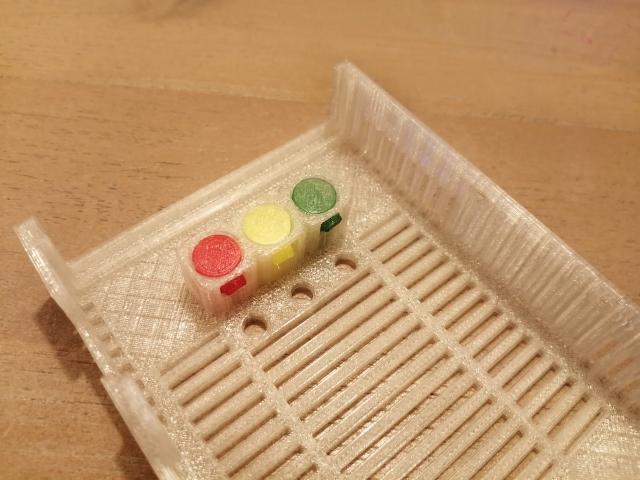
Start the assembly with the buttons. I have printed them in 3 different colors, like the LEDs on the IO Board.
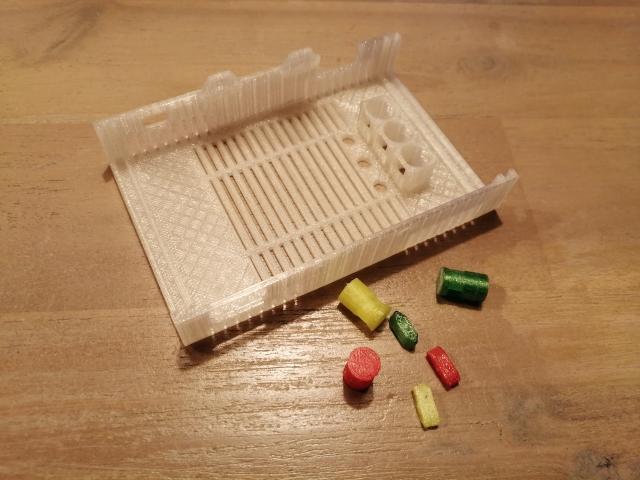
Then you can insert the buttons into the button holes.
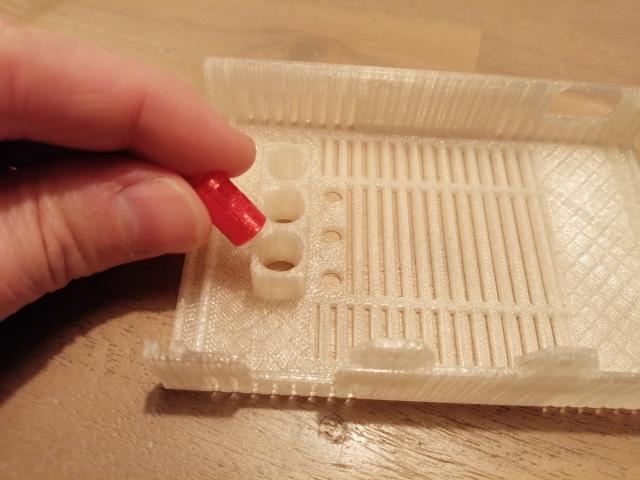
And secure then with the small locking part.
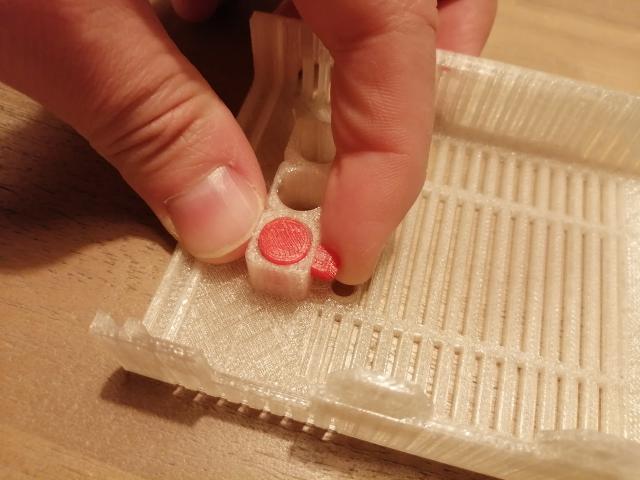
Do the same with the remaining buttons.
Now continue with the sides of the case. Place them in the front and back of the stacked MiSTer boards.

Then slide them into the bottom part of the case.

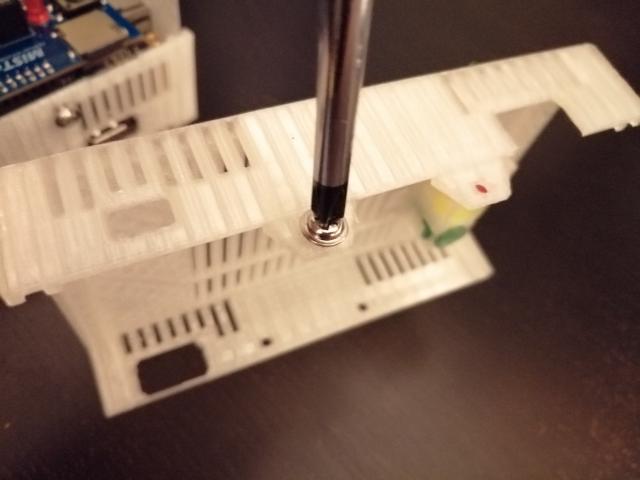
Now you can secure the board with the screws. Lift one of the parts slightly to see that the screw will attach correctly.
And finish up by tightening the other screws.
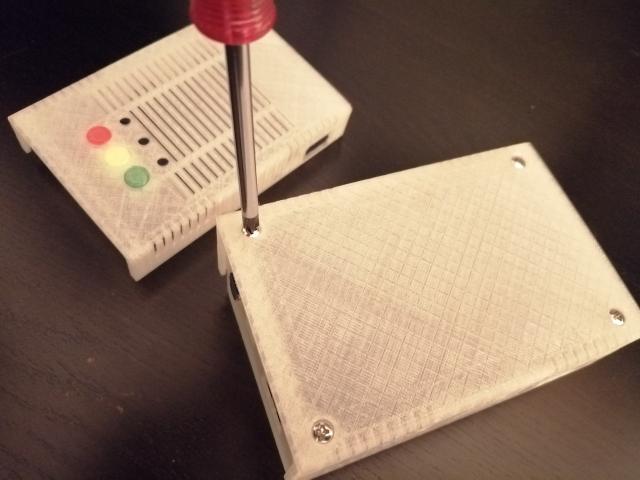
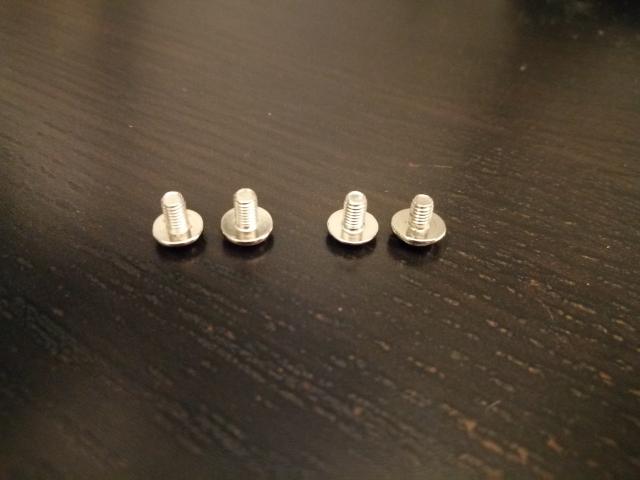
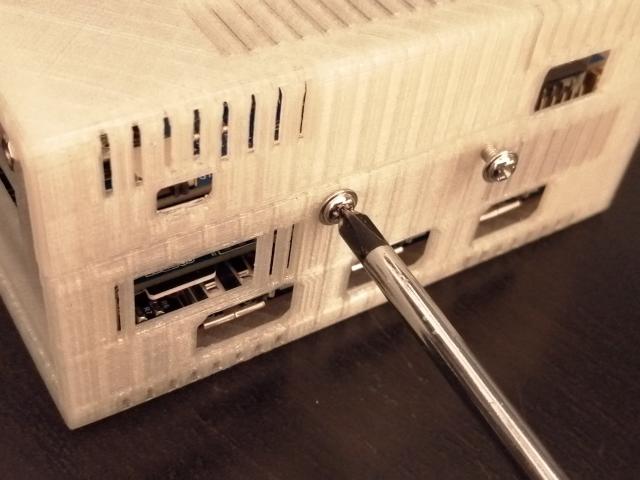
To close up the case you can use short 3mm screws. Note that 2 of the screws are slightly shorter than the others.
I have first fastened and unfastened the screw, so the hole will be a little bit less tight.
The I did the same for the other holes inside the bottom part of the case
The reason that the 2 screws are a bit shorter is that they don't make contact with the SDRAM card. Make sure that this is the case, otherwise you could short circuit the board! It is also possible to place a piece of isolating tape on the SDRAM card.

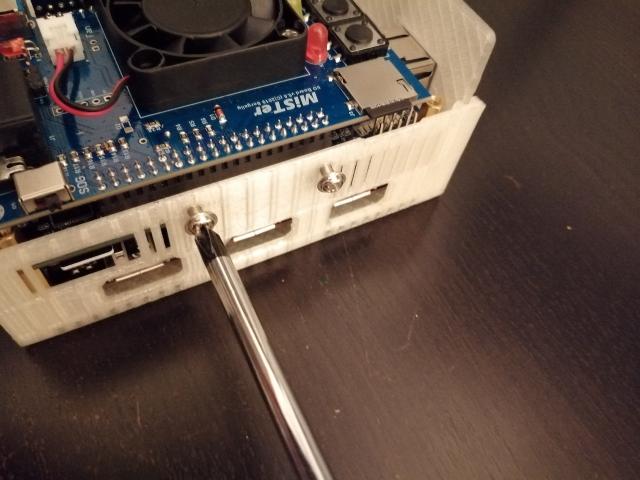
Now you can carefully fasten the cover with the 4 screws.
If you decide to use the 80mm fan, you can do so with the 80mm case cover part. I have used M3 x 30mm screws to attach the fan. The holes should be large enough for M4 screws as well.
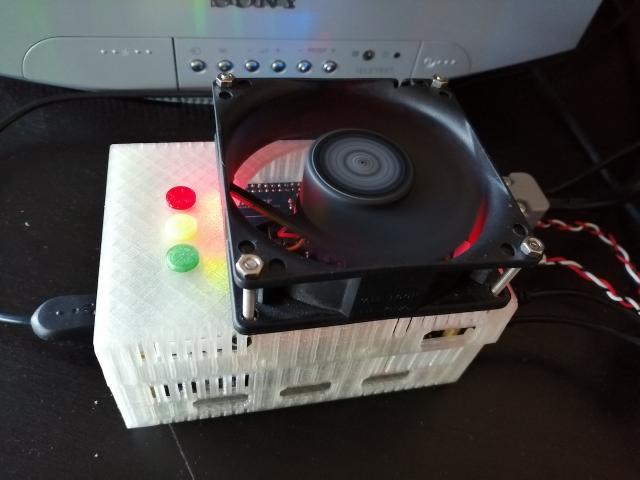
I have attached rubber feet to my case so it will be a bit more stable.
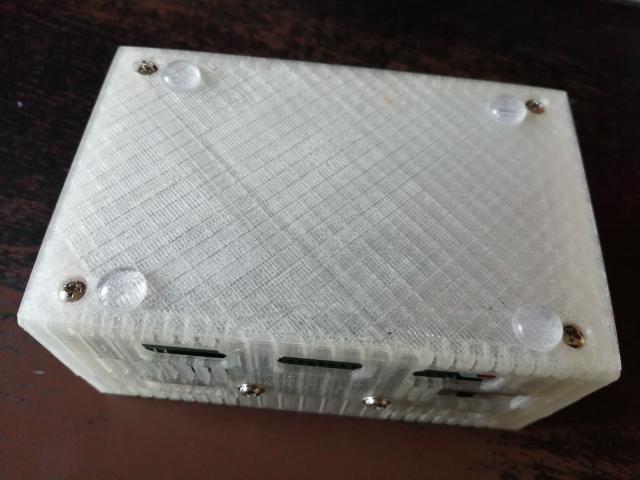
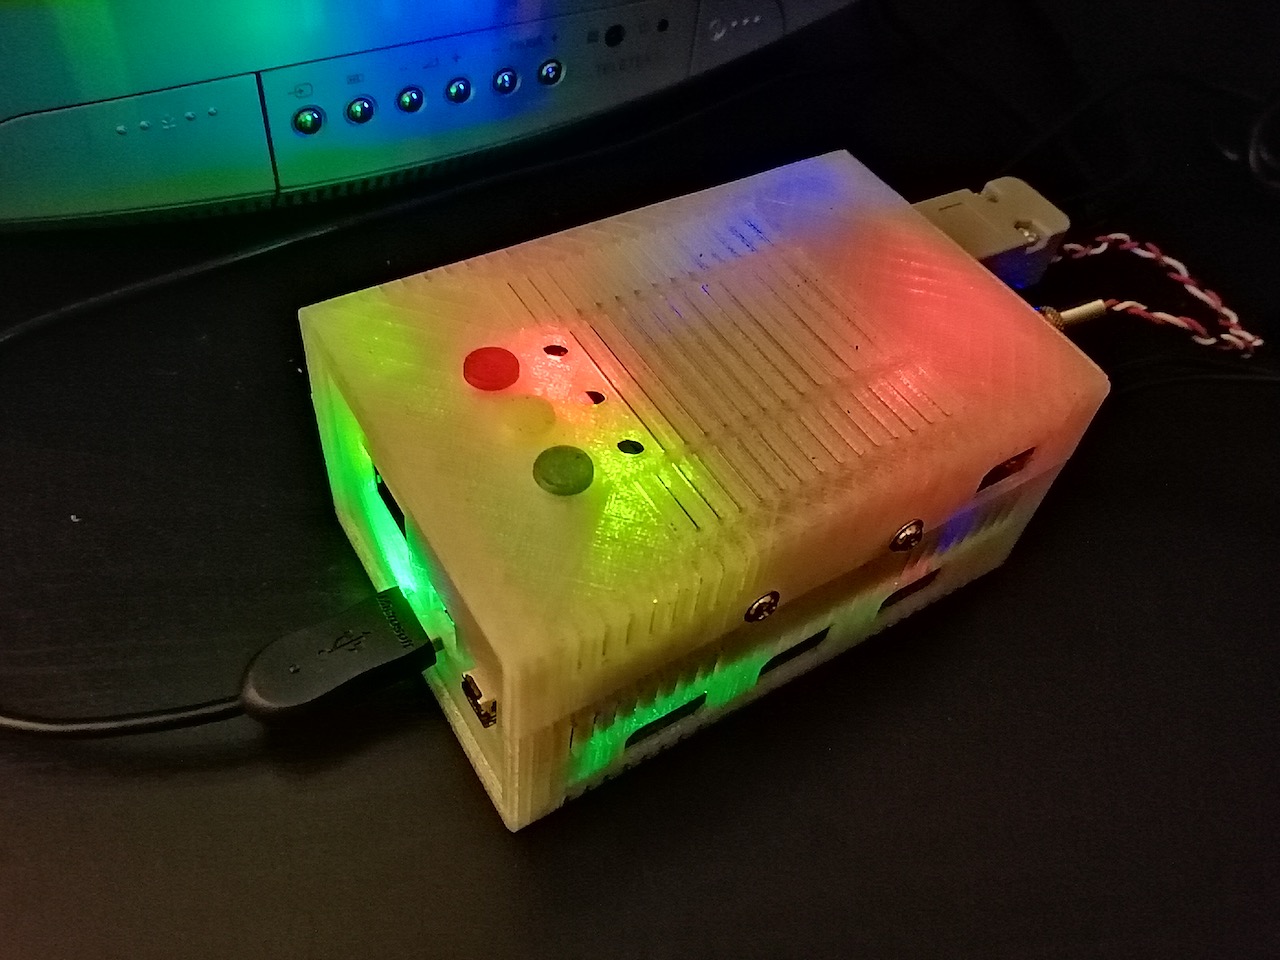
Now your case is finished. Enjoy!