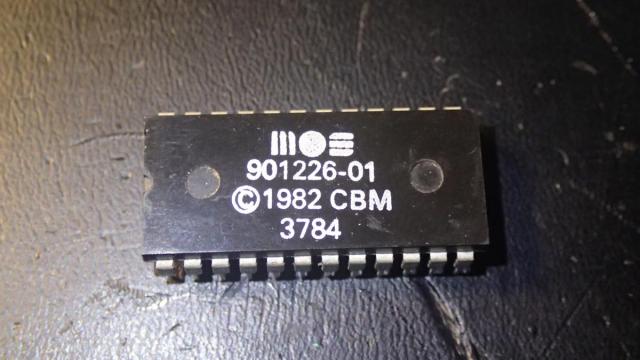
A while back I have bought a cheap second hand Commodore 64. Unfortunately it was broken, next to the PLA chip which I have fixed by binding a custom CPLD version of it, the BASIC ROM chip (901226-01) was also broken. At the moment it is only possible to buy one that is salvaged and the ones that I found were around 8 euros. A cheap alternative is to burn your own EPROM version of it.
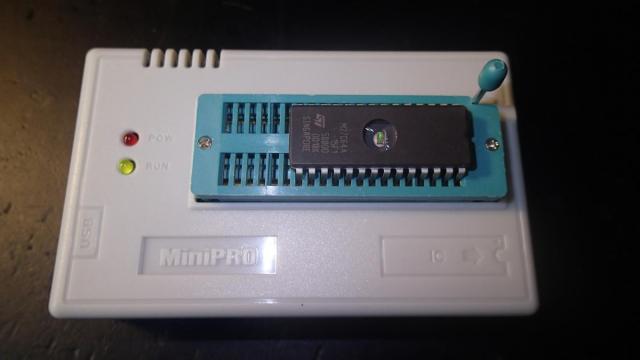
Next to the EPROM chip (I have used ST 27C64) you will need 28 pin and 24 pin precision sockets. This is because there are no 24 pin EPROM chips and you will need to make a conversion.
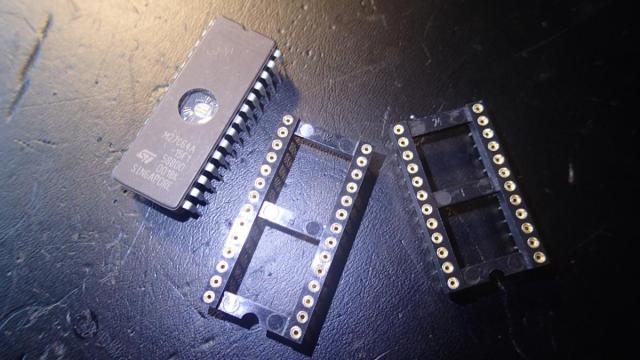
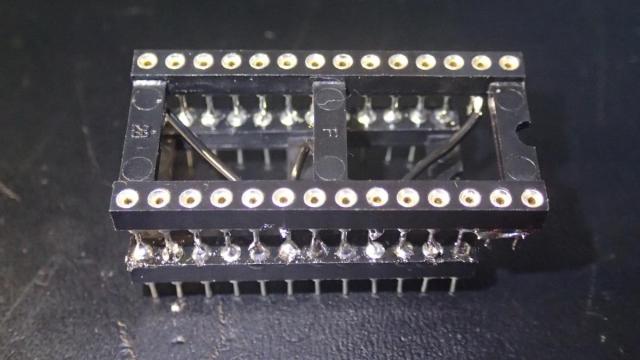
This page explains exactly how to do it. There are multiple versions of the conversion sockets, depending on your EPROM size. After following all the 7 steps from this blog, this was my result. I have to say that the hardest part is to solder the 28 pin socket on top of the 24 pin one. I have prefilled the bottom socket with solder and smeared a bit of solder on the pins of the 28 pin one. With a lot of patience it is doable.
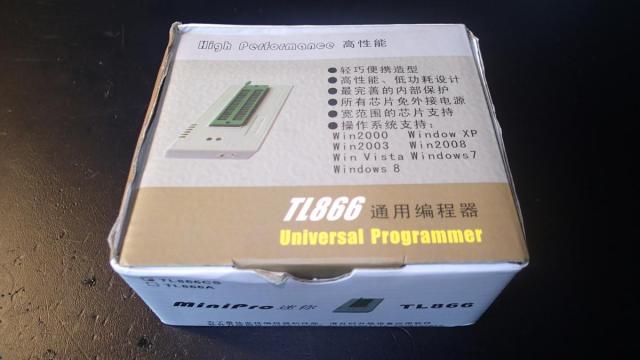
Now it's time to burn the EPROM. You will need the binary code of the BASIC provided on this page. It's 8K in size, but it's OK to burn it on a 64K chip. I am using TL866 universal programmer. It can handle a lot of chips including the ST 27C64.
This programmer is using MiniPRO software, which is provided with it. Insert the EPROM in the right orientation into the programmer.
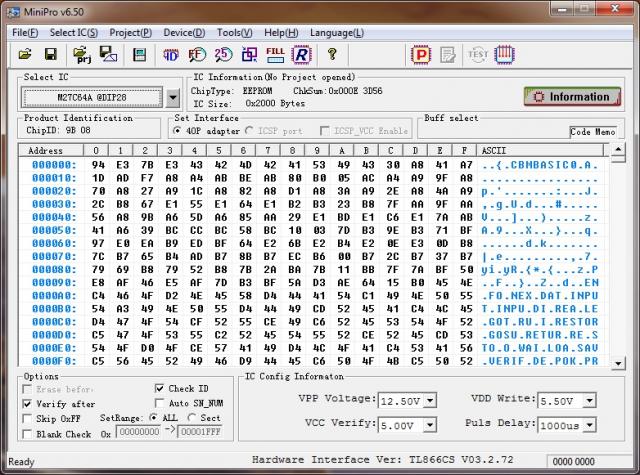
You can load up your binary BASIC code inside MiniPro and burn it onto the EPROM.
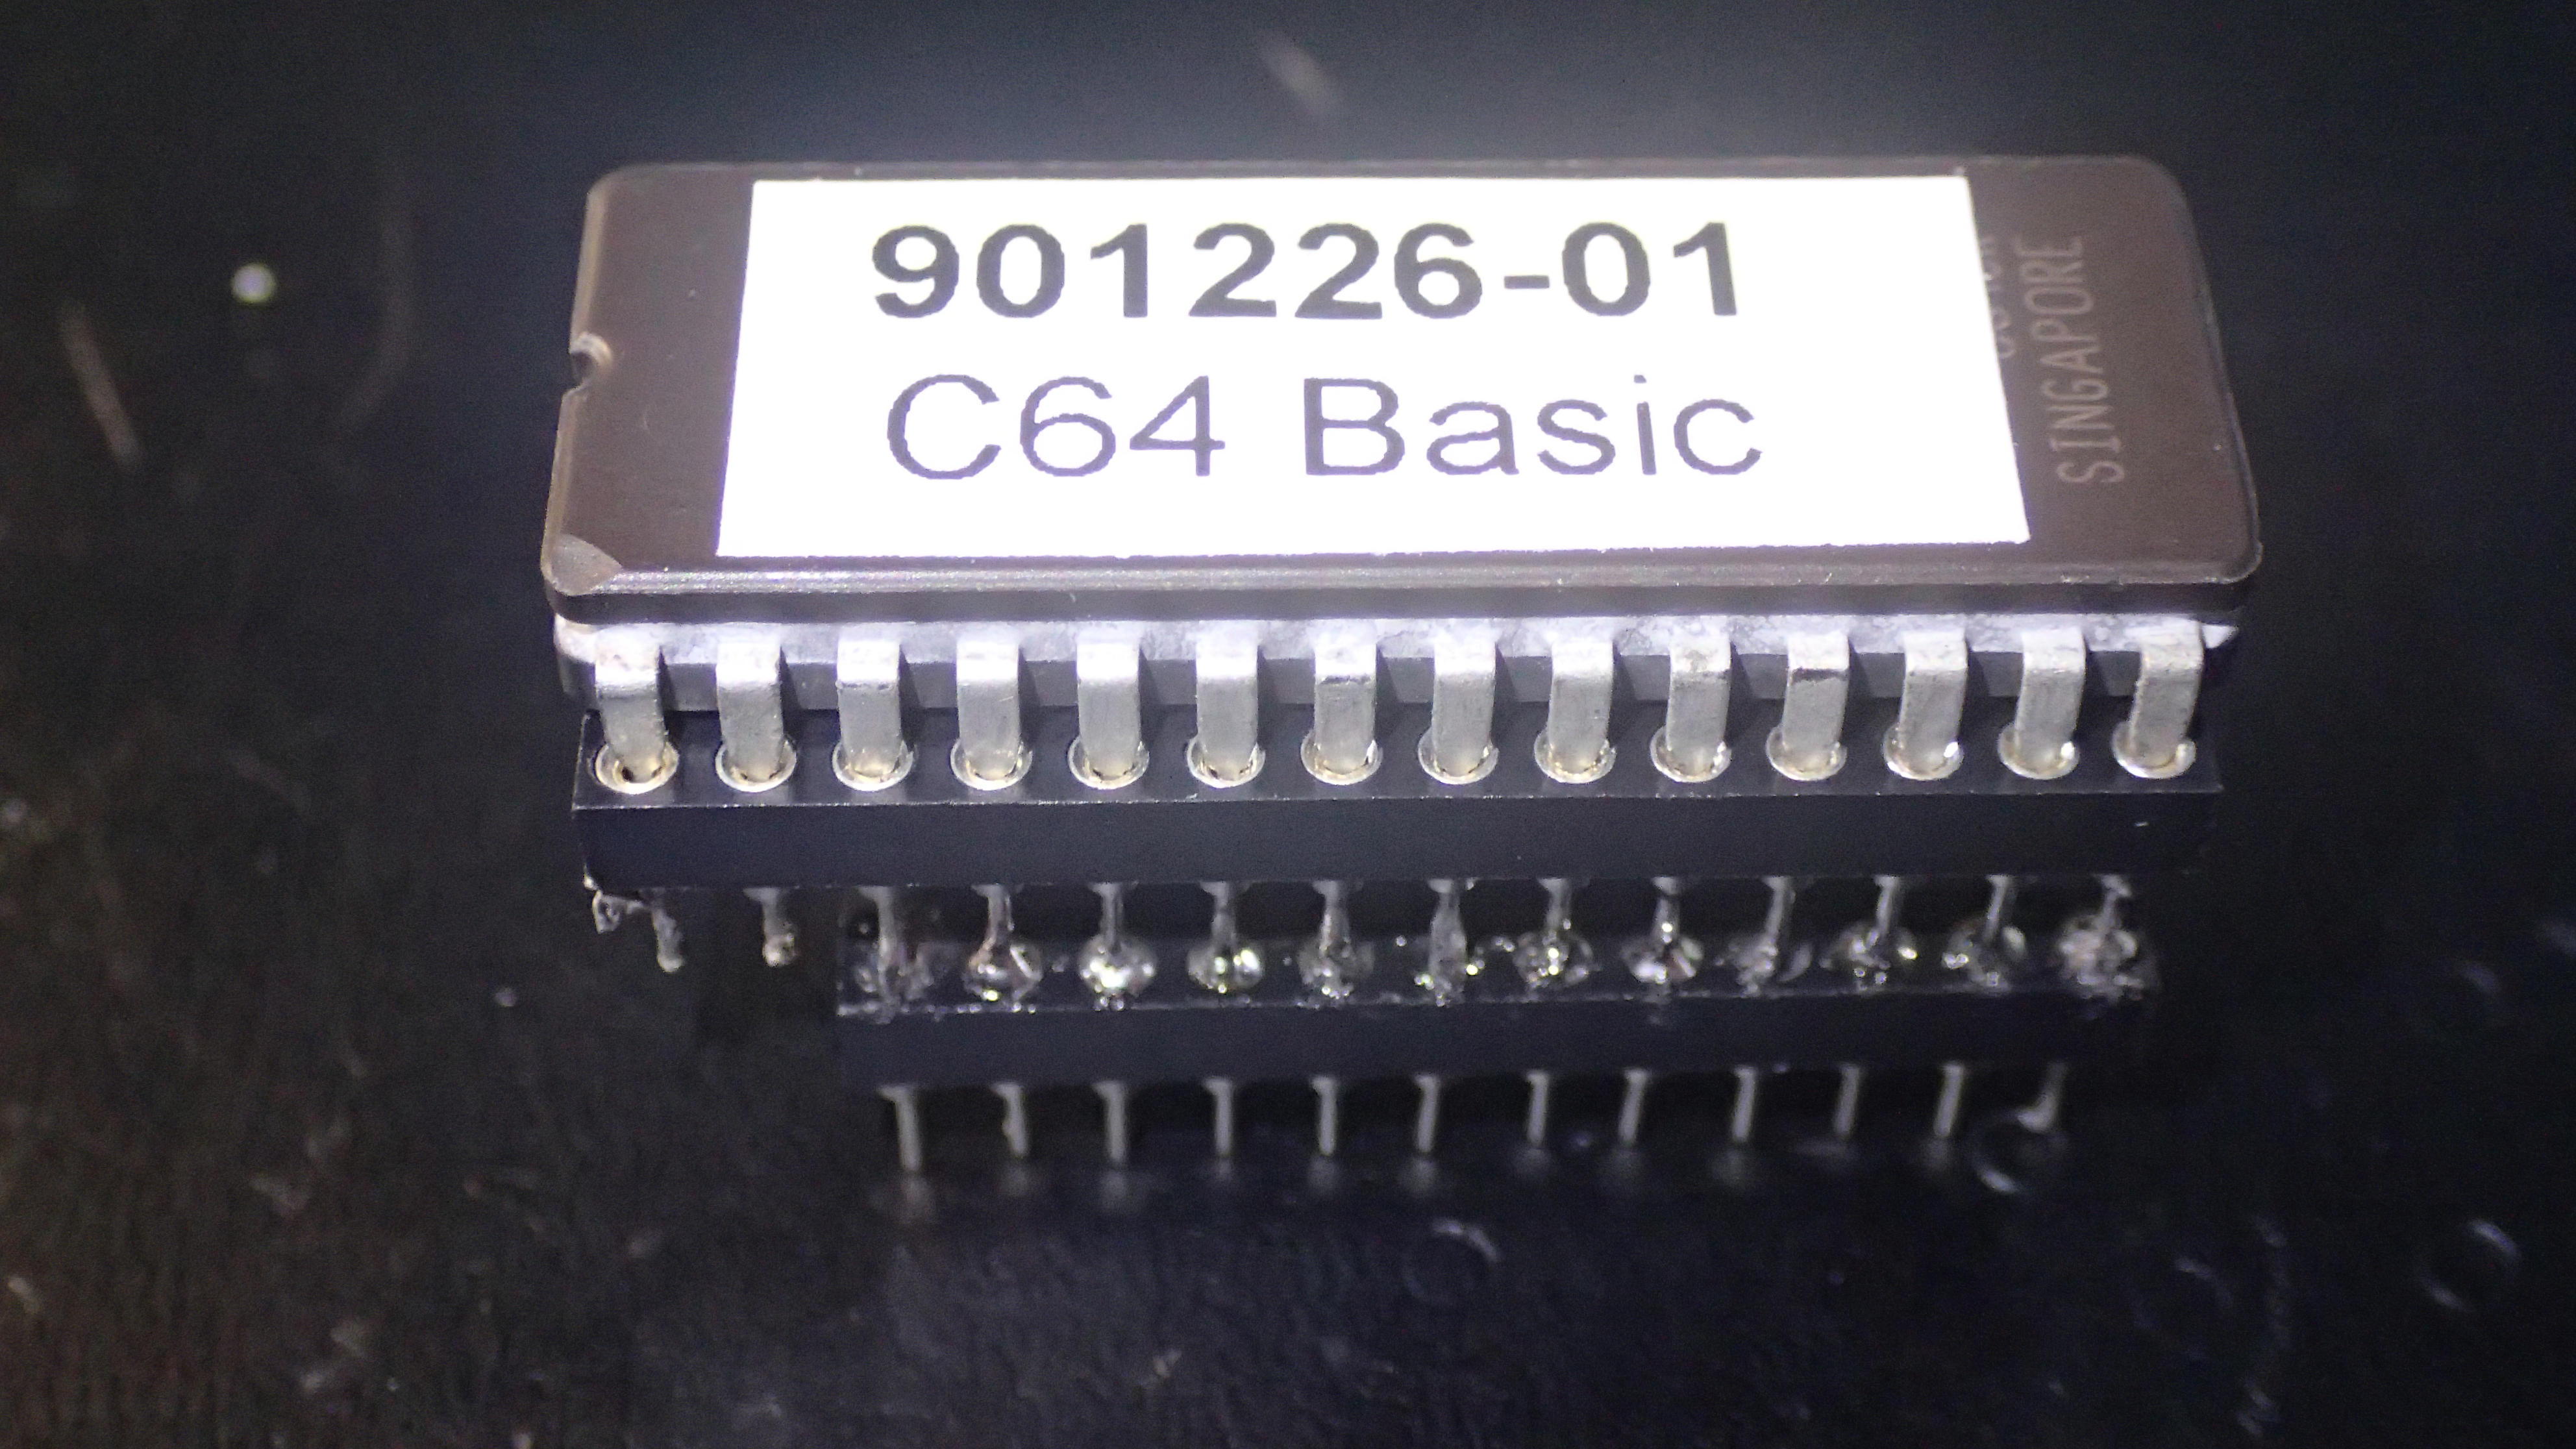
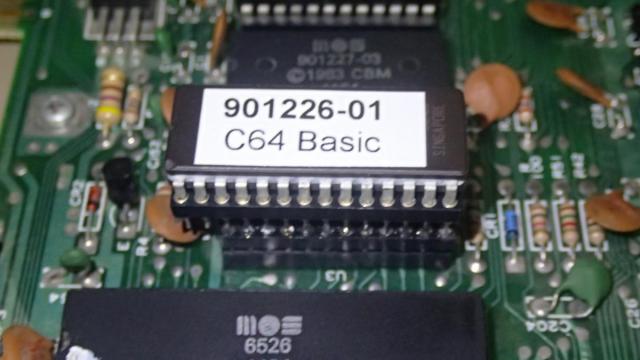
Now you can insert your ROM replacement into the commodore 64 BASIC socket. This is the position to insert it. I have covered this EPROM with a custom printed label.
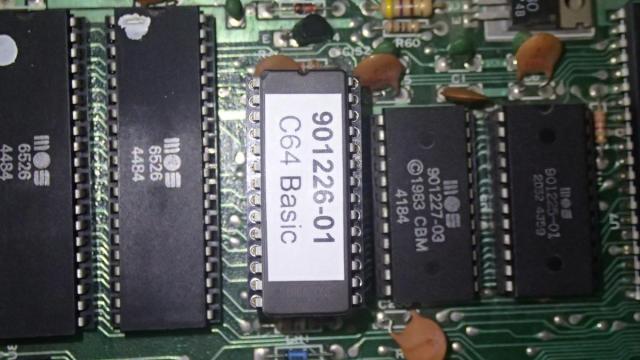
This picture shows how the sockets stack up on the Commodore 64 motherboard.
I hope that this blog convinced you how easy it is to do this repair.