A lithophane is a thin plaque of translucent material, in our case white PLA, that has been created in such a way that, when lit from behind, the different thicknesses create shades that form an image.
We start by finding an image that we will use to create our lithophane. In this example, I have used my ezContents blog logo. There are various ways to create a lithophane, but I have found this method to be the easiest.
First, visit the website: https://3dp.rocks/lithophane/. This online tool allows you to upload an image and create an STL file for 3D printing a lithophane.
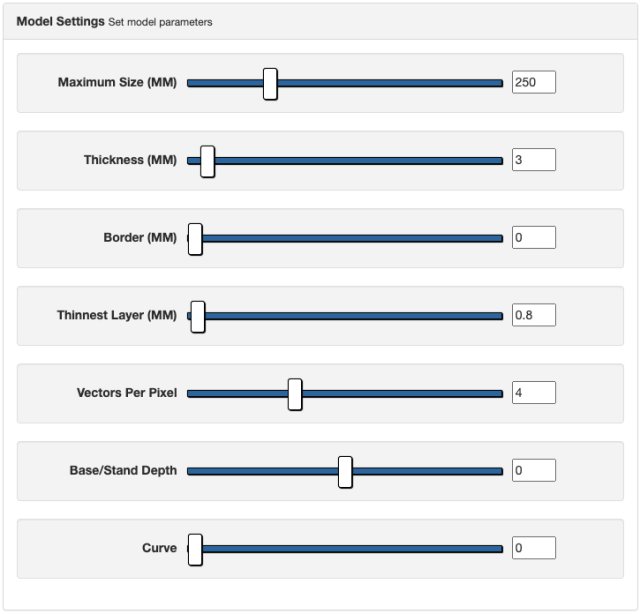
Then we will need to change some settings before we upload an image. Go to Model -> Model Settings menu.

And change the maximum size (in mm) of your lithophane. I measured my lamp, and the size that could fit on it was 250x250 mm. These dimensions would also fit on the printing bed of my 3D printer. I left the rest of the settings as default, but feel free to change them to your liking.
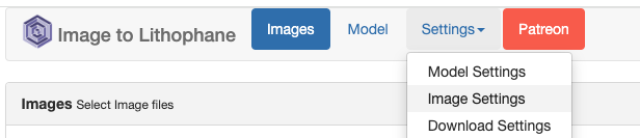
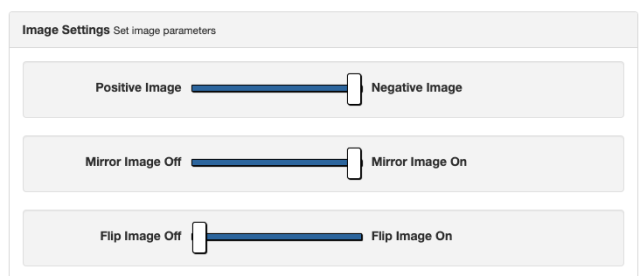
Then go to Settings -> Image Settings menu.
Here, I have changed the slider to the 'Mirror Image On' position. This will create a mirrored image of the lithophane. I have also opted to print a negative image because I wanted to invert the white letters to be shown darker and the black background to be lighter, allowing more light to come through the lithophane. However, if you have a different picture, you might prefer a positive image instead.
Now we can upload our image by clicking on the [Images] link in the toolbar, and then selecting the file.
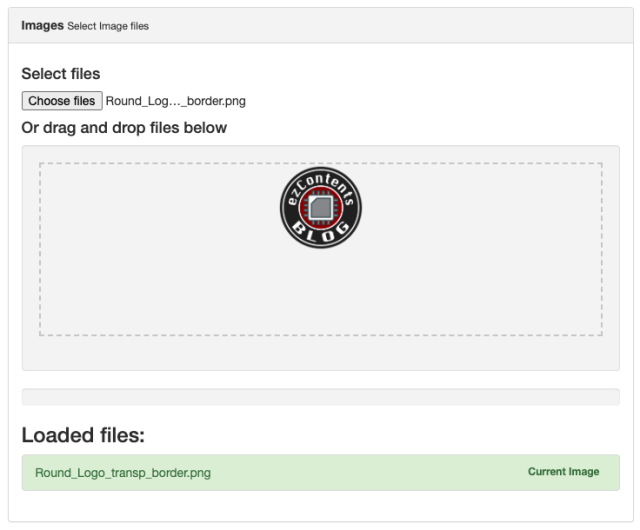
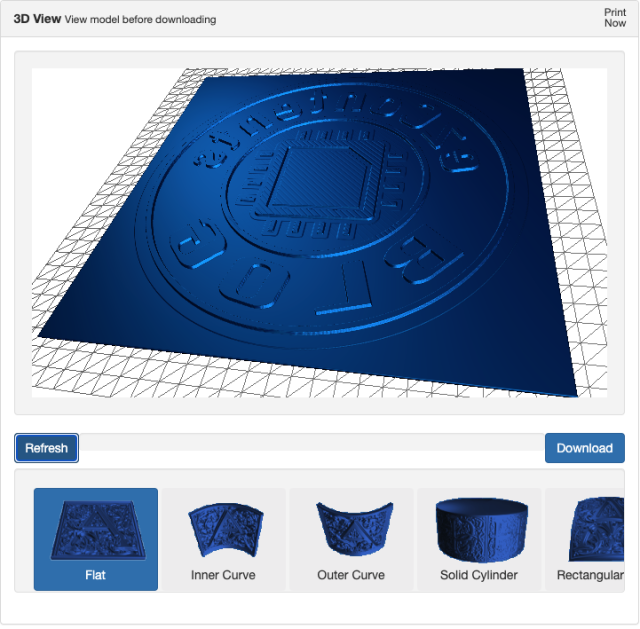
This will process the image and create a 3D view of the lithophane. You can then click on the [Download] button to get the STL file that can be printed.
However, when you load this STL file into your slicer software, it will show errors about non-manifold edges, making it unusable for slicing the object into a printable version. If you are using Orca Slicer on Windows, you are in luck and can fix this directly by clicking on a link. Unfortunately, since I am on a Mac, I cannot fix this issue directly within the slicer. However, there is another way. This involves using an open source 3D modelling software called Blender.
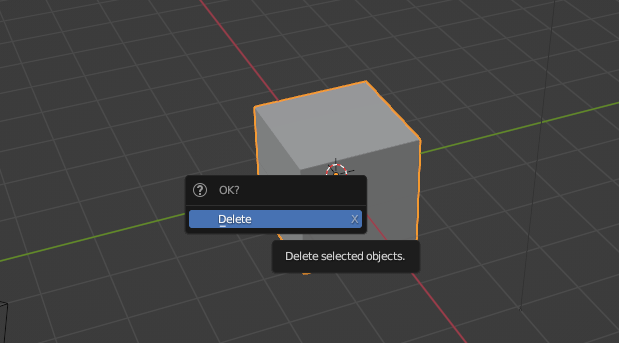
Inside Blender, first we will get rid of the default Cube model by selecting it with the left mouse button, then clicking on X, and finally pressing the Enter key.
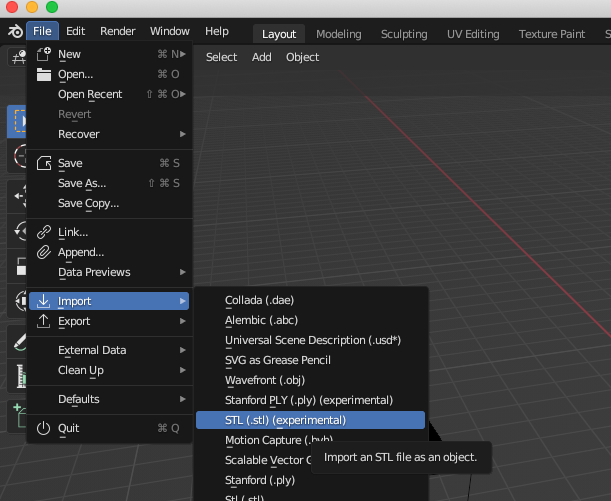
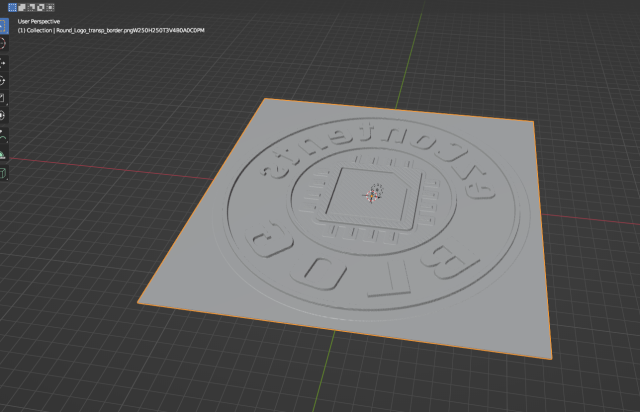
Then, we import the STL file by selecting File -> Import -> STL from the menu.
Zoom out a bit by holding the Cmd button and scrolling down with the scroll wheel of your mouse.
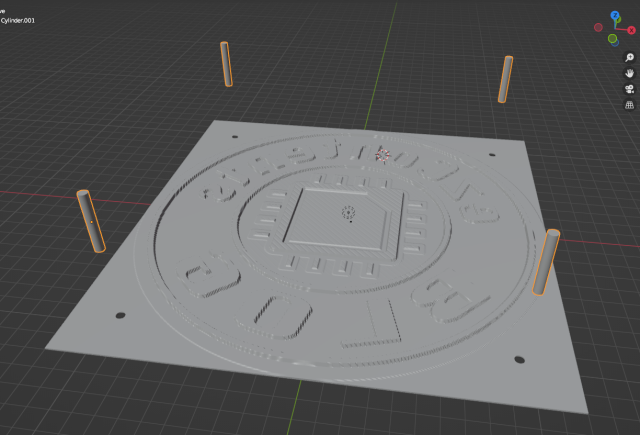
My lamp had some mounting holes with 19 cm offset.
So, I decided to add the holes to the model. I will not describe exactly how I did this in Blender, but it involved creating four evenly spaced cylinders with a diameter of 4 mm and then making the holes in the lithophane using a boolean modifier. If you have questions about how to do this, you can contact me directly, and I will try to explain how it’s done.
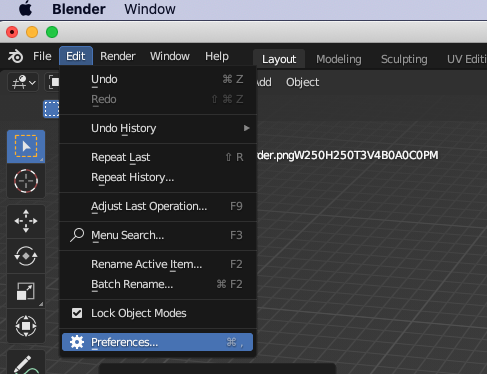
Now, we will install a plugin that will allow us to perform some 3D printing actions on our model. First, go to Blender Preferences in the Edit menu.
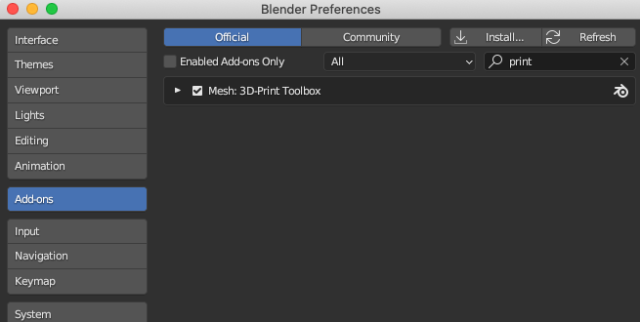
Click on the Add-ons tab and search for an extension called 3D-Print Toolbox. When you type 'print' into the search bar, it should show up. Mark the checkbox to enable it.
When you press N on your keyboard inside Blender, it will show you the properties panel. Select the 3D-Print tab and unfold the Analyze section. Then click on the [ Check All ] button.
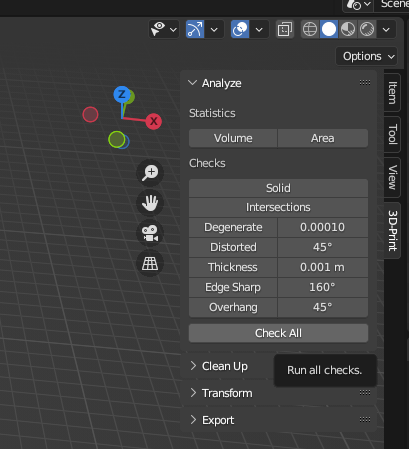
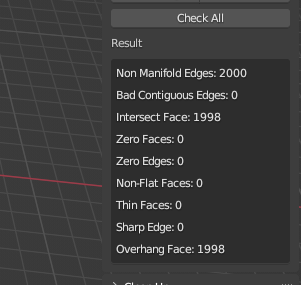
After a while, all the 3D printing issues with the model should be shown, including the issue with the non-manifold edges.
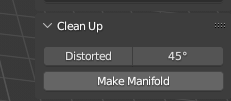
To fix the non-manifold edges, expand the Clean Up section and click on the [ Make Manifold ] button.
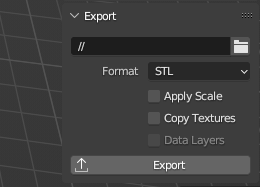
Finally, make sure your model is selected. In the Export section, save your model. By clicking on the folder icon, you can specify the location where the STL file will be saved.
I have loaded the STL file back into my Orca slicer and exported the gcode file to print it. To give it a bit of a nicer look, I have used my PEY print bed with a holographic effect.

The PEY print bed do not have great adhesion so I have cranked up the temperature to 65°C and set the PLA temperature to print the first layer at 225°C. The remaining layers were set to 210°C.
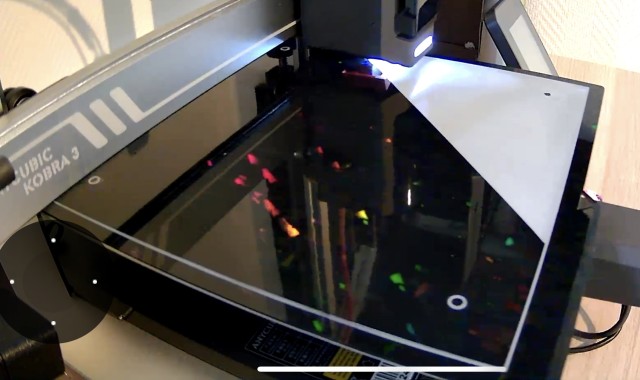
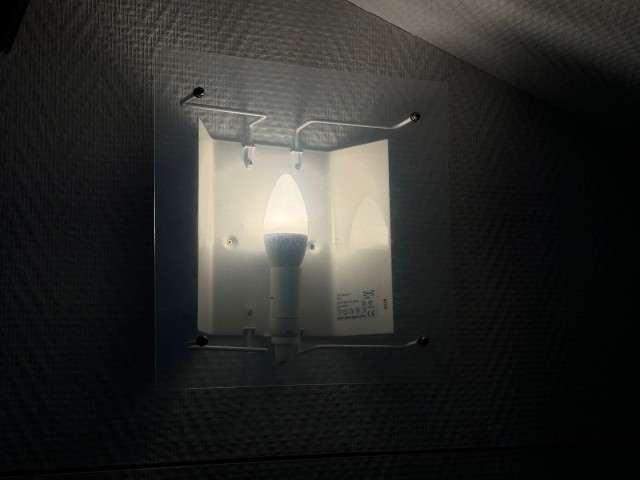
The lithophane printed without any issues and it took around 4.5 hours to finish.
The holographic effect also looked pretty cool. Too bad it is not visible when the light is on.