There is plenty of free software available for the 8-bit Atari XL / XE computers online in the form of ATR files. These are image files created from the physical disks. A huge database can be found on Atari Mania website. It is possible to mount these images with an Atari XL /XE emulator like Atari800Win. AtariAge website has an extended description on how to do it. However in this blog I am going to describe how to create floppy disks from these downloaded images so they can run on a real Atari XL / XE computer with a floppy disk drive.
For this purpose I am going to use an unmodified Atari 800 XL with 1050 disk drive and Atari 65XE which has a modded SIO port with FT232R USB to serial UART interface. It can be used as virtual floppy disk drive. Atari will not see the difference and can read the image disks as they were coming from a physical floppy drive. I have also an old Windows XP machine with AspeQt software installed on it. It functions as an Atari 8-bit serial peripheral emulator. The 1050 drive is connected to the Atari 65 XE with a normal SIO cable.

To begin with, you will need a ATR disk image of a copy program. I am using MyCopyR! 2.1, but I believe that any disk copy program can be used for this purpose. I have mounted the ATR image inside AspeQt (as disk 1) and booted up the Atari 65 XE computer. The copy program loaded without any problems.
The option that I have inside AspeQt are: Handshake method = CTS, the port name is set to COM4 and the baud rate is 19200.

I am using a monitor which has the ability for PIP (picture in picture), so it's nice to see the Windows desktop next to the Atari monitor output. This is how MyCopyR! looks when it's booted up.

As mentioned before on the back of the Atari 65 XE there is a FTDI USB to TTL serial interface. More information on how to build such an interface can be found on AtariAge website. My version has a switch where you can toggle between activating the USB port or the plain SIO port. Drivers for this interface can be found on this website.

To initiate the copy process you will need to have the SIO2USB interface activated and press the Start button on your Atari inside the MyCopyR! program.

When the copy program stops and asks to insert the destination disk, you can flip the switch on the back of the Atari so the 1050 drive gets connected to the Atari instead of the SIO2USB interface. Then you can insert an empty floppy disk and turn on the 1050 disk drive. The order is important, otherwise the SIO interface could be mixed up and will stop responding.

Pressing Start again will start formatting the disk and copy the contents from memory. It is possible that the ATR image will not be copied in one go. So you will need to reconnect the SIO2USB port. Don't forget to turn off the Atari 1050 drive first before flipping the switch. This procedure seems redundant, but I couldn't manage to connect 2 floppy disks at the same. Maybe there is a way, but when I tried to do this I started getting a lot of read errors.

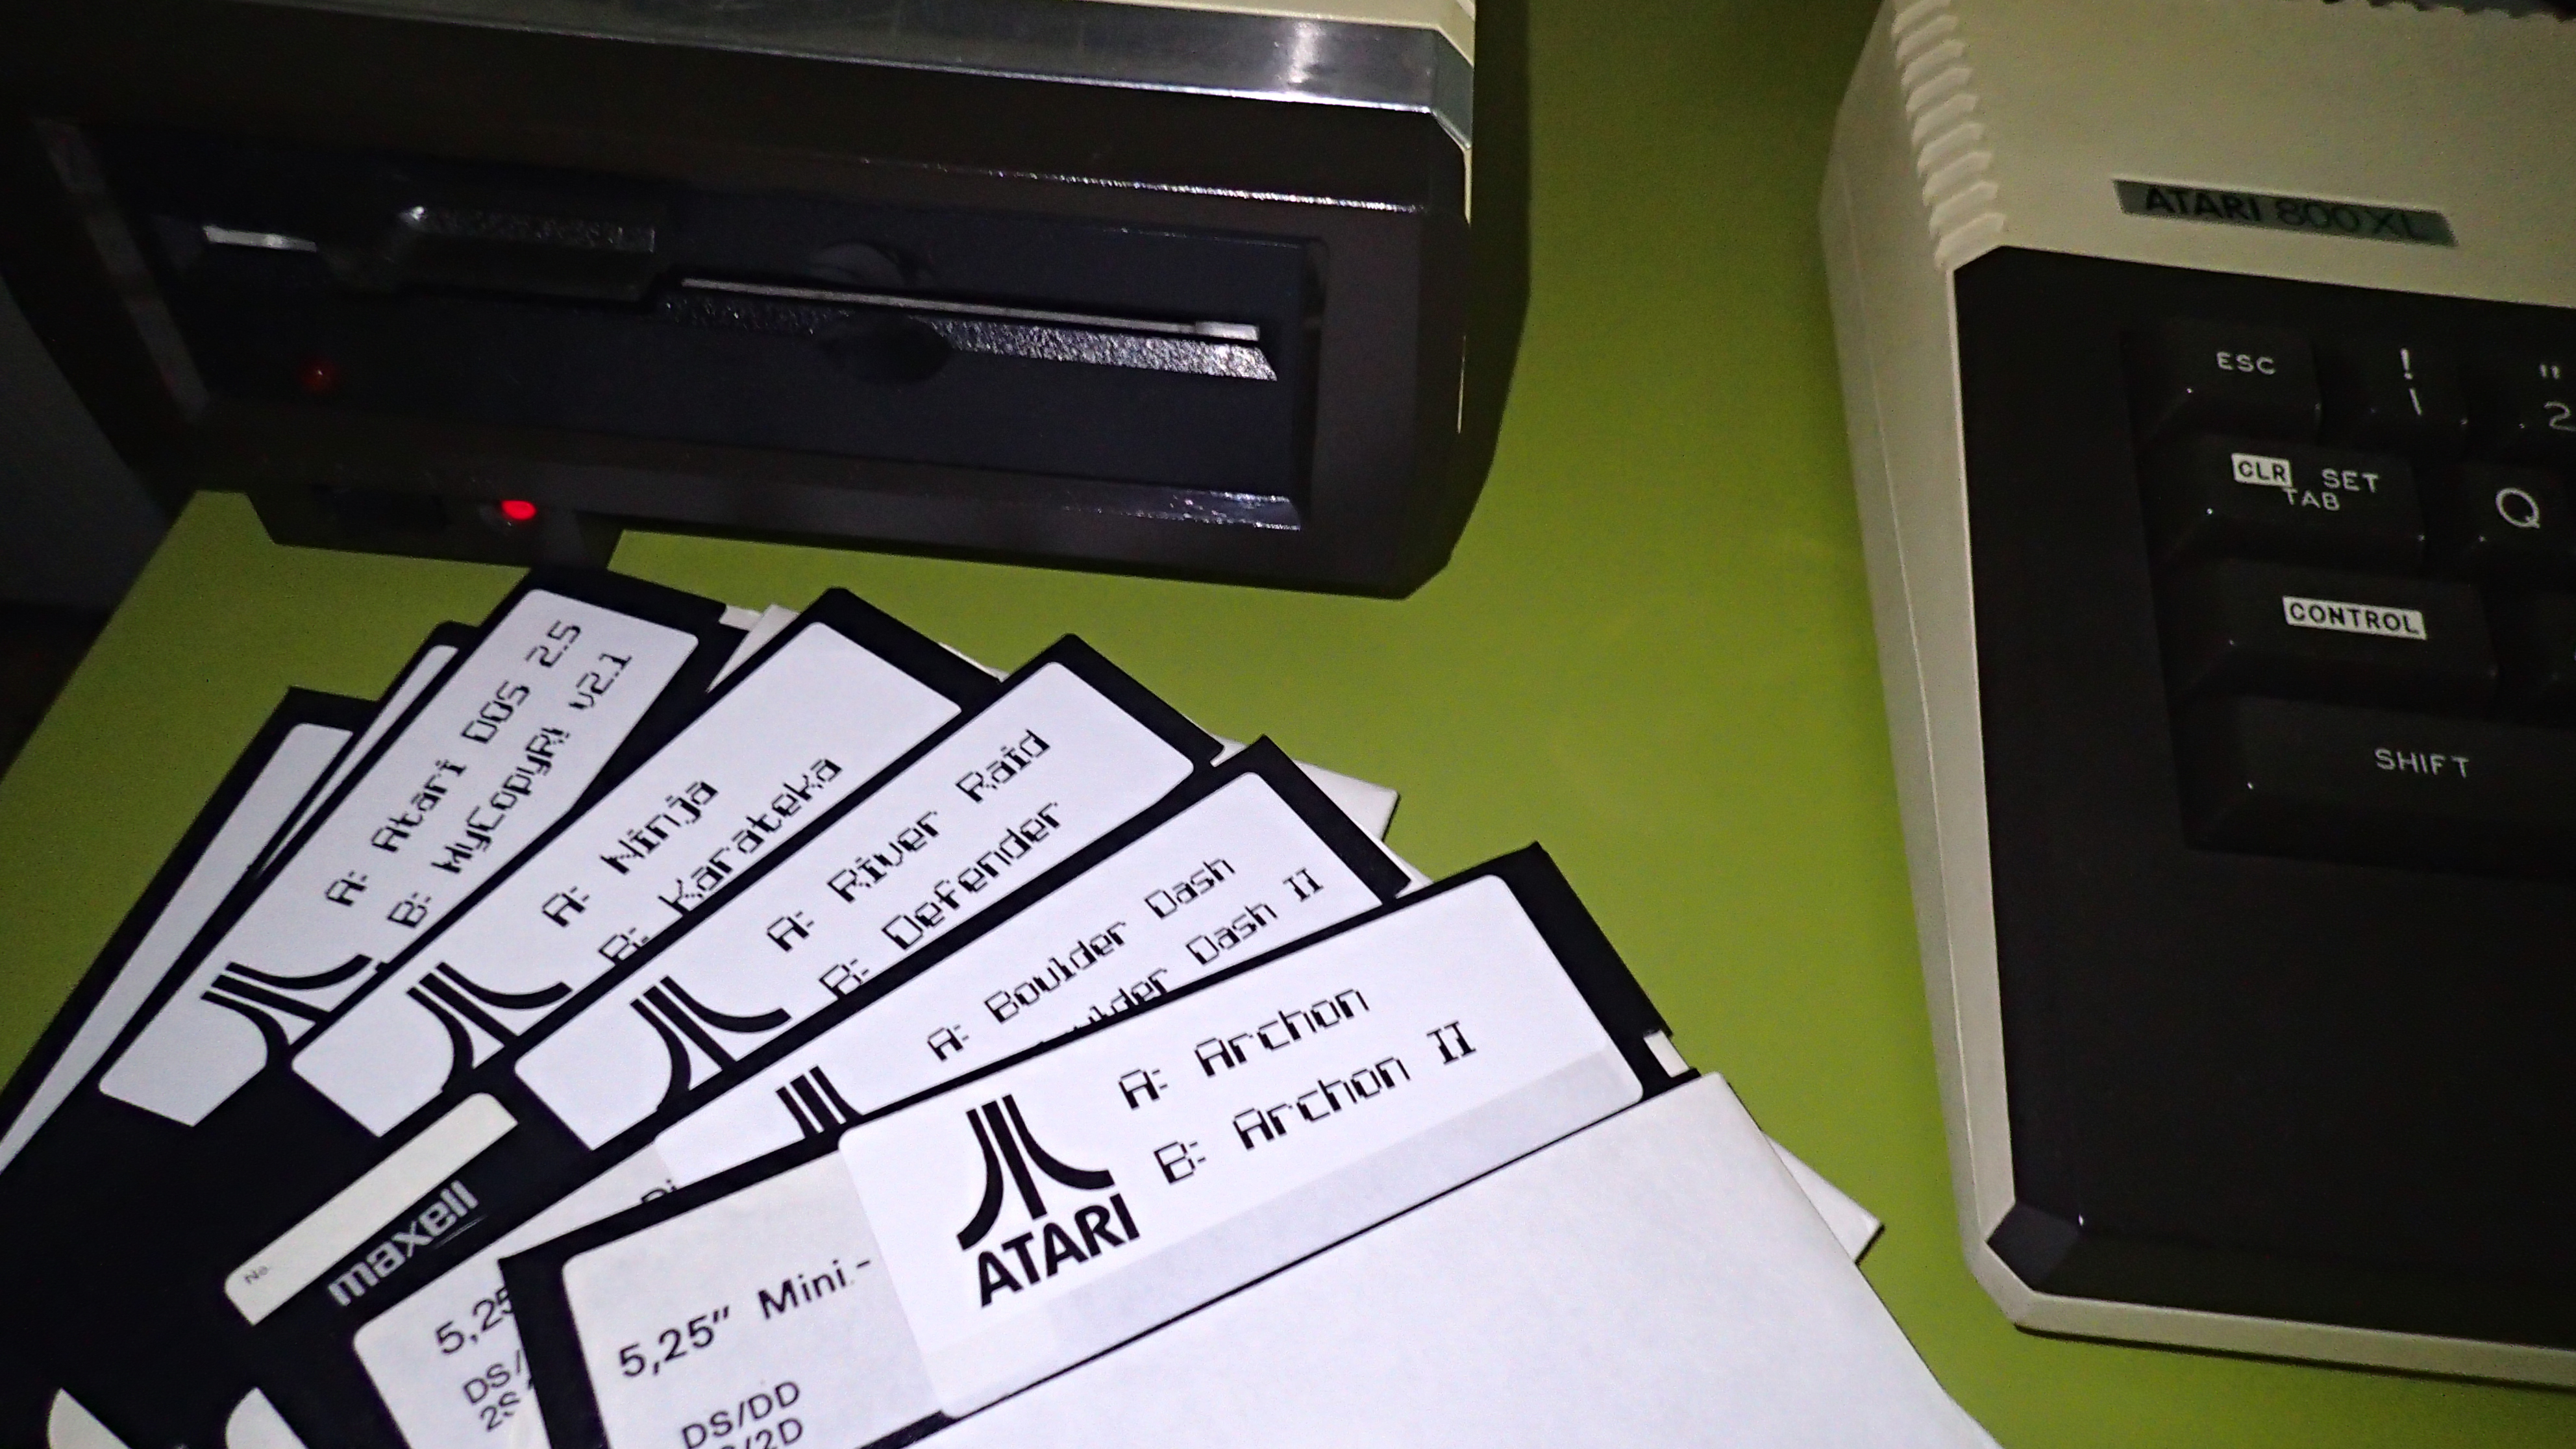
And this is the whole procedure how I copied ATR image disks to real floppy disks. Above you can see the result. I used Dymo label printer and the software that comes with it to create some nice labels for the newly created 5.25" disks. Hopefully they can survive another 30 years.
I hope this blog helps you if you are thinking about doing the same kind of procedure. If you have any questions please contact me.