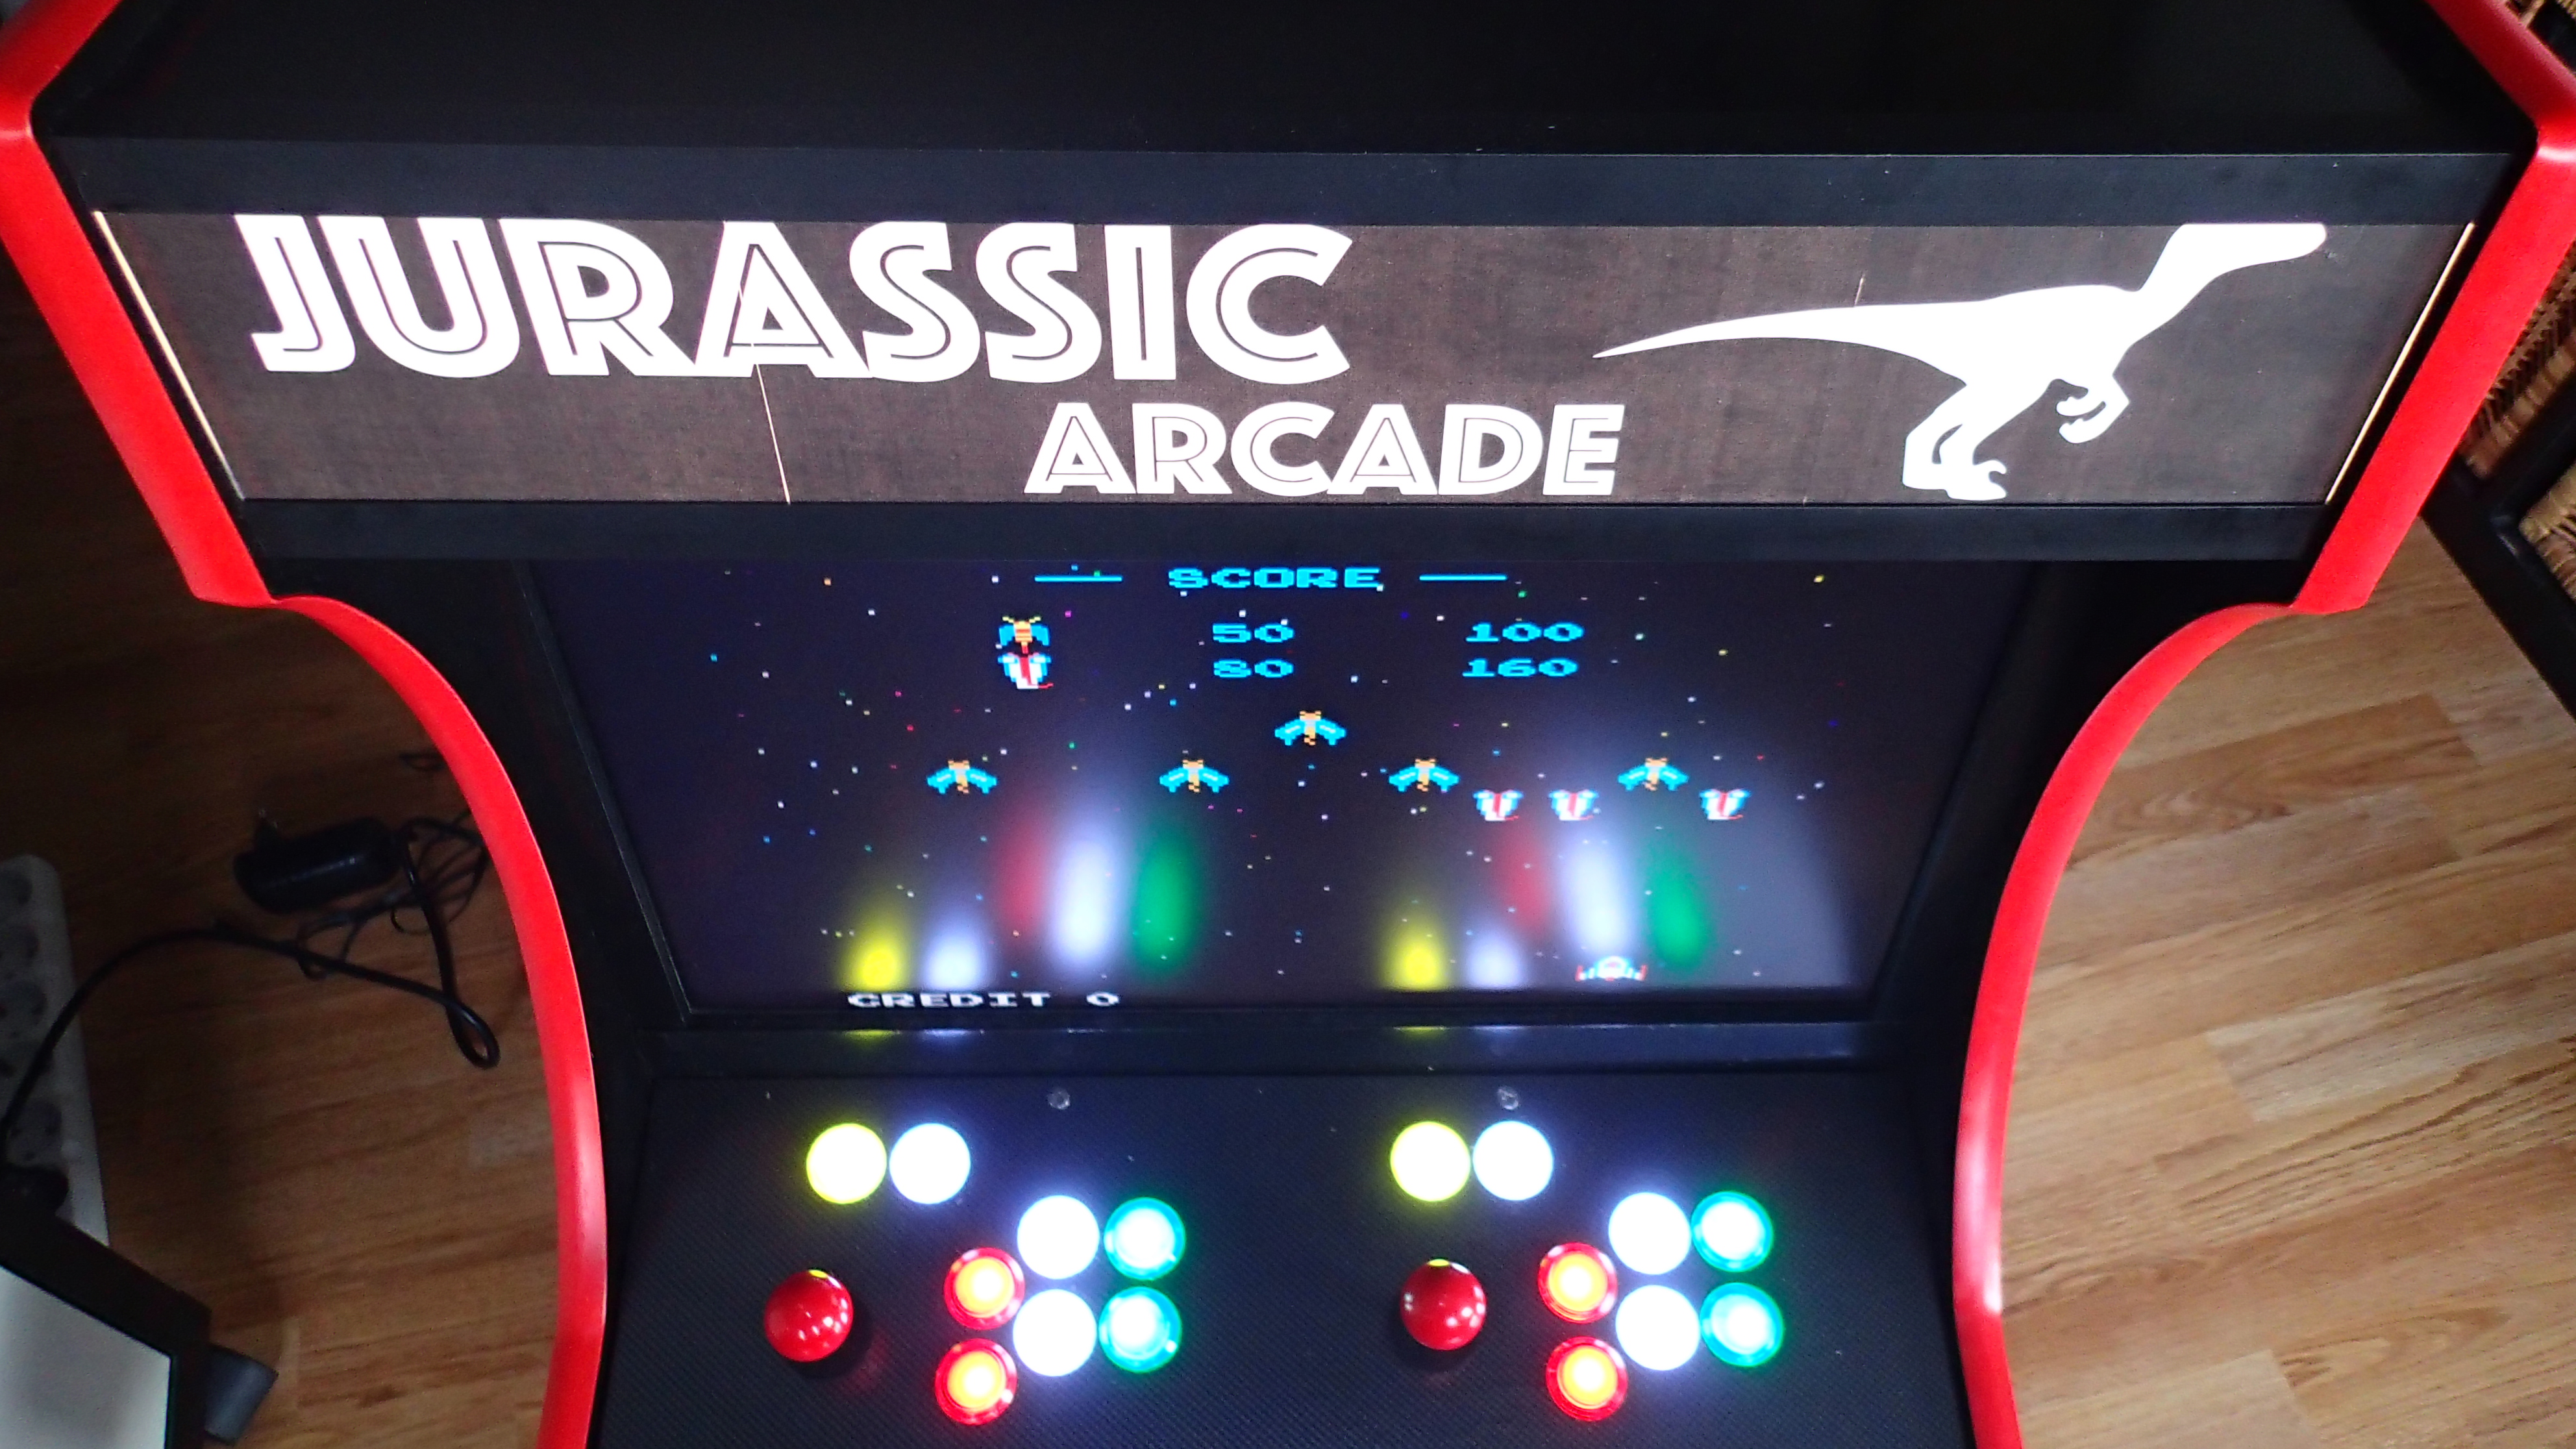
To finish up the cabinet we will place a marquee sign and connect the LEDs buttons on the control panel. In the end we will also add a protective plexiglass sheet in front of the screen.
For the marquee we are going to use a 2mm plexiglass panel and some diffusor sheets from an old flat panel TV. To start we measure 12.5 mm x 52.5 mm and precut it with a utility knife.

After it is easy to snap it off with your hand.

We do the same with the light diffusive sheets that is salvaged from an old TV.

Initially I was planning for the marquee sign to be between the 2 MDF panels, but after I have decided that it will look nicer when it is fully covered. So I have removed the supporting blocks.

Now we can cover the sides of the panels with aluminum tape. It will help to reflect the led light.

Now we can install the led strip on the back wall of the cabinet. I have also used a stapler to faster the strip as the adhesive tape would be probably too week.

Then I have designed the graphics and printed it out over 3 pieces of A4 paper. The graphics at this point are merely for test purposes to see how the marquee will look and react to the led light. A full color marquee that is professionally printed on a continuous piece of paper is eventually the goal. You can download here this design in PDF format.

I have cut out the design and glued with adhesive tape. Then covered it with the plexiglass and the diffuser sheet.

The marquee could now be attached to the cabinet. I have found this black corner strip and used double sided adhesive tape to attach it. It will not hold the marquee sign, but is enough to fasten it later with some black screws.
As for the second part of this subproject we are going to connect the leds on the control panel to the 12 power supply. For that purpose I have attached short wires to the 6.3 mm female terminal wire connectors.

Now it was easy to snap them on the connectors on the back of the buttons.

Because the leds already have a current limiting resistor then can be directly connected to the 12V power supply source.

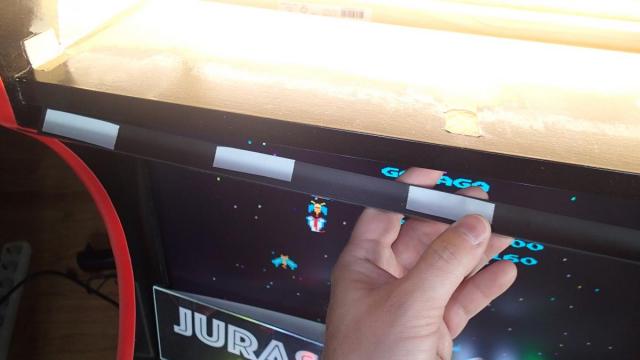
We can now proceed to make the protective screen cover. I have cut the sheet in exactly the same way as for the marquee sign only now I have used a larger ruler with some double sided adhesive tape glued to it. This way it will give more grip while cutting with the utility knife.

I could be snapped off in the same way as the marquee sign on the corner of a desk.

Now I have used a thicker and stronger double sided adhesive tape to fasten the thin masking MDF strips around the screen.

After application the screen looked like this.

I had still some vinyl left that was used to cover the control panel and to make the protective sheet look a bit nicer I have decided to glue it around the corners. After measuring the dimensions of the screen I have cut out a hole in the vinyl.

And glued it on the plexiglass.

Now it was just a matter of sliding the sheet on front of the screen. I did not fasten it, but it is maybe a good idea to use some small black screws to do so.
