With the finished design I could proceed with cutting of the boards to correct dimensions.
To save weight I have chosen to use a thicker 18 mm MDF board only for the sides and the marquee holding shelfs. The rest of the boards are cut from 8 mm MDF. One exception is the control panel, which is cut out from a 9 mm multiplex. For supports I have used planks of 30 x 22 mm and 18 x 12 mm.
The dimensions of all the boards needed for the construction are:
9 mm Multiplex
- Control panel: 220 x 565 mm
18 mm thickness MDF
- 2x side panels: 510 x 642 mm
- Top maquee: 250 x 565 mm
- Bottom marquee: 195 x 565 mm
- Bottom plate: 490 x 565 mm
8 mm thickness MDF
- Back panel top: 117 x 565 mm
- Back panel door: 355 x 555 mm
- Back panel bottom: 90 x 565 mm
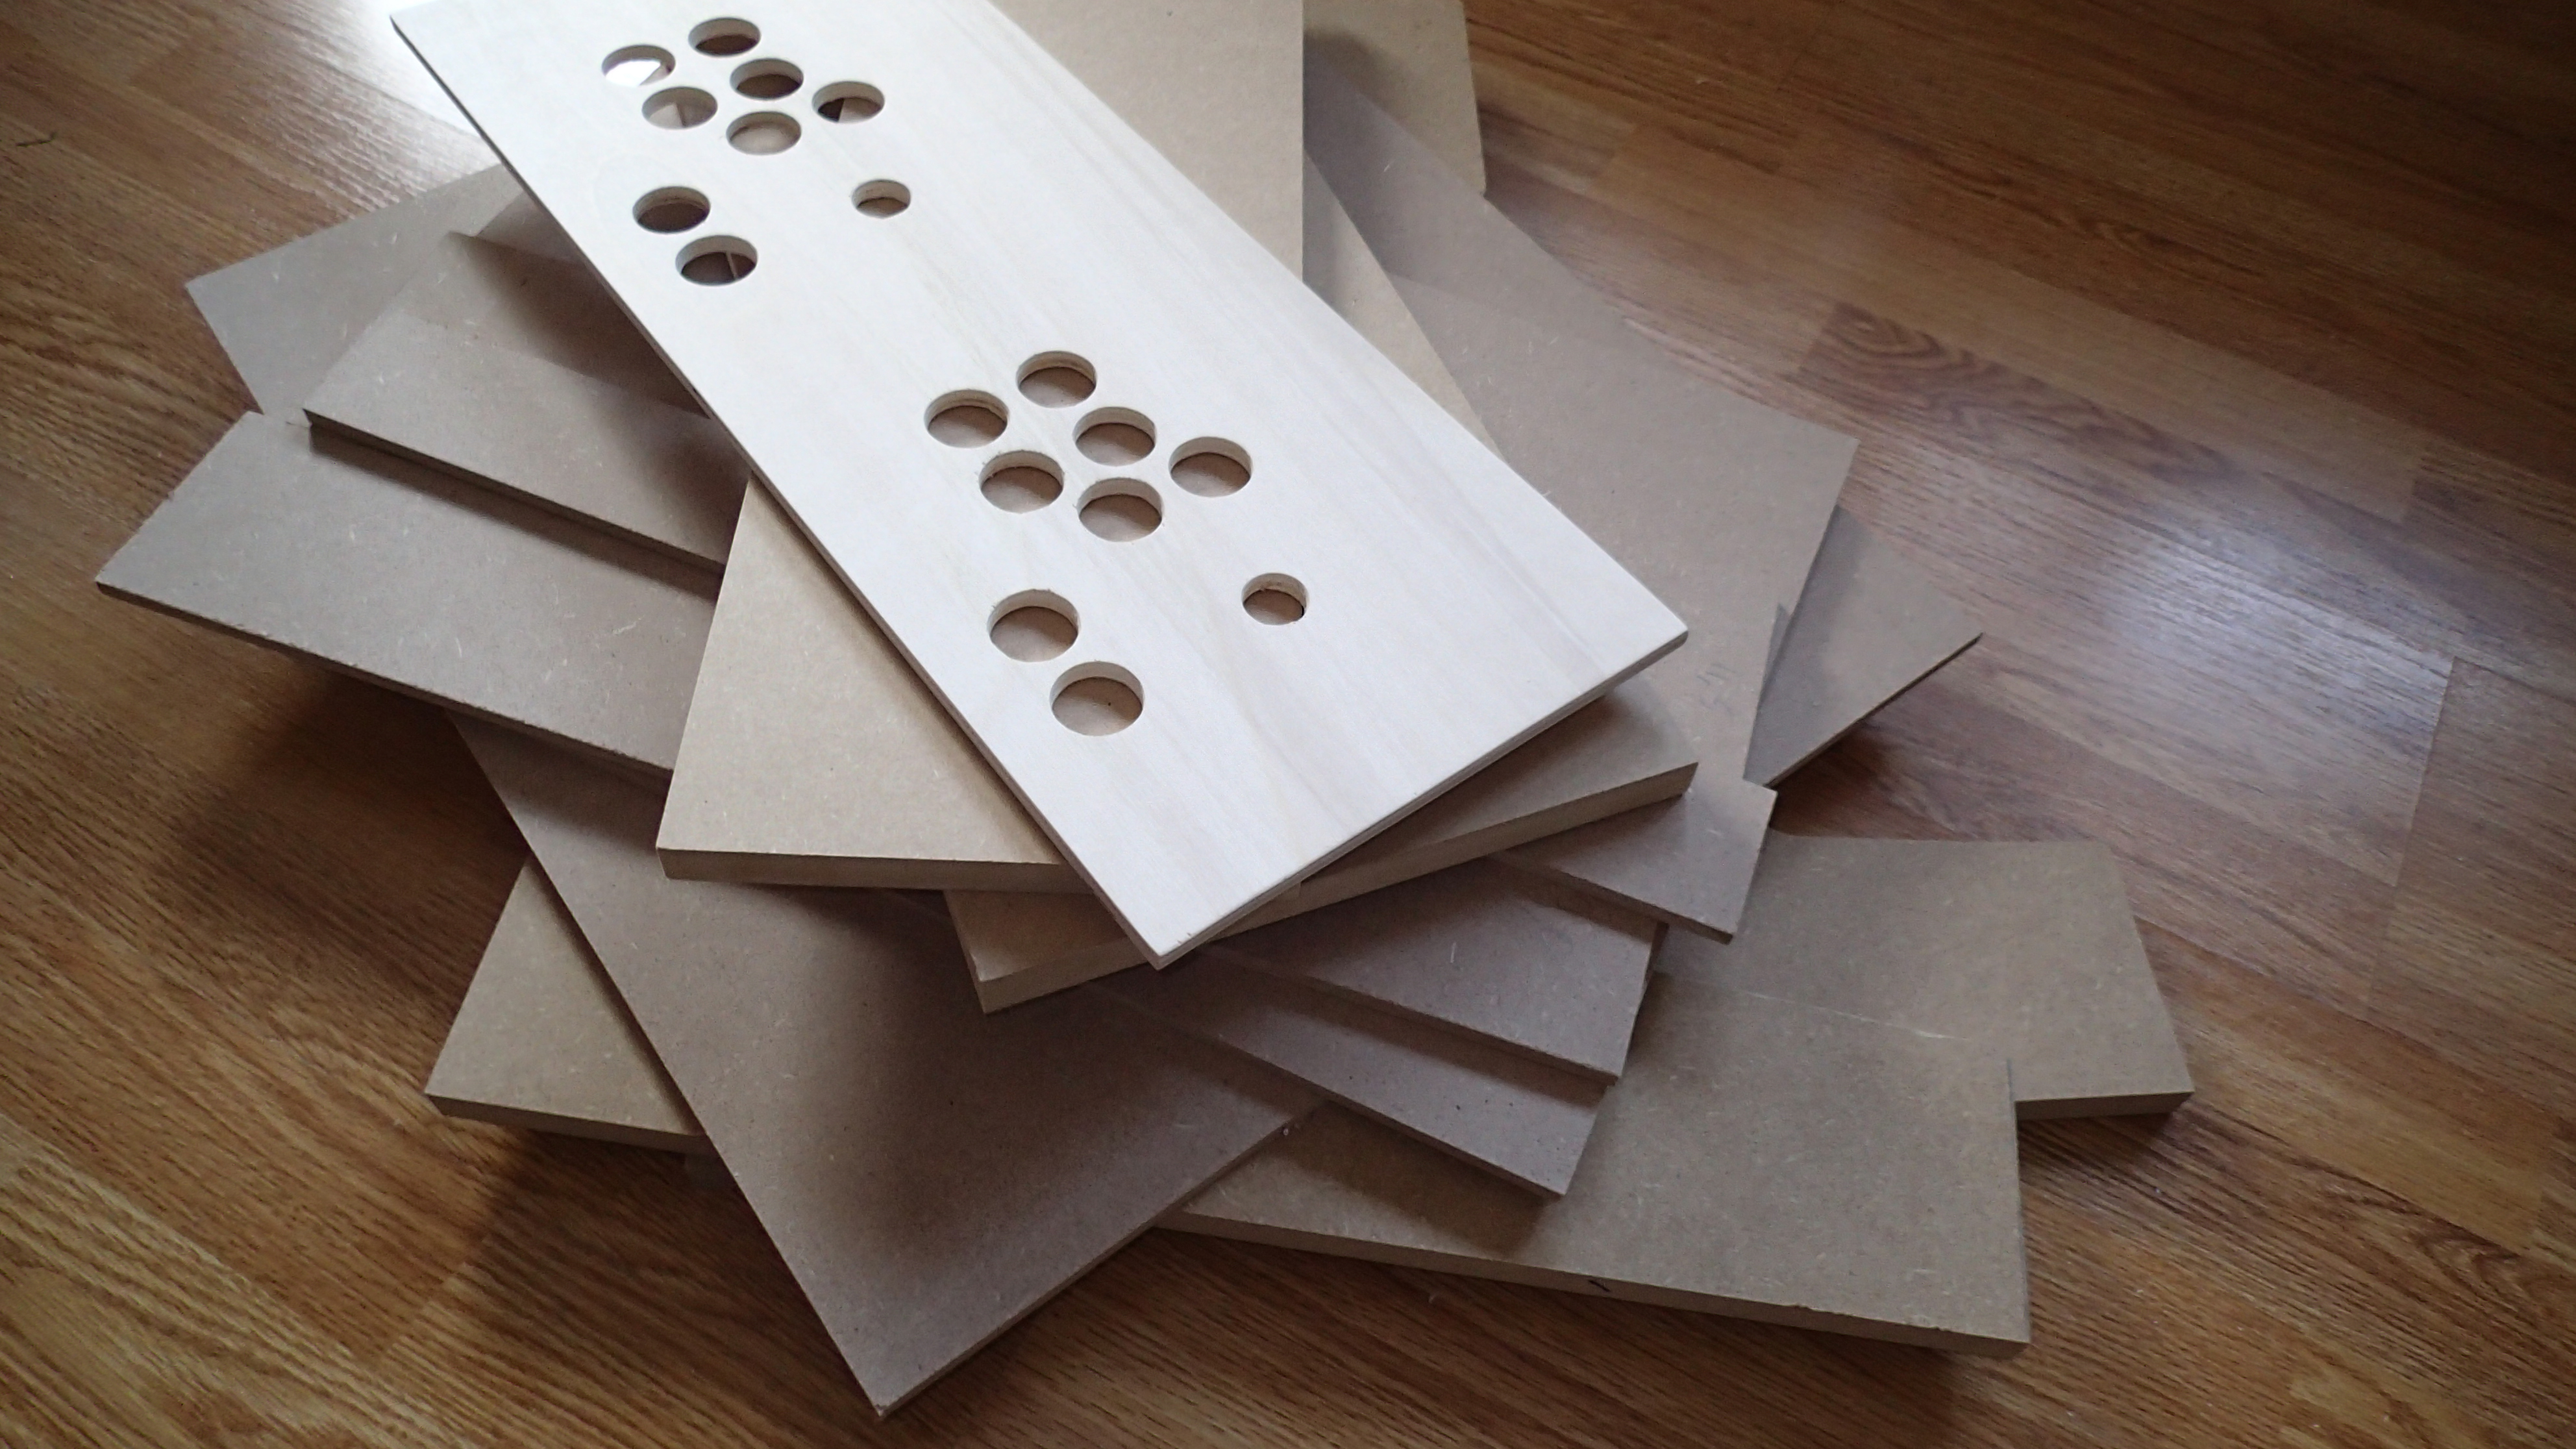
I started with cutting out the he control panel and drilling of the holes for the buttons and joysticks. I have used one of the templates from this website. After printing the pages I punched the holes in the center for drilling.

Then I have cut the multiplex to the correct size of 220 x 565 mm. I have used a plank for a straight cut with the jigsaw.

Now I could drill the holes. The button holes are 29 mm and the joystick hole are 22 mm in diameter.

The finishing result looked like this:

Now it was time to cut the side panels. I did a manual transfer of the deisgn onto the board. Next time I will use the method that I have descibed in the previous blog where you overlay the printed design.

To draw the part of the circle I have used a pencil to an attached line with the radius of 279 mm.

After it was a matter of cutting out one of the boards with a jigsaw. The second board was easy as I could make a tracing from the first design.

Then I have cut the remaining boards.
