I have decided to start a new project and that is to build an arcade cabinet. The first parts needed for the project were delivered, so I wanted to write something about them.
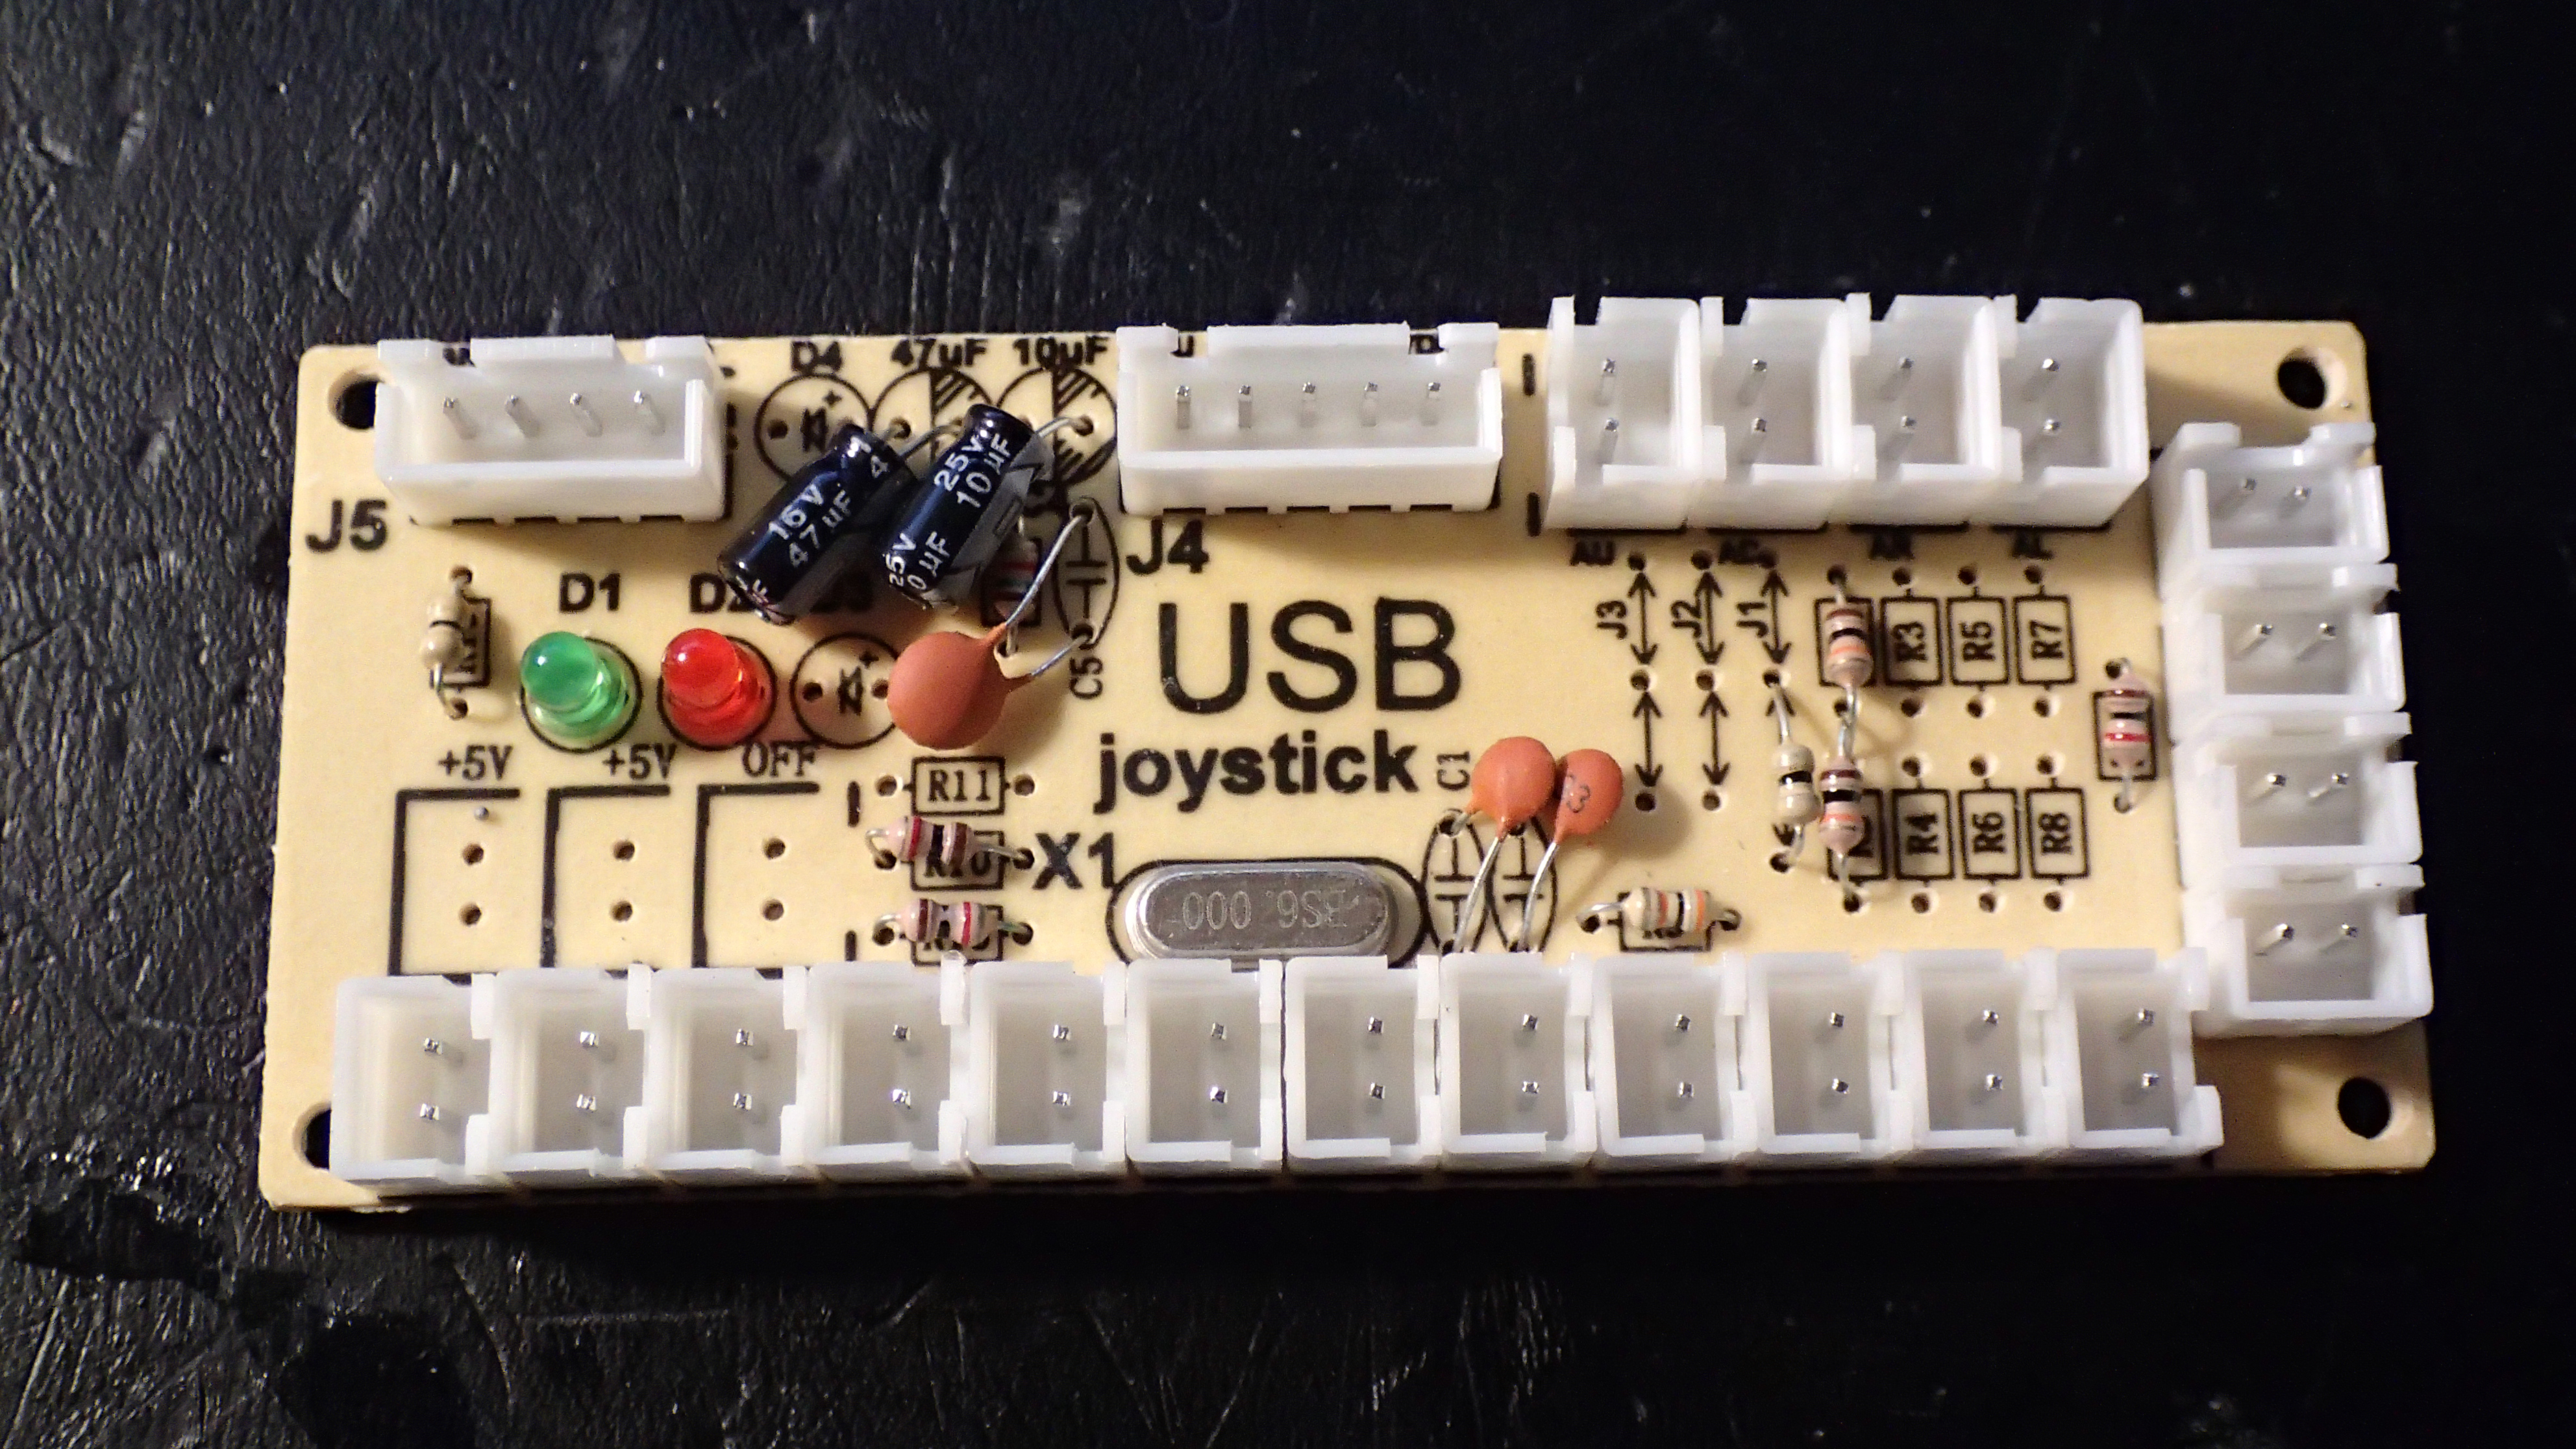
On the picture below you see an arcade joystick with a jamma USB controller board. This board is able to convert switches into commands that are send through an USB controller. I have purchased those items on a Chinese web-shop. The joystick cost was around 5 euros. The jamma controller board was 8 euros. I have bought two pieces of each, to be able to create a two player arcade cabinet.

The micro switch joystick is an crucial part while building the arcade mame cabinet. Without it you couldn't be able to play any games. This controller has micro switches built in which ensures a smooth operation.

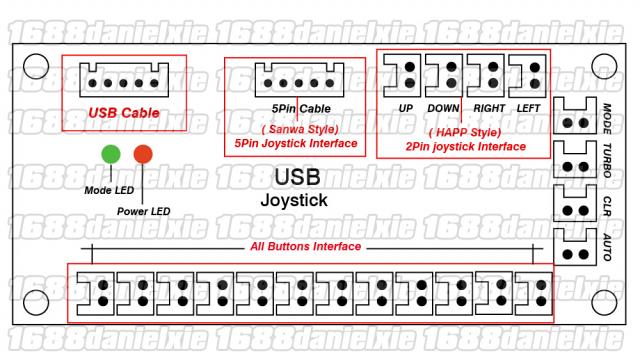
The controller board will provide that the joystick and buttons will be recognized by the software. Below you see a schematic of how this board will connect to the various switches.
It can recognize up to 12 switches and has option for auto fire and mode switch, which will turn the main joystick control to secundary (point of view) option.
After you plug in the USB controller it is recognized directly inside Windows 7 environment. I am not sure if this will be the case in Windows 10, but I don't see a reason why it would not. To connect it to a Windows machine was pure for testing purposes. The main goal will be to hook it up to a Raspberry PI machine with RetroPi installed on it.
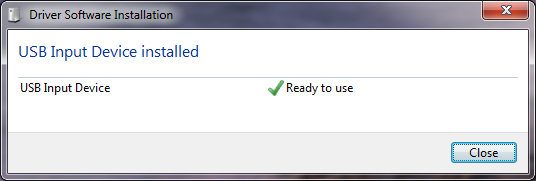
It is recognized without any problems a s Generic USB controller.

Clicking the the Properties button shows this dialog box and this way you can test whether the switches are fully operational.
