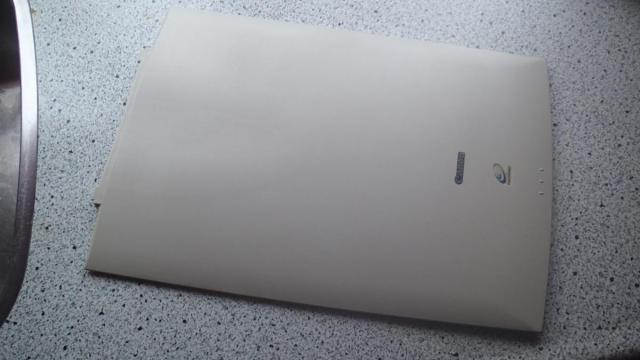
If you have old plastic cases that have turned yellow, you can restore them to it's original state just by using hydro-peroxide, some oxy powder, UV light bulbs and patience. In our test we will be restoring an old Canon flatbed scanner cover that had turned yellow.
First you will need to buy volume 40 (40V) flask of oxycreme. It consists 12% solution of hydro-peroxide and has some thickening agents which will come in handy. If you buy pure hydroperoxyde liquid you will need to add some glycerin and Xantan Gum. For a complete recipe you can check the retr0bright website. In our case we will only add very small amount oxy powder to our oxycreme, just before the application on the plastic. This will cause a reaction, which will boost the whitening process.
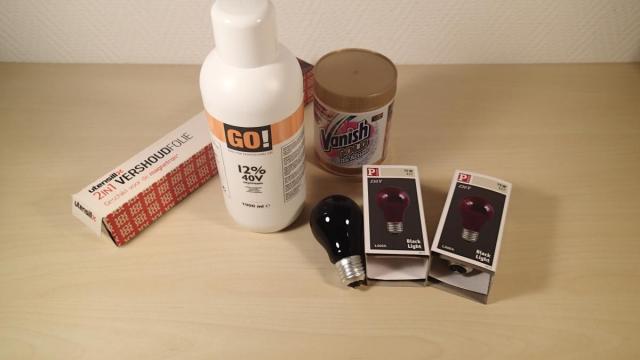
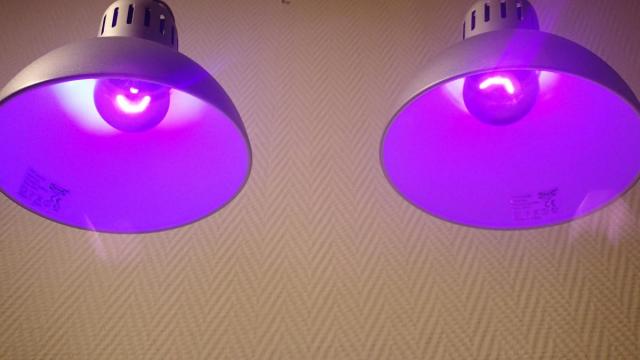
You will also need microwave foil (to cover the plastic so it will not dry out), rubber gloves and eye protection goggles. The UV lamps are 75W black light bulbs. I have mounted them in adjustable IKEA lamps that I used on my desk. They give nice directional light.
It started out with a test of a small area of the scanner cover. I have marked 2 squares with electrical tape. Actually I expected to create a nice division, but in the end it didn't stop the cream to pass under it. In the top square I have put the hydro-peroxide creme with no additions and in the other one I have solved some oxy powder in water (around 1/10 of a tea spoon) and added a bit of the solvent to the cream. Original recipe is 1/4 teaspoon oxy powder on 500 ml of hydro-peroxide, so it gives you an idea how little of the powder you will actually need.
I have covered the cream with microwave foil and placed it under the UV light for 8 hours.
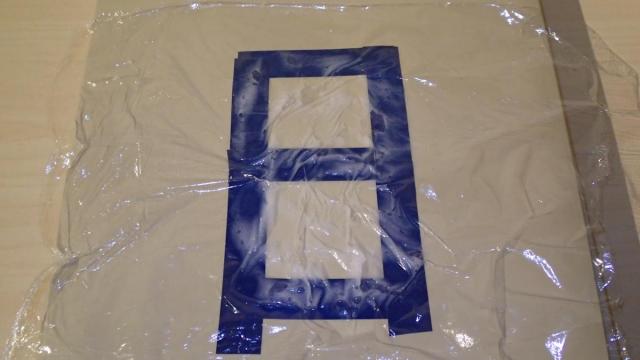
The test was a success. As you can see, there are white spots (not at all in the shape of squares that I planned). The area below is with oxy powder and it is slightly lighter. It's minimal, so I am not sure if the oxy powder is really needed.
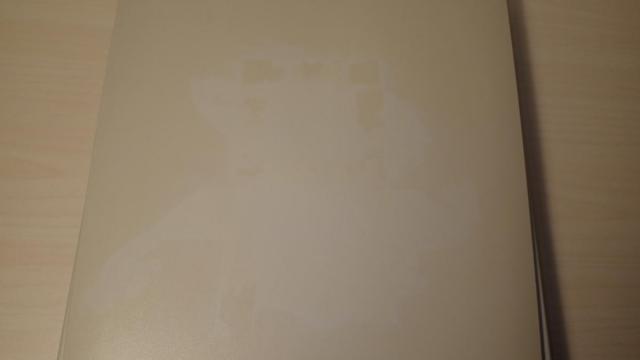
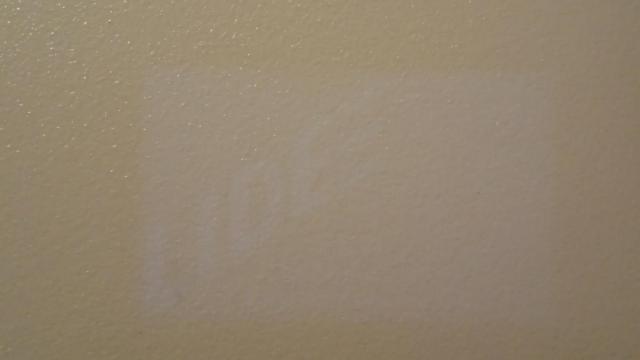
So at the moment we have a flatbed scanner cover with white spots. Let's try to even everything out and make it white again. At this point I had no idea if the spots will go away after treating the whole area. Also fun to mention that on the corner there was a transparent sticker with some text and on the image below you can see that after I have removed it there was a visible mark. Let's hope that this will even out as well.
Now I have decided to put everything under the UV light for 36 hours (which in practice turned out 40 hours, as I didn't plan it too well). In my opinion it is best is to start at Thursday/Friday night, so the process will be finished in the weekend on Saturday/Sunday morning.

When it's done, make sure you clean the creme with water. Wear protective goggles and rubber gloves while doing this, also be careful with your clothes.
As you can see the whole cover turned out evenly white. To my surprise the markings of the spots and sticker completely disappeared.