To start with MicroPython development on the Raspberry Pi Pico W follow the steps below.
Go to the Raspberry Pi website and download the latest version of Micropython for Pico W.
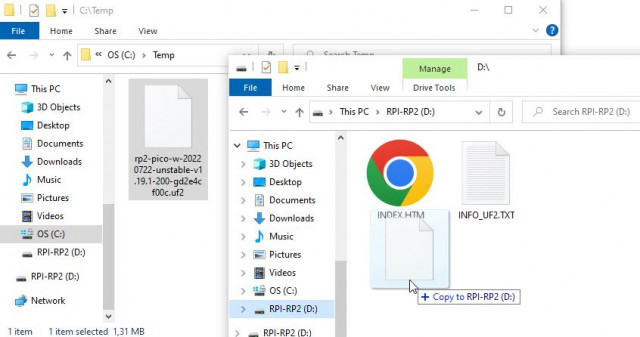
Then connect the Pico W to USB while holding the white BOOTSEL button.
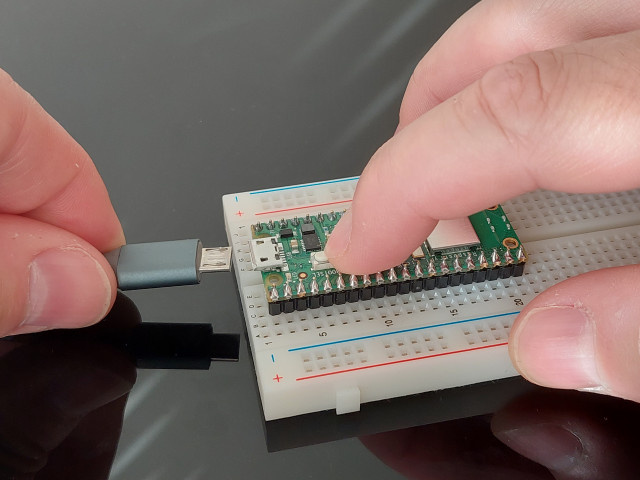
On Windows, the Pico W should get recognised as a removable drive. In my case, it was the D drive. You can then drag and drop the downloaded Micropython binary to that drive. After it is done, the Pico W will reboot automatically.
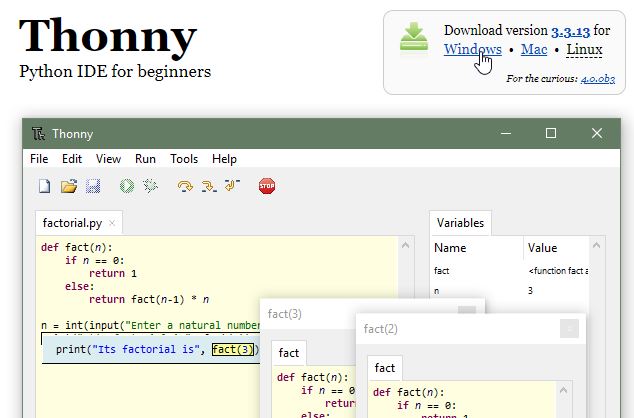
The best way to develop with MicroPython on the Raspberry Pi Pico W is using the Thonny IDE. Download a version for your OS and install it.
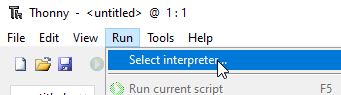
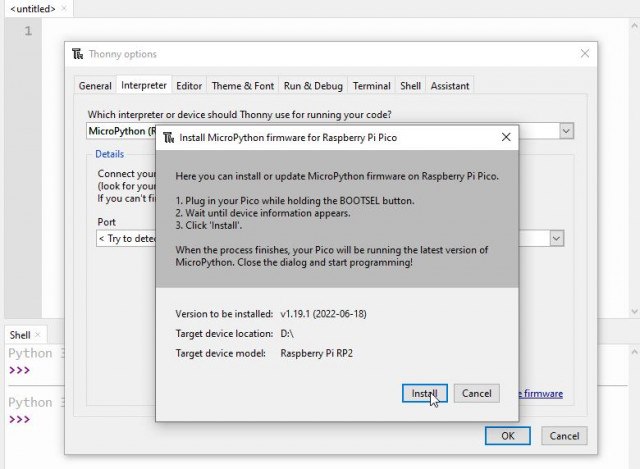
Inside Thonny go to the menu Run -> Select interpreter...
and select MicroPython for Raspberry Pi Pico.
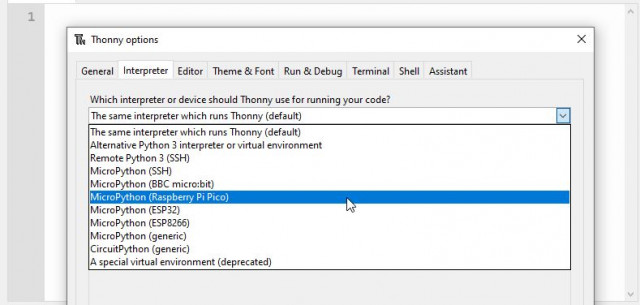
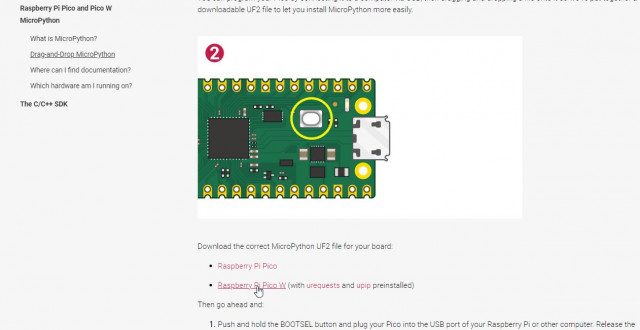
You can also install or update the MicroPython firmware by clicking the install firmware link at the bottom of this window.
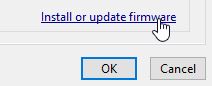
Follow the instructions that are given here (which are exactly the same as described above).
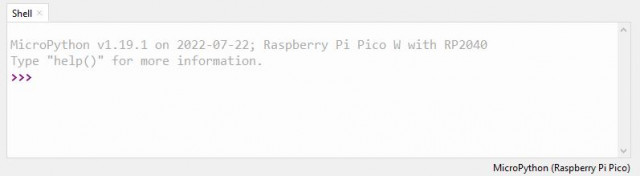
After everything is installed correctly, you should see this status message appear inside Thonny.
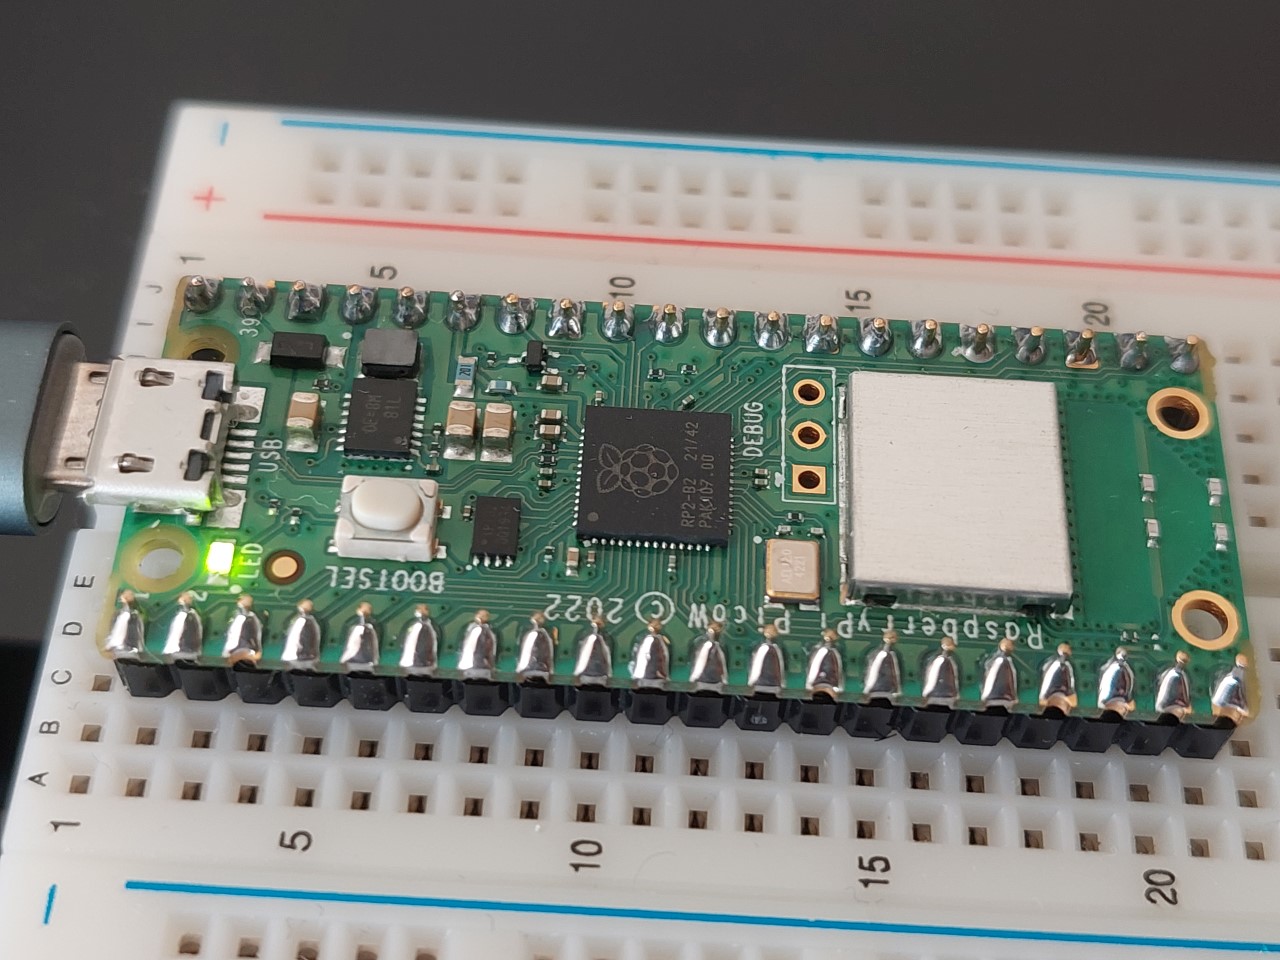
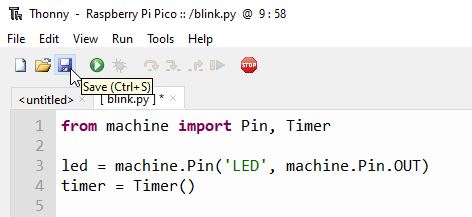
To test it copy this blink code inside Thonny editor. Notice that the LED is not connected to GPIO 25 on the Pico W anymore, but it connects to the GPIO pin 0 of the wireless interface which has a define: WL_GPIO0. You can also use the name 'LED'.
from machine import Pin, Timer

led = machine.Pin('WL_GPIO0', machine.Pin.OUT)
timer = Timer()

def blink(timer):
    led.toggle()

timer.init(freq=2.5, mode=Timer.PERIODIC, callback=blink)
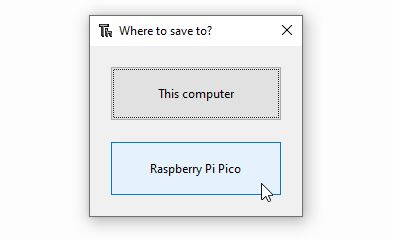
And click on save.
You will be prompted where to save the file. Select Raspberry Pi Pico.
And specify the file name. For example blink.py

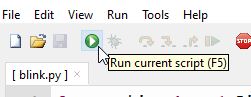
Click on the Run icon and the LED on your Raspberry Pi Pico W should start blinking.