Softmodding your original Xbox has a lot of advantages. You can run homebrew applications, run emulators for retro consoles, install a larger hard disk and run backups of your games.
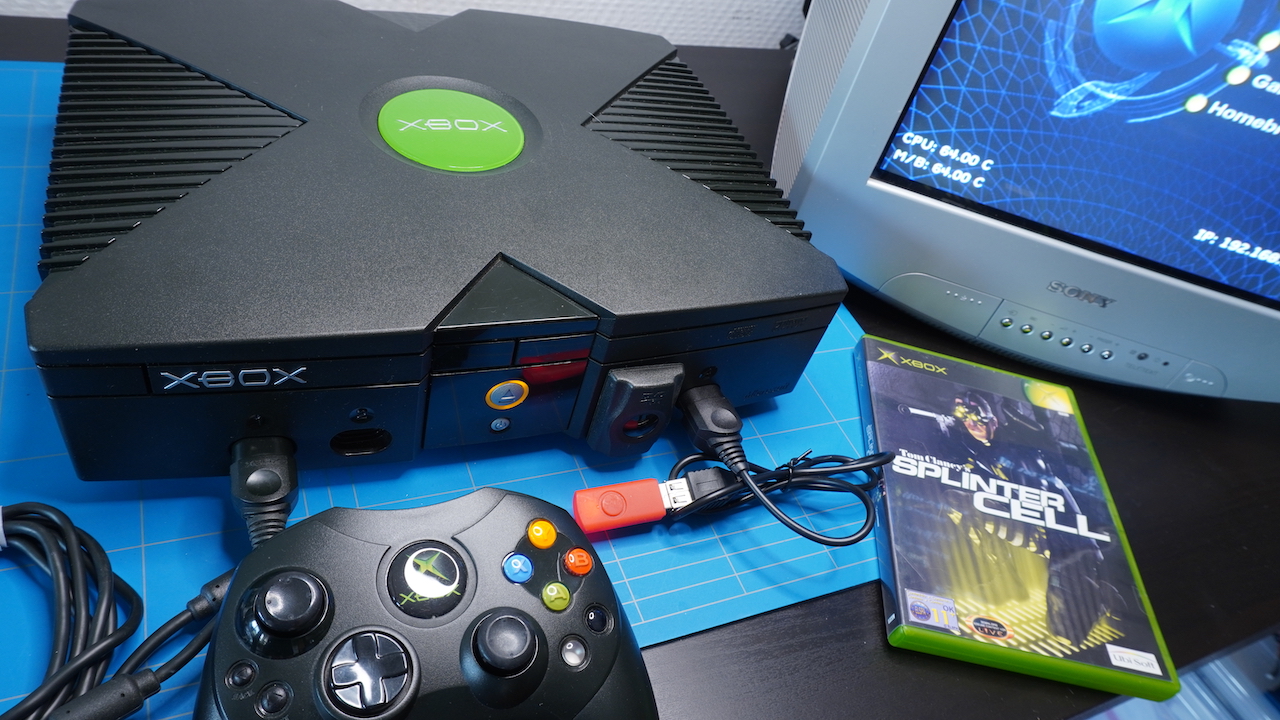
The first step is to gather all the components that are needed to do the softmod. It should work on any OG Xbox version you have. The one that I tried it on is version 1.6.
- Tom Clancy's Splinter Cell. This will be used to load the softmod onto your system. It is also possible to use other games, but I will not cover them in this tutorial.
- Xbox Controller To USB Female Adapter
- USB drive - Not all USB drivers are compatible, so try to get the smallest one you have. Between 512K and 2GB should work best.
First, you will need to download the prebuilt version of the Xbox Softmodding tool.
You can also download the complete repository and build it from the source, but in order to run it, you will need to create an empty file called dev.bin in a directory called "Other Stuff" just above the main folder. ( ../Other Stuff/dev.bin ). Otherwise, it will give you this error.

Then when you double click on "Build Softmod zip.bat" it should build the same ZIP file as in the prebuilt version.

You will be also able to execute the "Build XISO.bat" file to create the Extras Disk ISO image which contains some handy utilities.
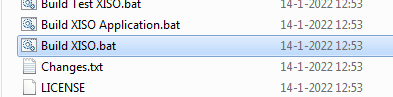
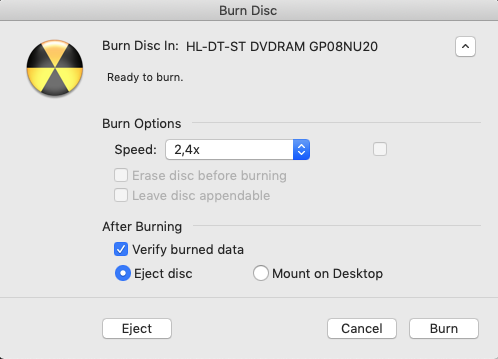
Burn this ISO using the slowest setting (usually 2.4x) on an empty DVD drive.
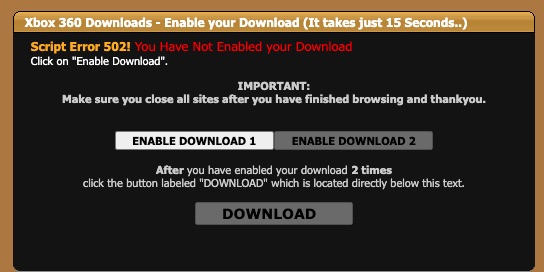
Also, download Xplorer360 v0.9 Beta 6. This tool will be used to transfer files to your USB drive. The download works a bit awkward as you need to click on the enable download buttons first but eventually, you will get the file.
Now we need to format the USB drive. The best way to do this is using the original Xbox.
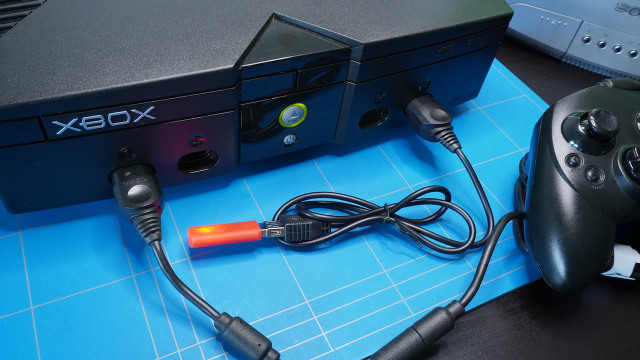
Plug the Xbox to USB cable adapter into your Xbox with the USB drive and start the Xbox. I have used port 4. You will also need the controller in order to navigate the menus.
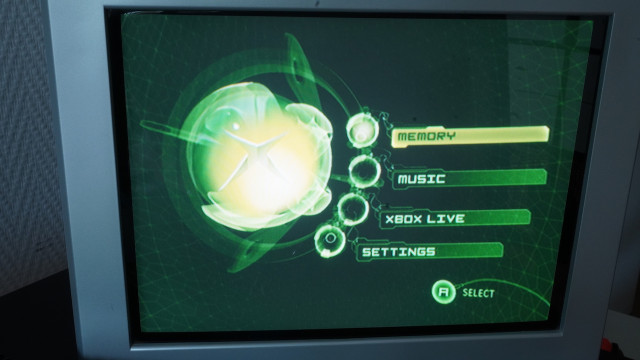
Then navigate to the Memory menu item. At this point, the USB drive should start flashing.
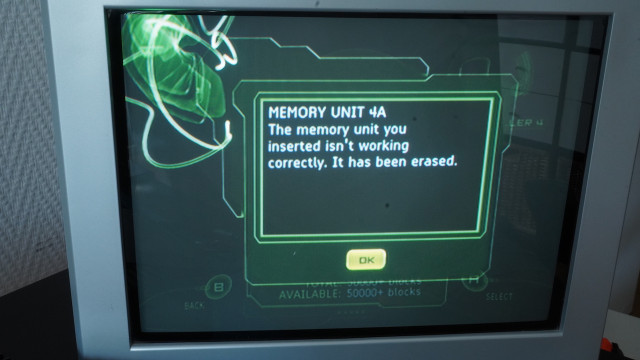
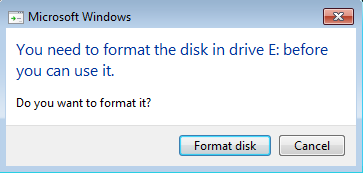
When you get this message it means that the USB drive has been formatted correctly.
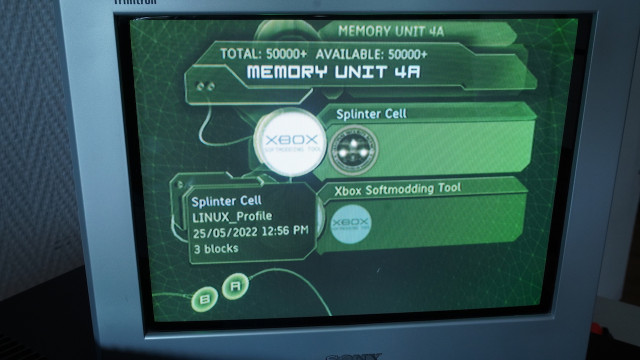
As expected, the drive shows up in controller port 4.
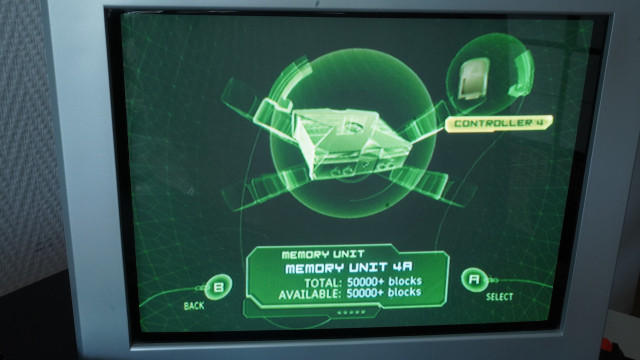
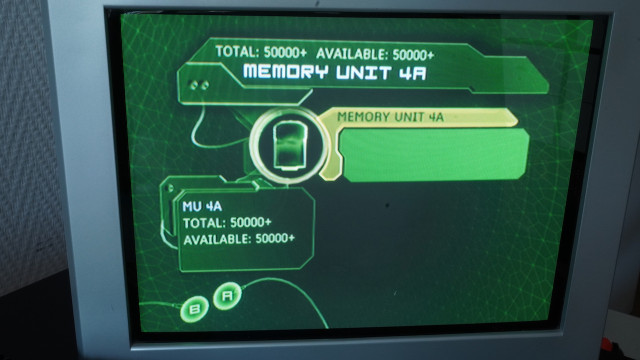
After selecting it, my 2GB drive showed 50000+ memory units.
We are now done formatting the USB drive. You can turn off the Xbox and remove the USB drive.
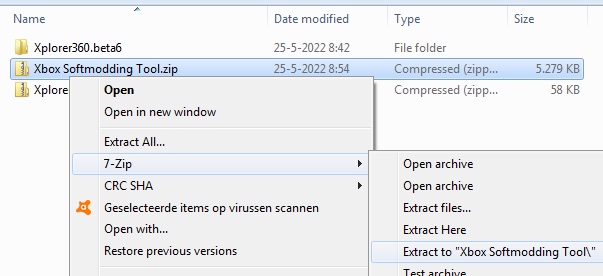
Extract the downloaded Xplorer360 and Xbox-softmodding-tool.
Start Xplorer360.exe. During the execution, I got an error of a missing msvcr71.dll on Windows 7. After downloading this file and placing it in the Xplorer360 folder, the application started correctly.
Now insert the USB drive into your computer and when you are asked to format it, click on cancel!
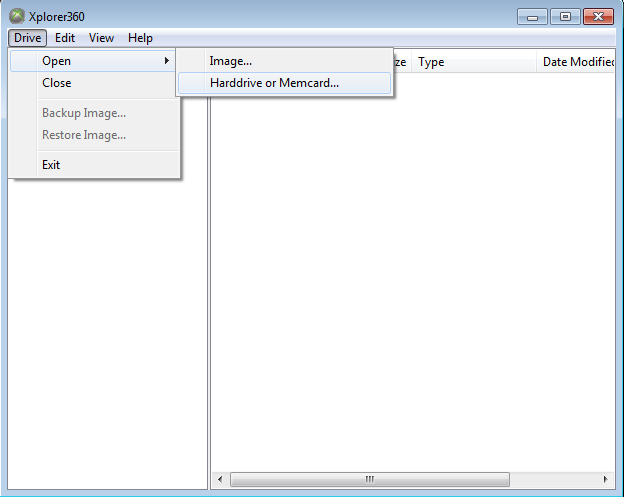
Inside Xplorer360 application select Drive -> Open -> Harddrive or Memcard...
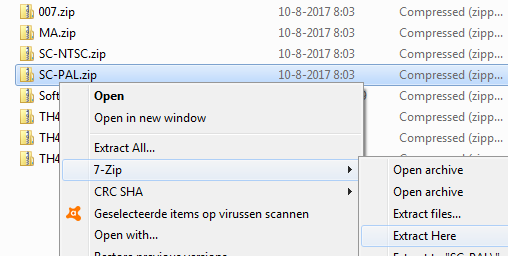
Because I am using Splinter Cell - PAL I have extracted the SC-PAL.zip inside the "Xbox Softmodding Tool\Softmod Package" directory.
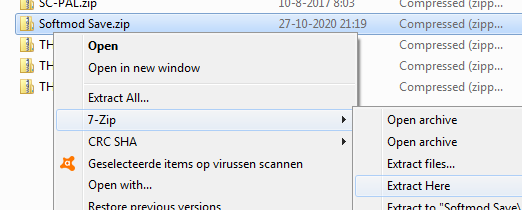
And "Softmod save.zip" as well.
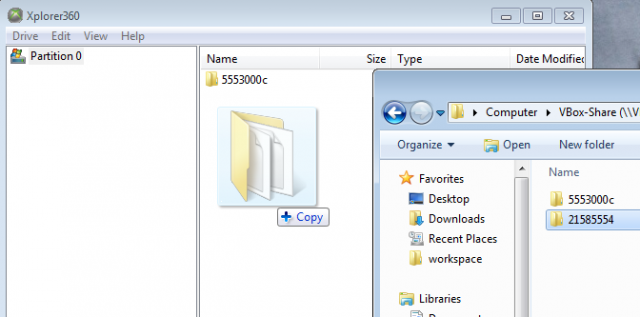
Then I dragged the extracted folders into the Explorer360 window. First the Splinter Cell folder.
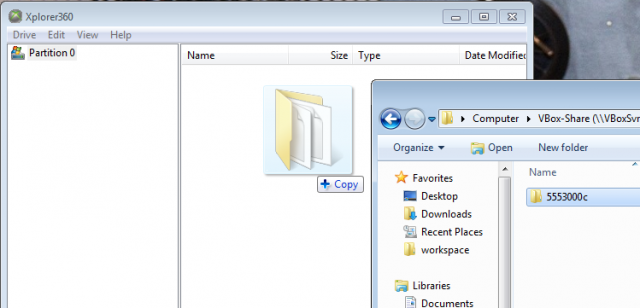
And then the Softmod save folder.
After this is done, you can close the drive.

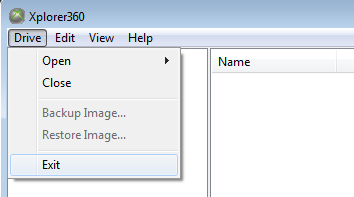
And then exit the application.
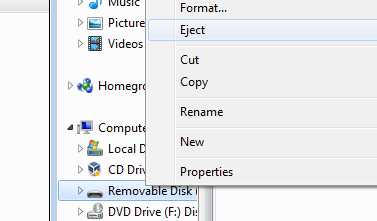
Eject the USB drive and remove it from the computer.
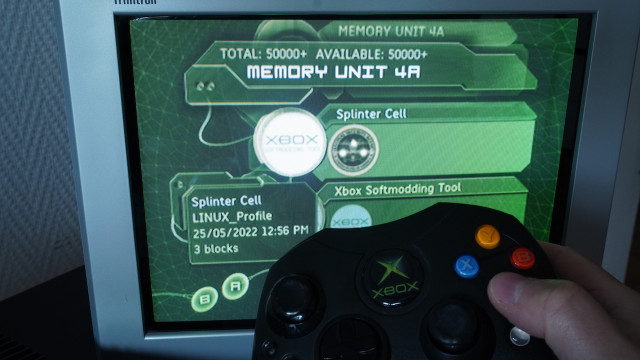
Now go back to the Xbox and insert the USB drive and click on Controller 4 (assuming you have inserted the USB drive in that port). The copied saves should show up.
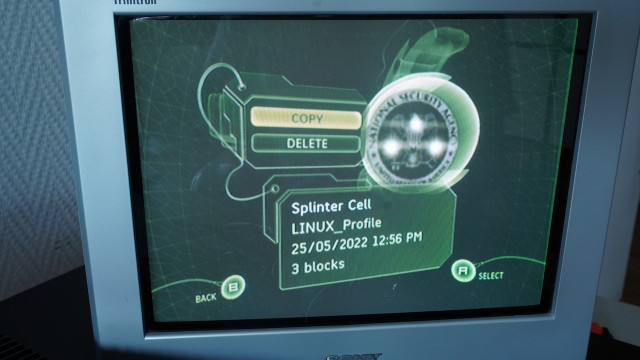
Now press down and left with the D-pad to select the save game. The smaller circle should be selected, then press A.
Select COPY and press A again. This will copy the save from the USB drive to the hard disk. Do the same to the Xbox Softmodding Tool "game save".
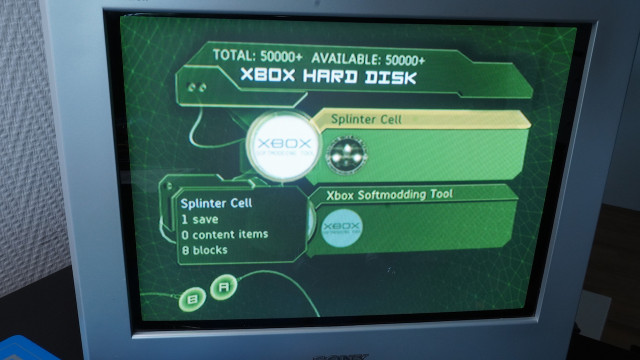
To verify that the saves are copied correctly, go back to the menu and select the flashing hard drive icon and press A on the controller. The saves should show up in there.
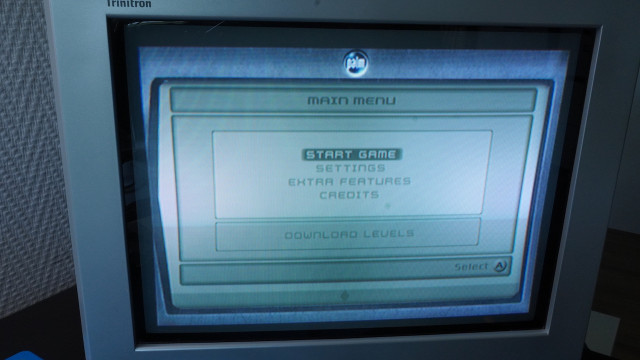
Now insert the Splinter Cell game.
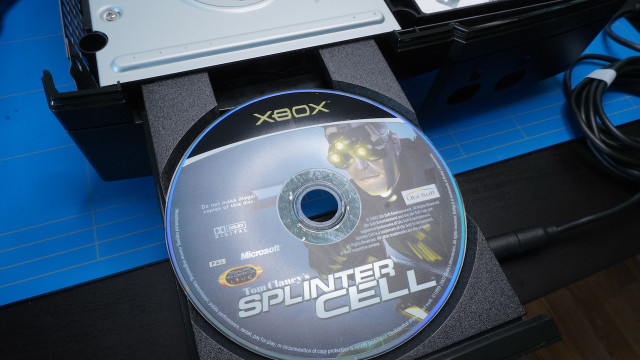
Start the game
then select the LINUX profile.
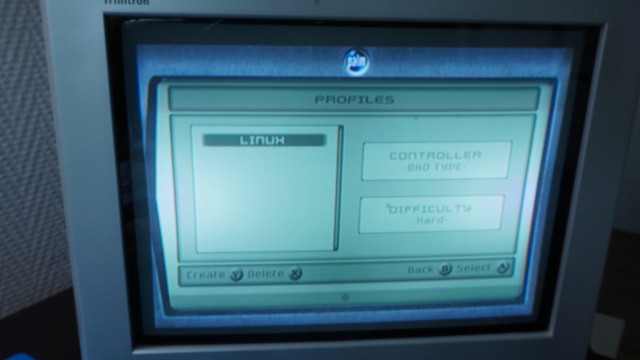
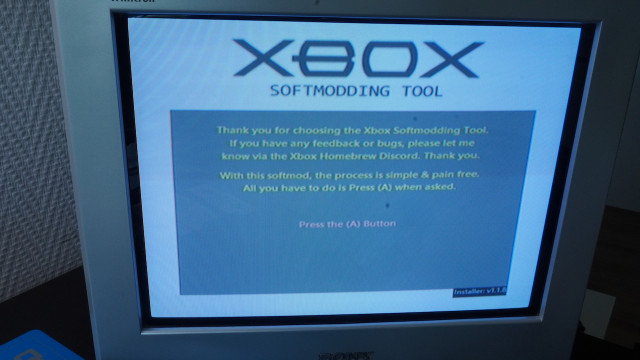
The Softmodding Tool should start.
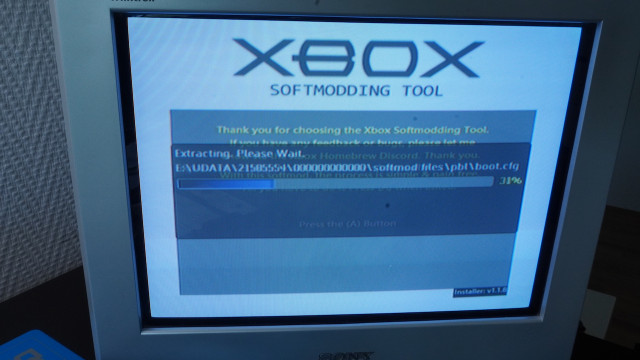
It will extract and copy files to your hard drive.
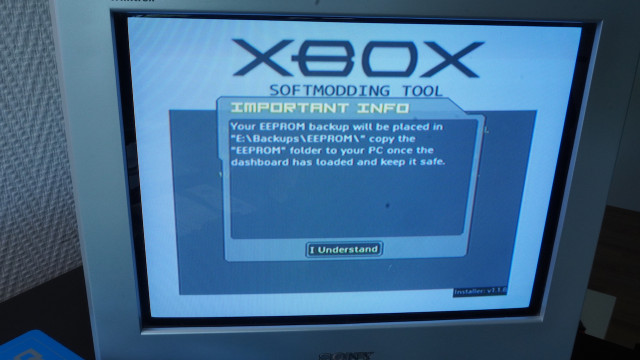
After it is done you will be prompted with a screen that the backup of your EEPROM will be placed in the "E:\Backups\EEPROMS" directory. Just click on "I Understand". The eeprom.bin file is required to create a new HDD for the system in case your Xbox hard disk has crashed. We will soon retrieve this file.
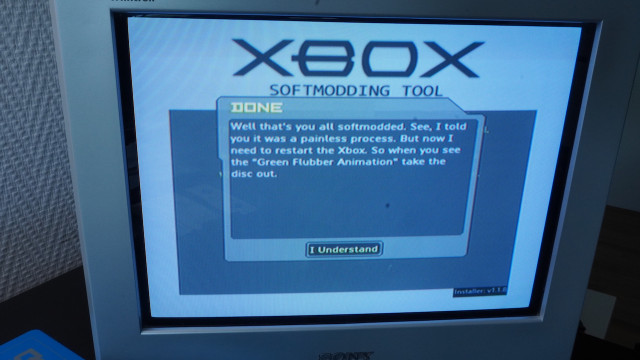
Now press the A button on the controller and your Xbox will restart. When the "Green Flubber Animation" will show up eject and remove the Splinter Cell DVD.
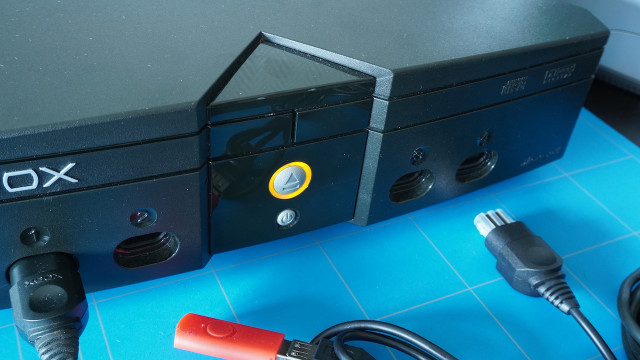
You can recognize that your system is softmodded by the LED button that will turn amber.
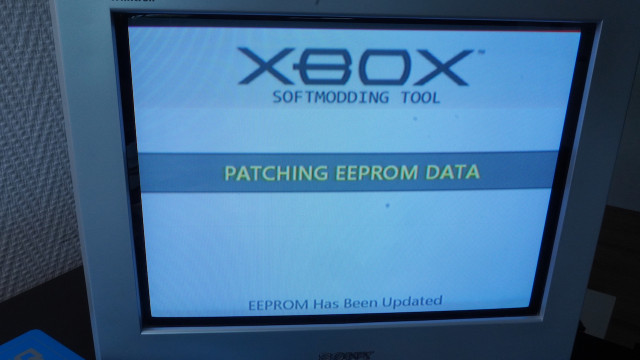
Some more patching will be done to your Xbox.
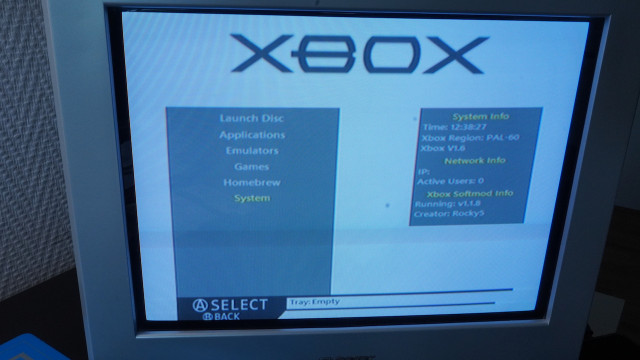
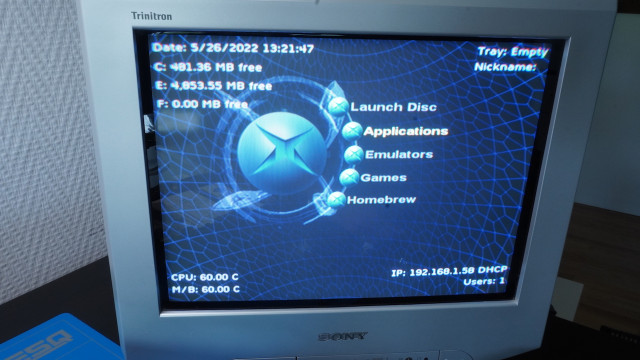
And finally, a menu will show up. If you wish to change the look of this menu go to System.
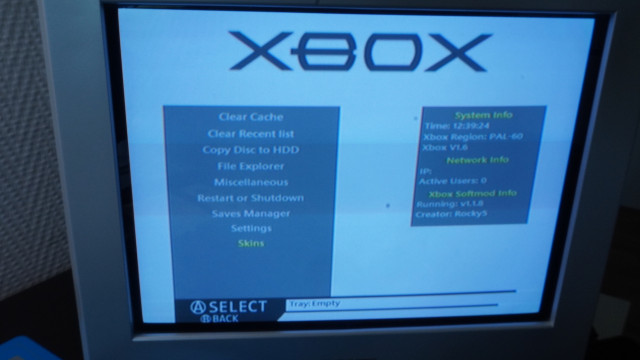
Then select Skins
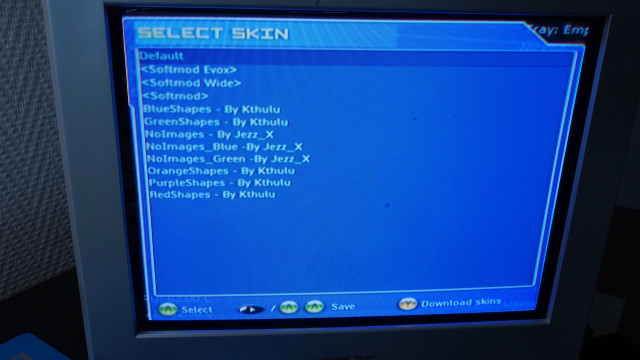
and choose the Default skin. Then press Start to save your settings.
When you go back to the main menu it will look different.

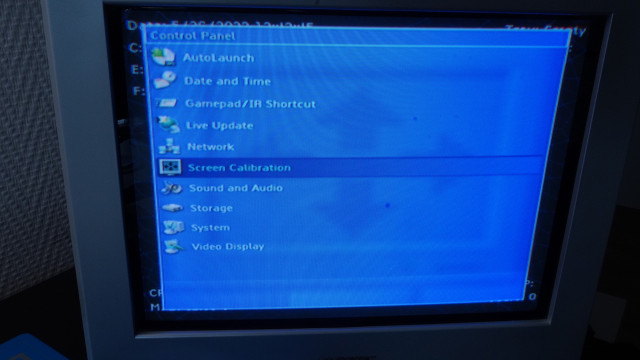
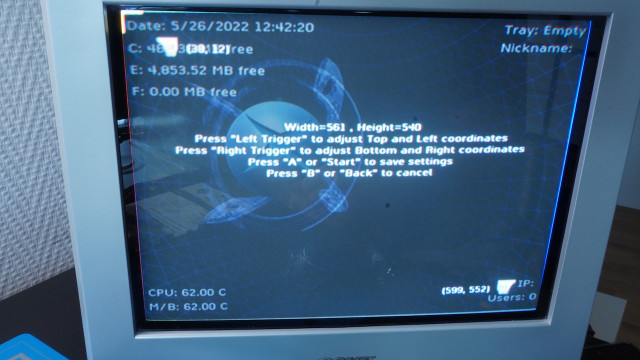
However, now the screen is cut off at the corners. You can fix that by going to Settings -> Screen calibration.
Resize the screen by using Left and Right Triggers and the analogue stick on your controller. Finally, press Start to save your settings. You can now read that C, E, and F drivers are created on your system. The F drive is however 0 MB in size. This is because the original Xbox HDD is quite small in size and there is just space on C and E drives. This will be fixed when we install a larger hard disk.
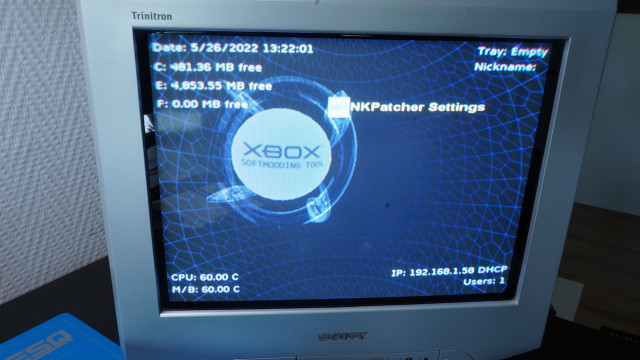
In the previous steps, we have backed up the hard disk key. It is also a good practice to change the EEPROM HDD key to all 1s. To do that go to Applications.
And select NKPatcher Settings.
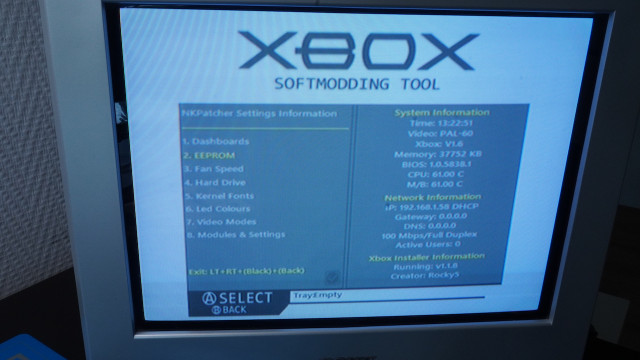
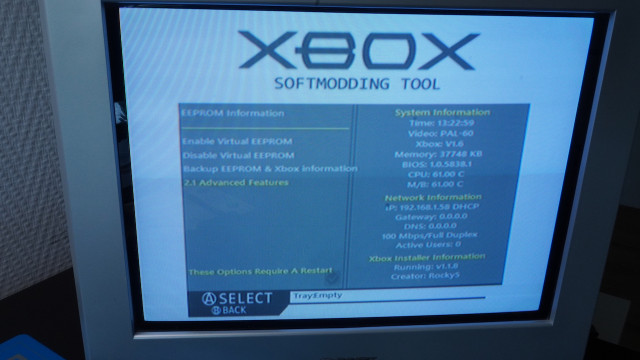
When the application starts up, select 2. EEPROM.
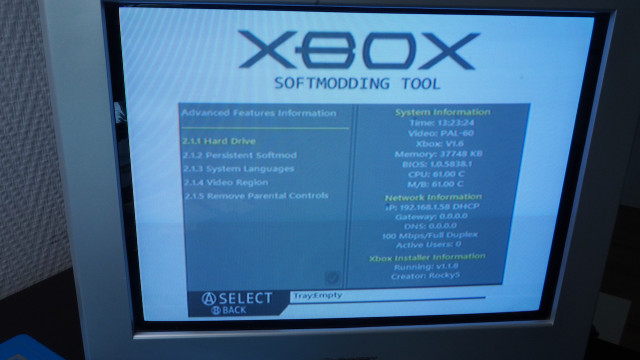
Then 2.1 Advanced Features.
2.1.1 Hard Drive
Select: Change EEPROM HDD Key
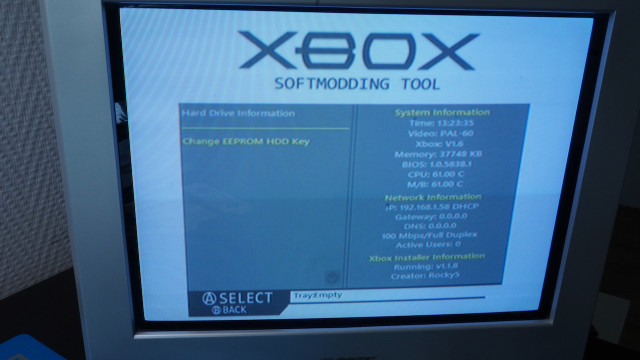
This information screen will tell you what will happen. Select Yes.

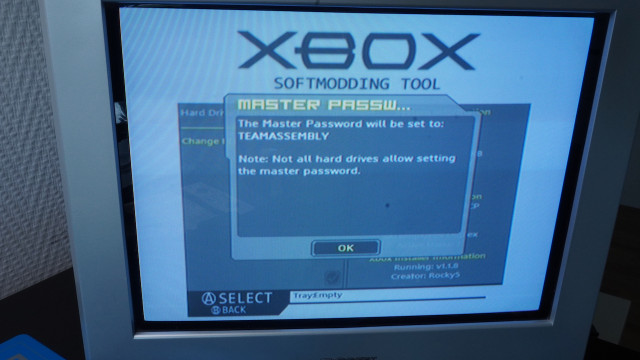
A master password will be set. Write it down for future reference.
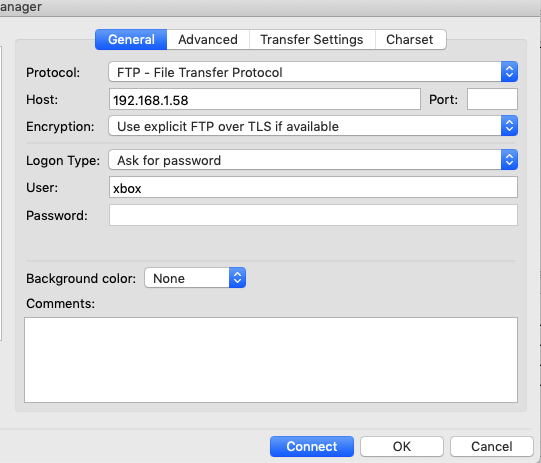
Now we can copy the backup of the EEPROM file to our computer. To do that, you can use an FTP program like Filezilla. Make sure your Xbox is connected to your network, then create a new FTP connection inside your FTP program to the IP address that is shown on the right corner of your screen. Mine was 192.168.1.58. The connect using username: xbox and password: xbox.
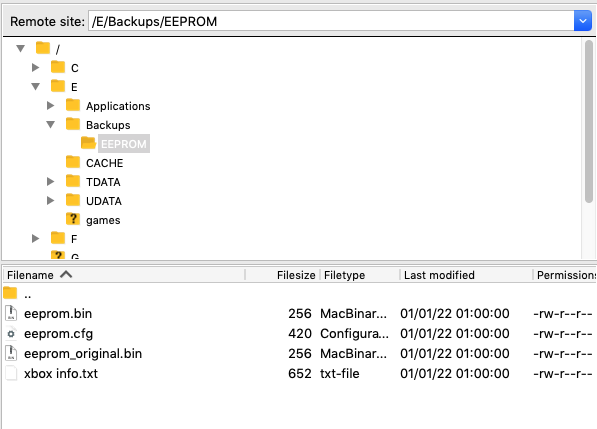
Then navigate to the folder /E/backups/EEPROM and copy all the files from that folder to your computer. The file eeprom.bin contains the HDD key after you have changed it to all 1s and eprom_original.bin is your original key. Store these files safely.
At this point, you are done with the Xbox softmod. The next logical step is to upgrade the Xbox with a larger hard drive. I will cover this in my next blog post.
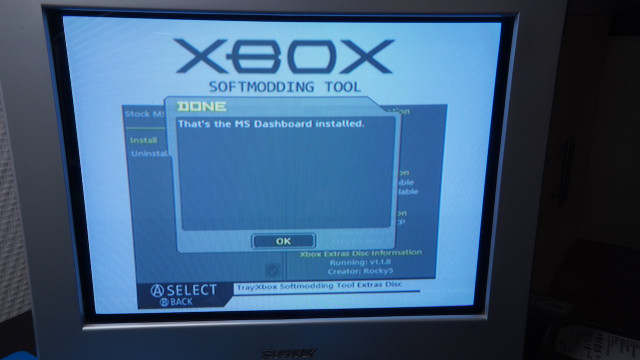
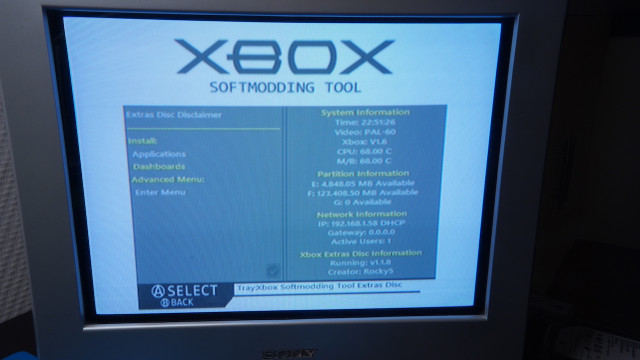
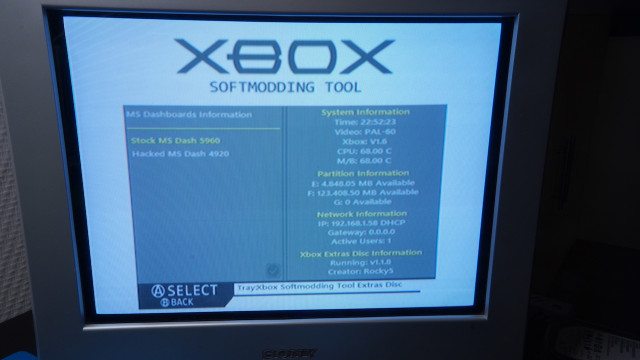
When running the new dashboard you might have noticed that the background ambient sounds are missing. You can reinstall them from the Extras Disk. Insert it now and choose Launch Disk from the menu.

Go to Install: Dashboards
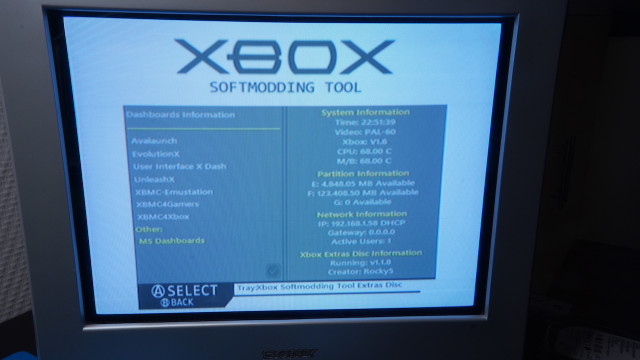
Then select MS Dashboards
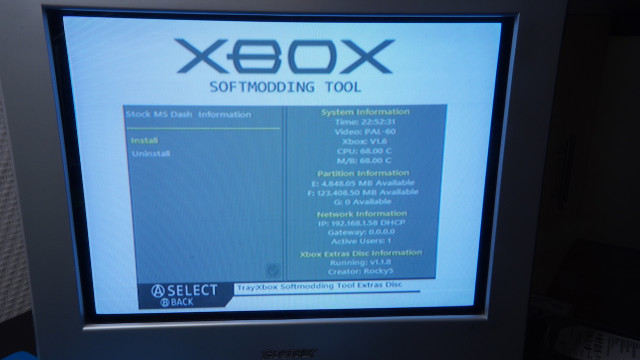
Stock MS Dash 5960
And select Install.
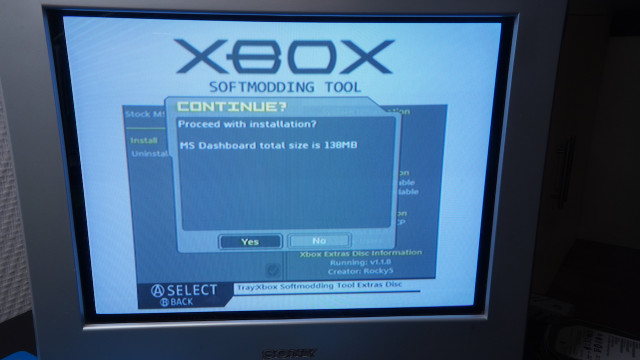
This will ask you if you wish to proceed with the installation and tell you the total size of the MS Dashboard.
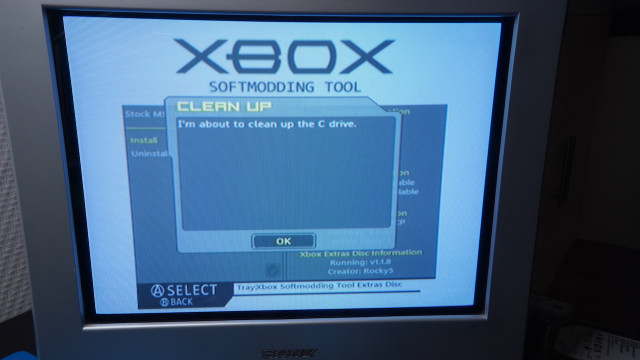
A warning will appear that the C drive will be cleared. That is OK.
Some files will be copied to your HDD and then you will be prompted if you wish to install the audio. Say Yes to that.

And that's it. Restart your Xbox by holding the Left and Right Triggers and pressing the black and the Start key. You should now hear the ambient sounds.