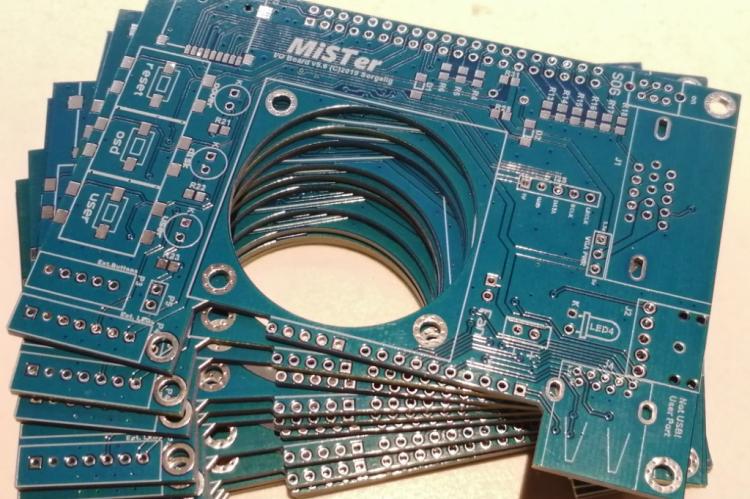
In order to connect your DE10-Nano board to VGA or other RGB output, you need an I/O Board. This PCB board and assembly instructions are available on the GitHub pages of the MiSTer project. To manufacture this PCB, I have selected Seeed Fusion PCB service.
There are several version of the PCB board made available inside the releases directory of the GitHub repository
At this point in time, the latest revision of the board is 6.0, however the assembly instructions on the MiSTer wiki page has only a description of complete Bill-Of-Materials for board version 5.5. This version of the board however is not present in the releases folder, only version 5.6. Because the difference of version 5.5 and 5.6 is only a couple of 0805 resistors, I have decided to go for revision 5.6.
Below I will describe the procedure that I have used to order the boards from Seeed Fusion PCB service. I have set a budget of $30 for 10 PCB boards with a SMT stencil and including shipment.
To start I have downloaded the Gerber files for the I/O Board version 5.6 from the MiSTer GitHub repository
Note that there are 2 versions of the PCB. 5.6 and 5.6XL. The difference is in size. The XL is a bit longer and does not fit in 100mm x 100mm dimensions and makes it more expensive to manufacture and would exceed my budget.
The second step was to upload the files in the PCB creation form. This was very easy just by clicking the "Add Gerber Files" button.
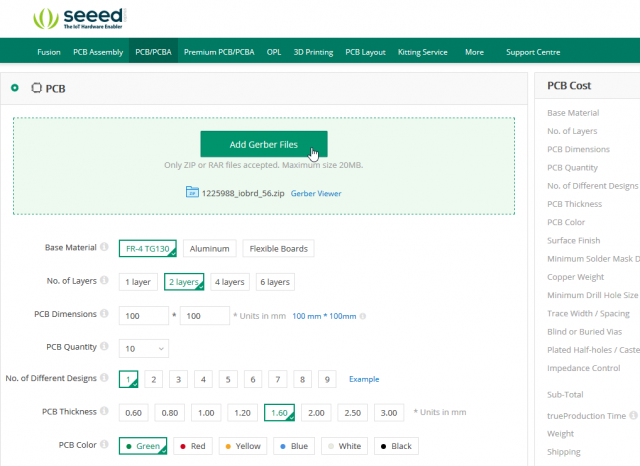
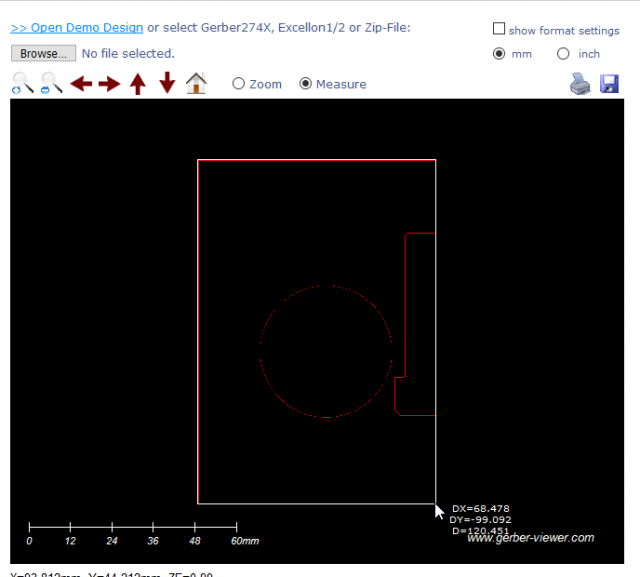
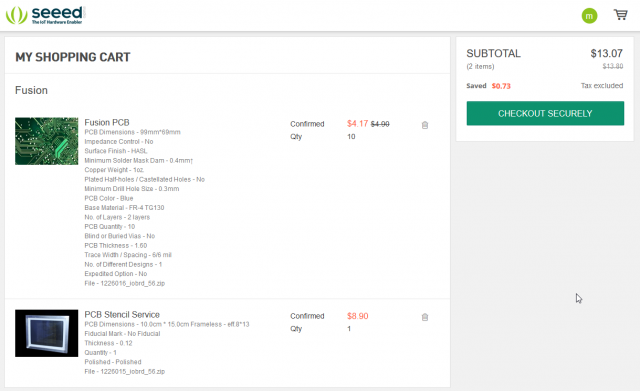
The defaults look pretty good. The only thing that I had to adjust after adding the Gerber files were the dimensions of the PCB as they were not automatically calculated. This can be done using the online Gerber viewer.
I have also changed the PCB color to blue.
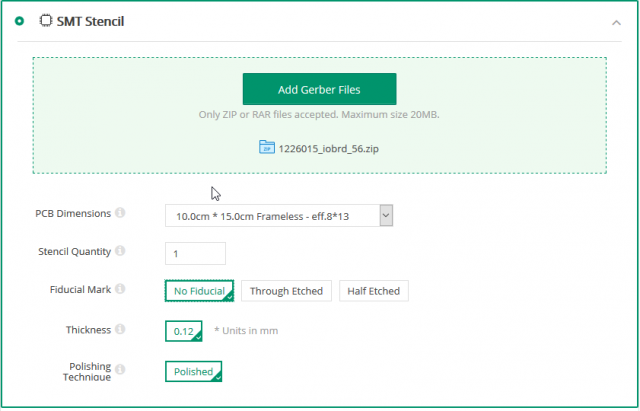
In the third step I have added an SMT Stencil with the dimensions of 10x15cm. The reason that I did not select a larger stencil 28x38cm is that later in the checkout process I couldn't select the cheaper EU POST service for shipment as the item's weight would exceed courier's limit.
I could now continue with the checkout process. The costs of the 10 PCBs including the stencil were $13.07.
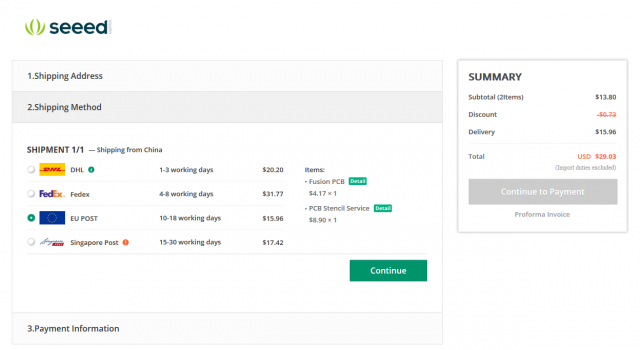
Below you can see overview of the shipping costs to the Netherlands. I have selected EU Post as it was cheaper then DHL and FedEx. It offers track and track from door to door.
I have placed the order on 4th of September and on 9th I have received an e-mail that it was shipped. It was nice to see that it included the picture of the manufactured PCBs.
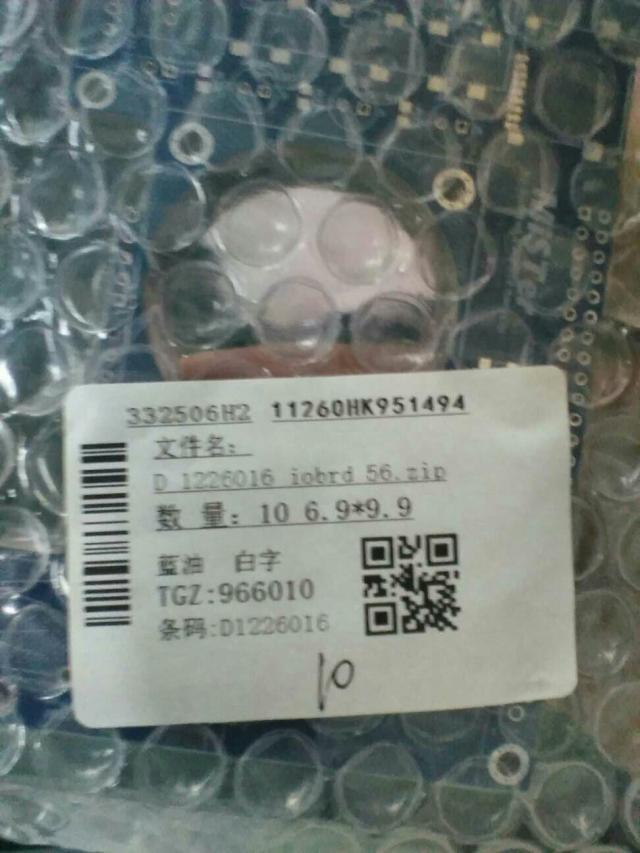
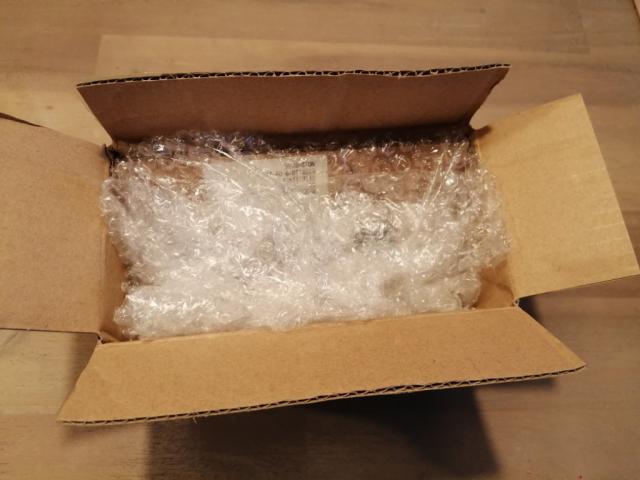
On 19th of September (so 10 days after it was shipped) I have received the parcel. It was well packed protected with bubble bags and inside a cardboard box.
The PCBs were inside a vacuum sealed bubble bag.
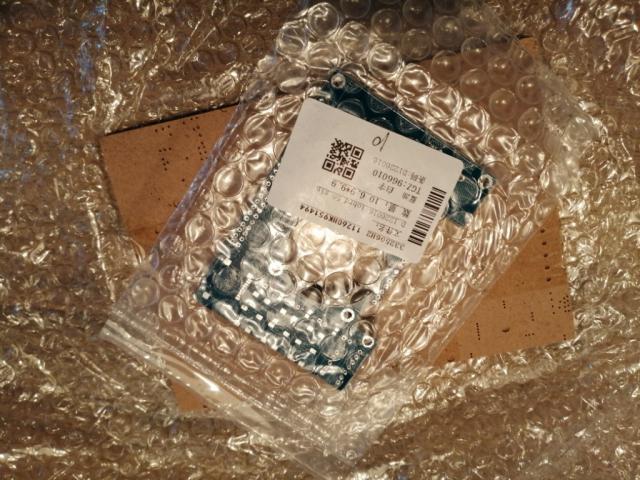
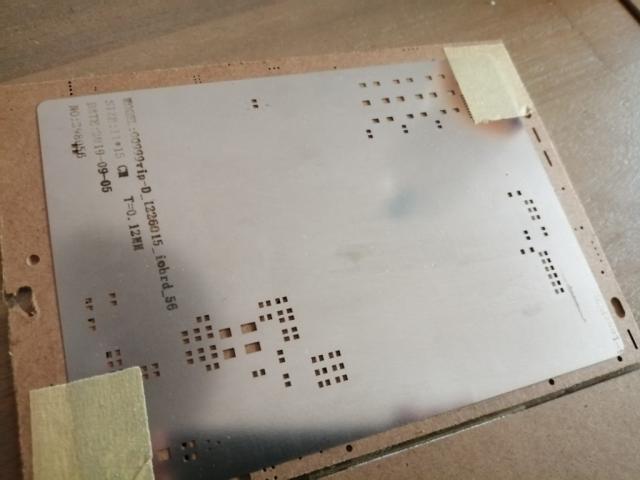
The SMT stencil was protected with a 2 mm MDF board. 1 stencil was provided for 2 sides of the PCB.
The quality of the PCB was very good.
Here are some zoomed in pictured of the board. The solder mask and the silk layer both look good.
The SMT stencil was straight and fitted perfectly.
I can recommend Seeed Fusion PCB service. In the next blog I will cover how I will solder the MiSTer I/O board.

