It is easy to mod your 3D printer to become a laser engraver / cutter. All you need is a laser module. The one that I have used had a power of 2500mW, which is enough to engrave and cut thin sheets of plywood.
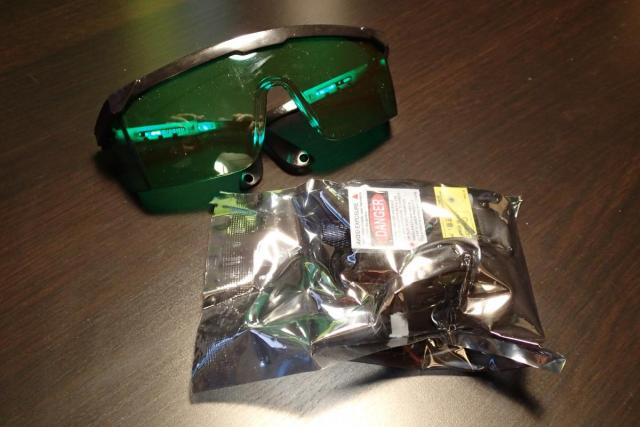
The set that I ordered in a Chinese webshop was with safety glasses and that was very handy as they are absolutely necessary when using the laser.
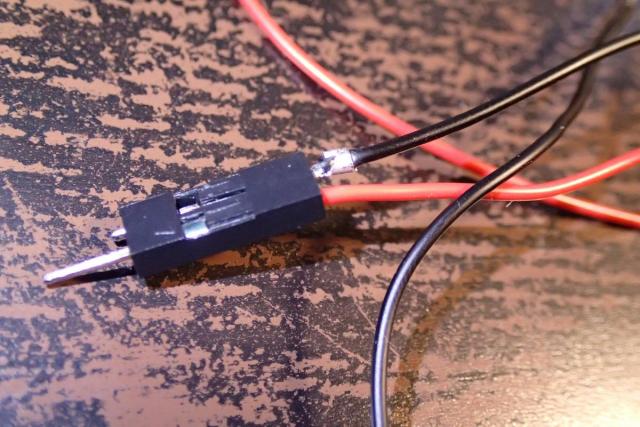
The laser module had a JST plug attached to it and I didn't want to cut if off, so I have decided to make a cable with a jumper wire connector.
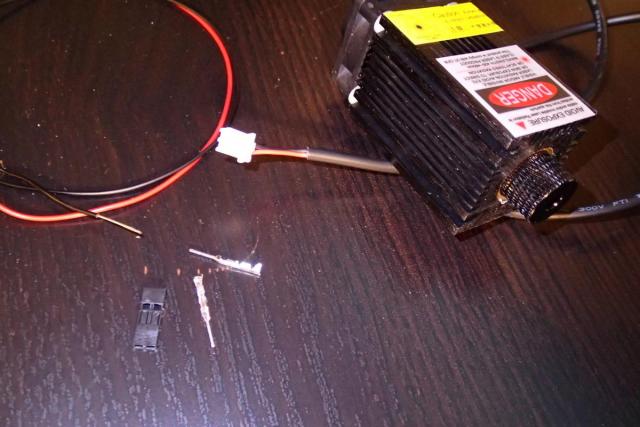
The finished connector looked like this. These dupond jumper wire housings for sure come in handy.
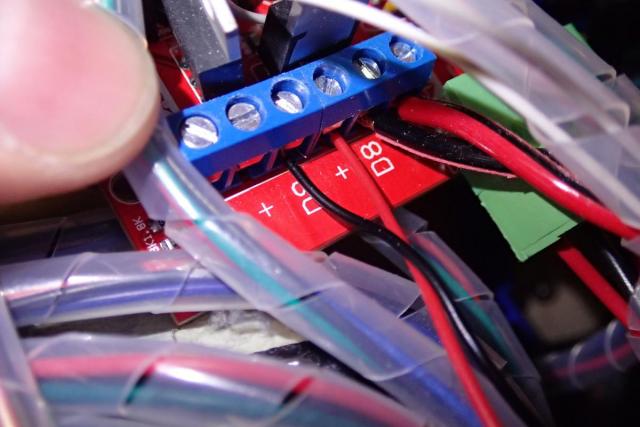
Now I could disconnect the print fan that was attached to D9 pins on the RAMPS board and attach my wire that will lead to the laser module.
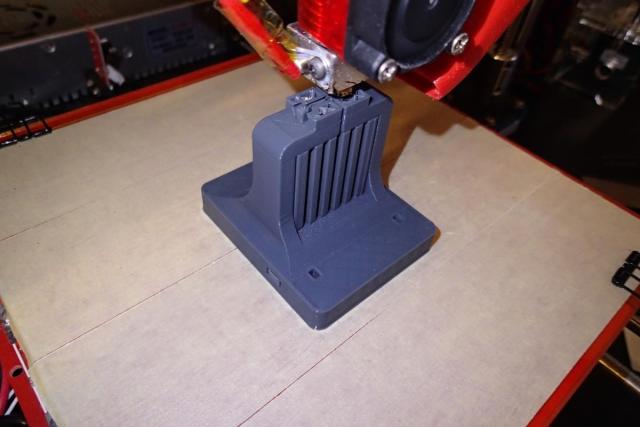
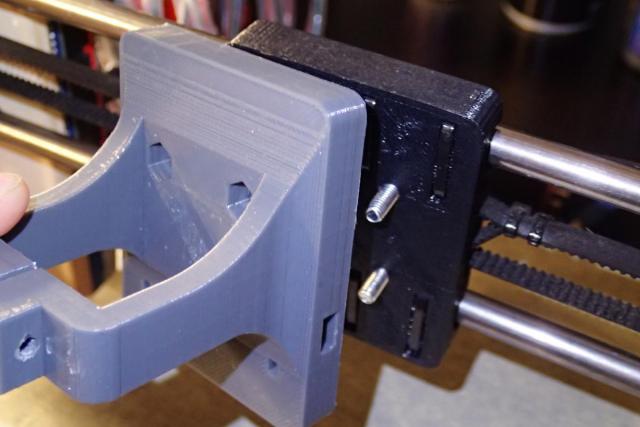
It was time to look for the laser module mount on Thingiverse. I have found this laser mount design for Prusa i3 and started to print it.
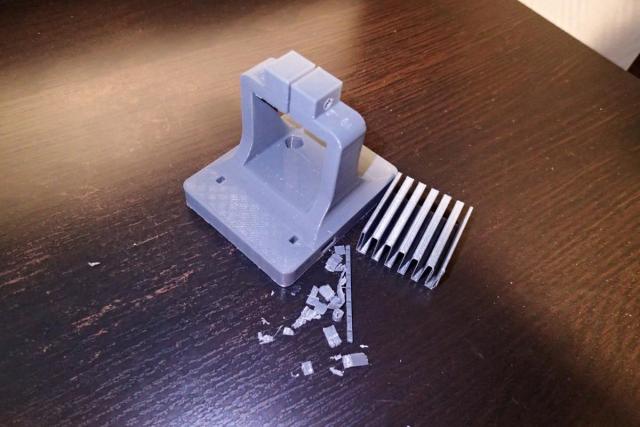
Then I have removed all the supports.
The extruder (and all the attached cables) could now be disconnected from the 3D printer...

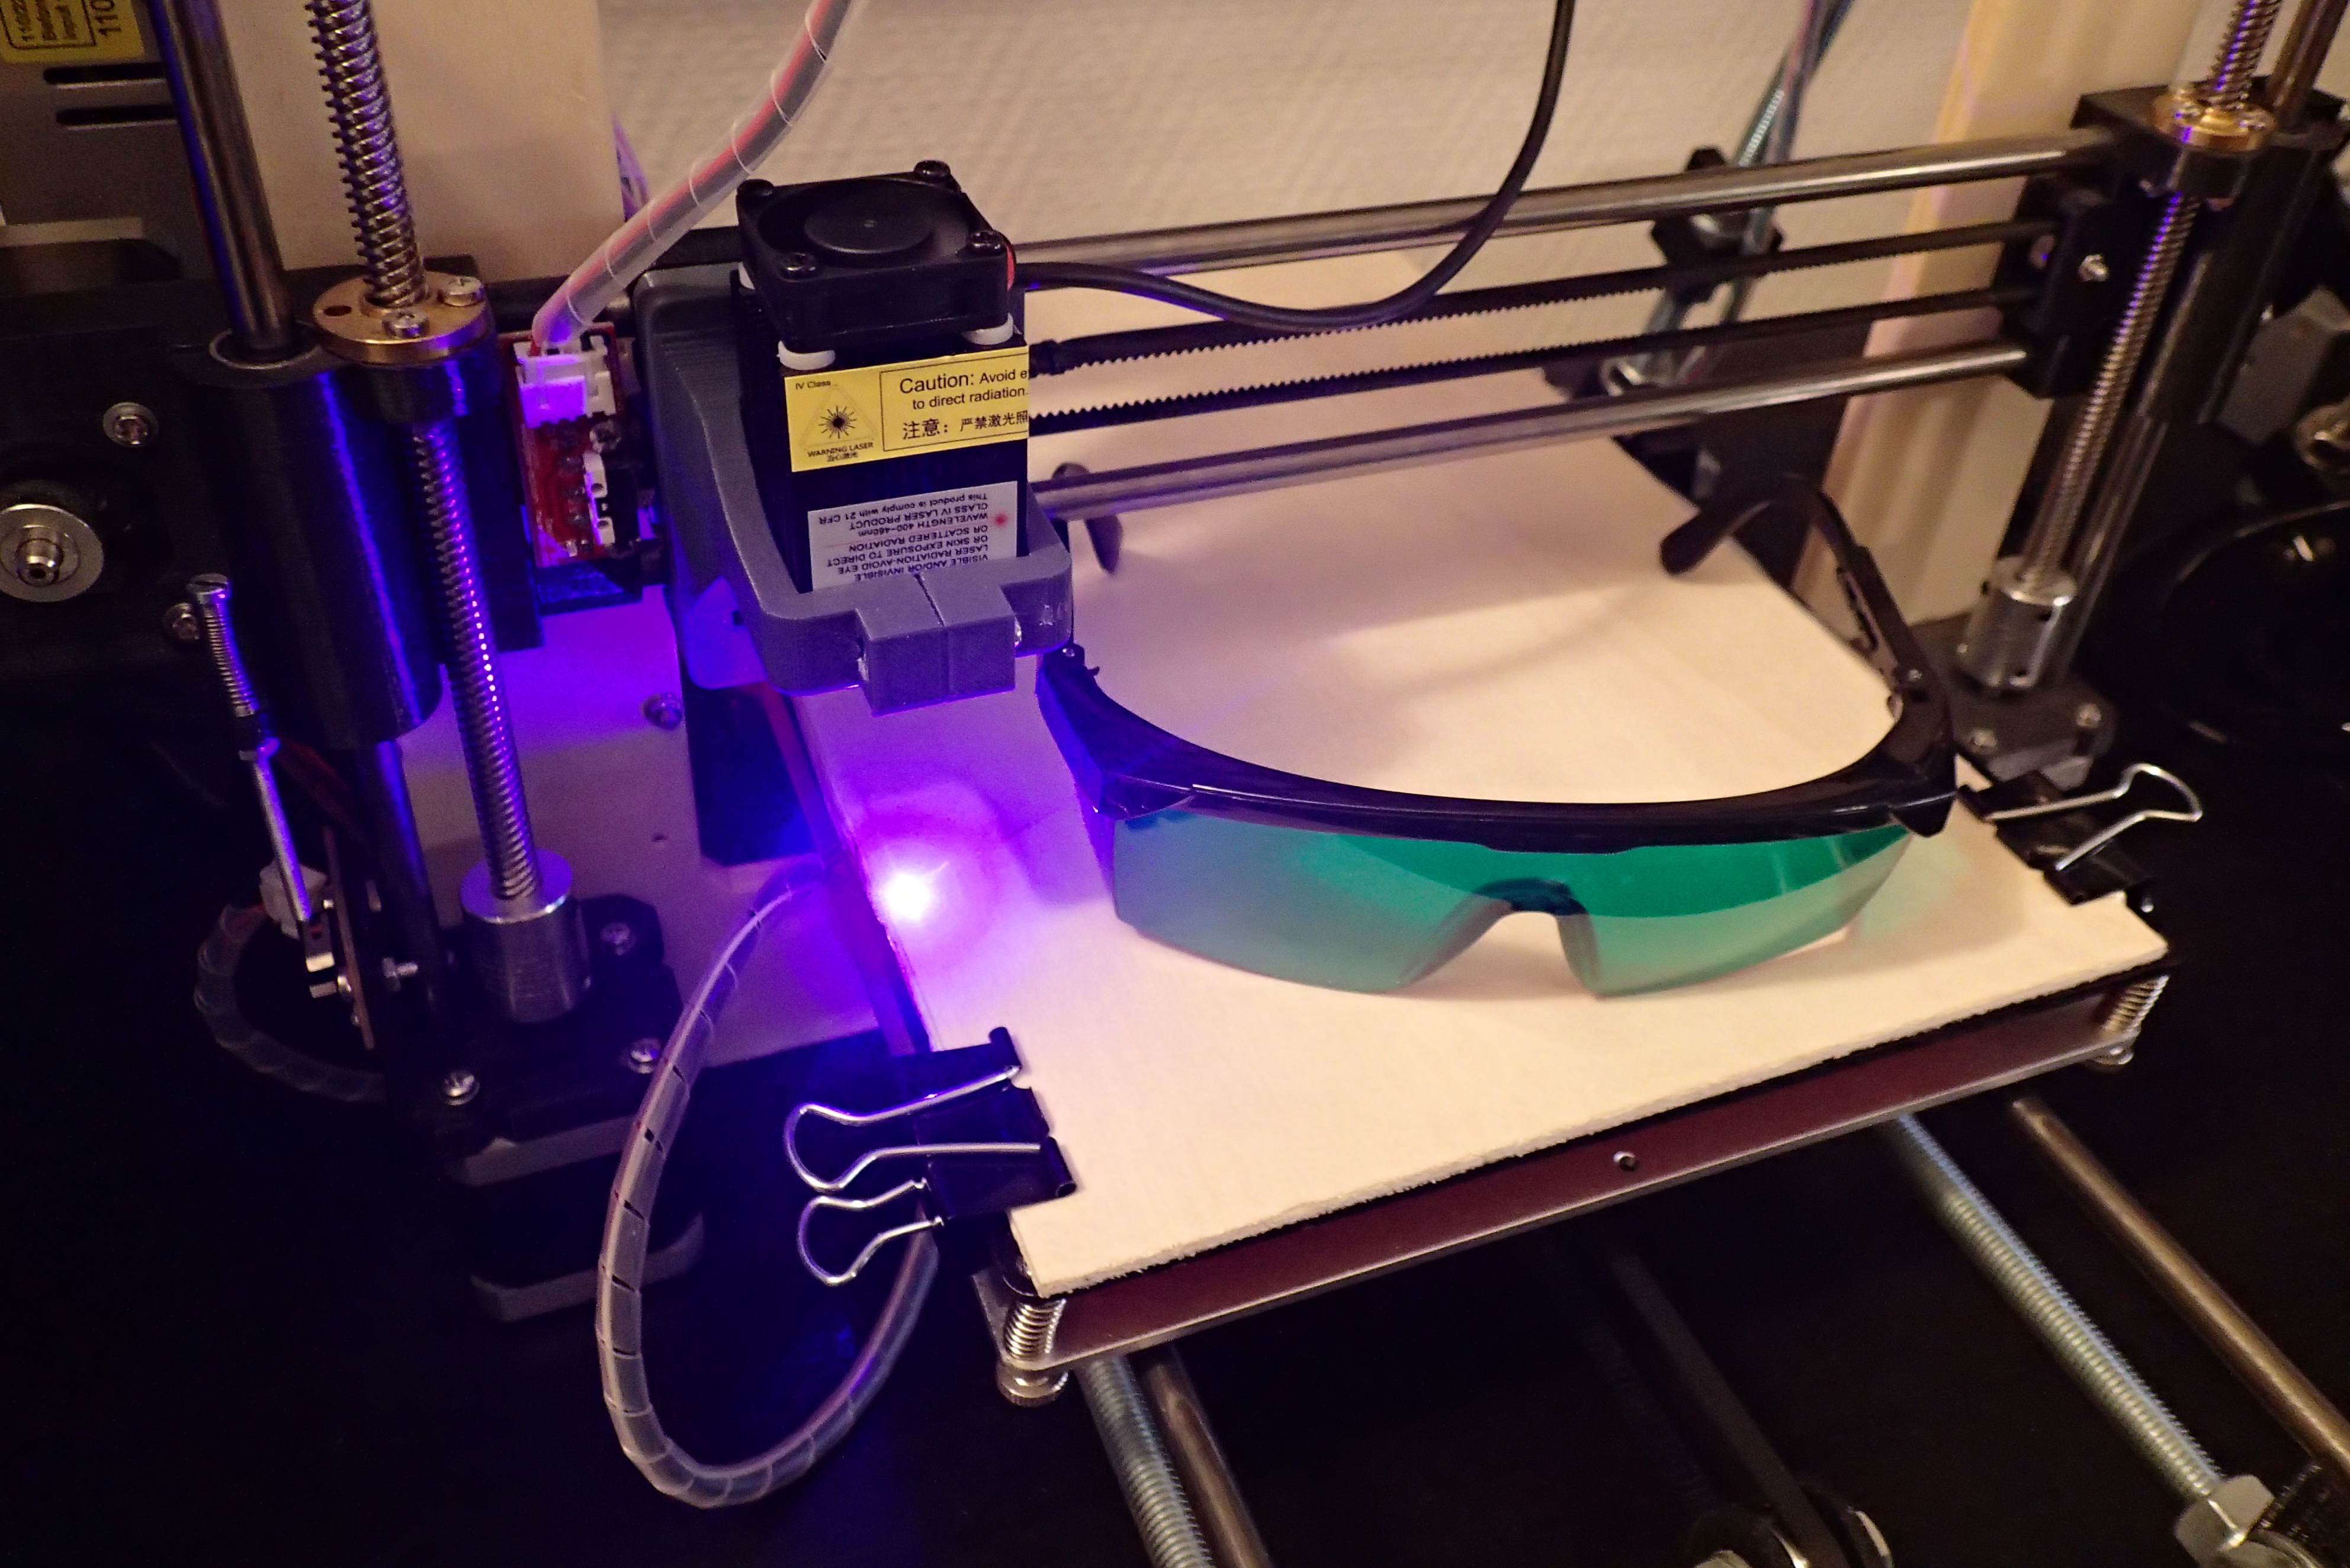
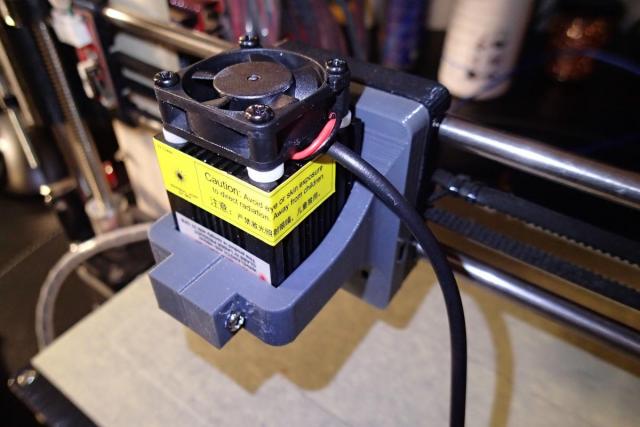
...and the laser module mount could be installed in place.
The laser module fitted perfectly could be secured in place with a single M3x20mm screw.
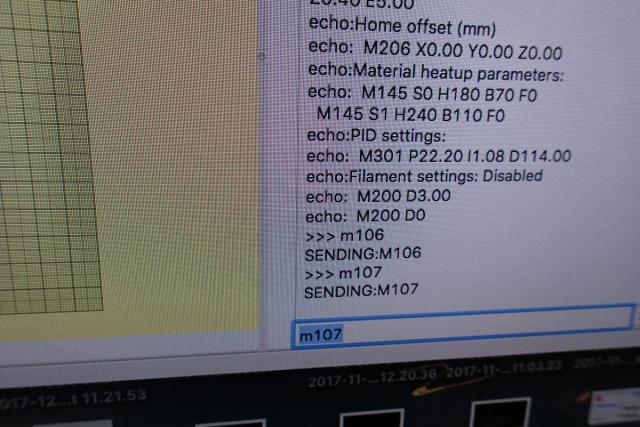
To test the laser you can use Pronterface slicer and send the commands that usually control the printing fan. Execute M106 S100 to set the laser to half of the strength. The value can be between S0 and S255. Like this you will be able to set the focus. Try to get the tiniest dot possible. To turn off the laser execute M107 command.
I have used the masking tape on the 3D print surface to test the engraving.
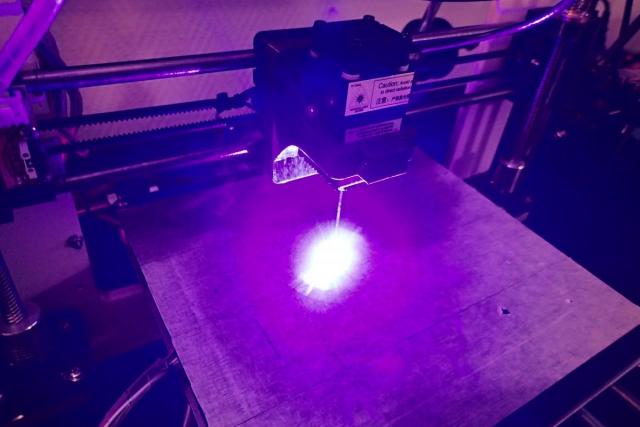
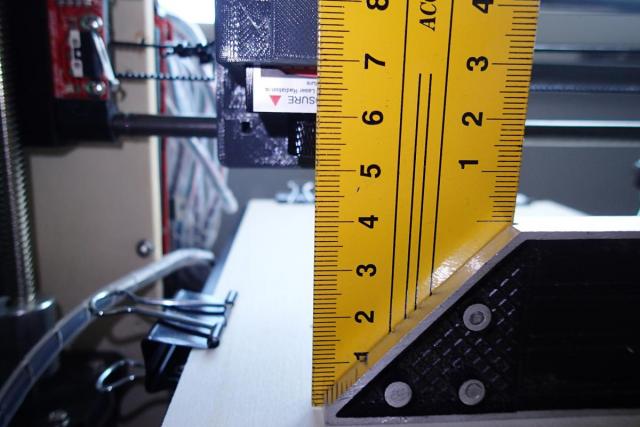
The distance that works well is 5 cm above the engraving / cutting surface.
Inkscape is an application that can be used to create vector graphics images. With the Laser Plug-Inplugin from J Tech Photonics you can create gcode files that can be sent directly to the 3D printer equipped with a laser head. It is fairly easy to use.
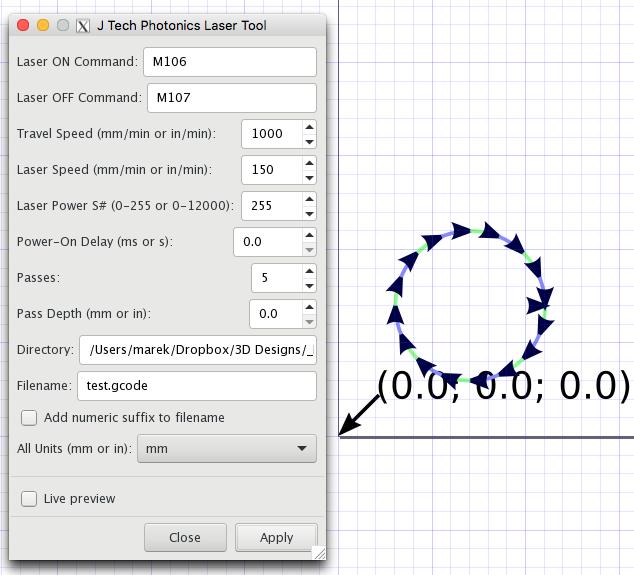
To test the laser cutter just draw a circle inside Inkscape and convert it to a path (Path -> Object to Path) or press Shift+Ctrl+C. Then fire up the plugin. In is located in Extensions -> Generate Laser Gcode -> J Tech Photonics Laser Tool...
Set the Laser ON and OFF commands to M106 and M107 and the other setting accordind to your purpose. When cutting a 4 mm plywood I and needed 5 passes with a cutting speed of 150 mm/min. Engraving into wood goes well with the speed of 1500 mm/min. Click Apply button to save the gcode file.
Note that the generated gcode file will have the same offset like in the Inkscape drawing and no Z height. You will need to set the laser manually at the focus height and leave it there. To make things easier I have created a template for Inkscape that has the same dimensions as my printing surface. To make your own template select the File menu, go to Document Properties and select a Page size or create your own. My printbed has width of 200 mm and a height of 190 mm. On the Grids tab you can add a custom grid.
Save the svg file and copy it to templates directory (~/.config/inkscape/templates on a Mac)
Now select File -> New from Template… and your custom template will be shown there.
You can also download the template file that I have created.
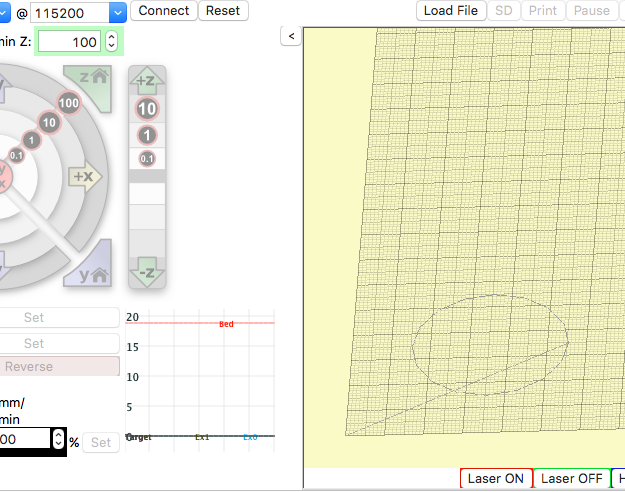
Make sure the X and Y offset on your 3D printer is homed and press Print button inside Pronterface.
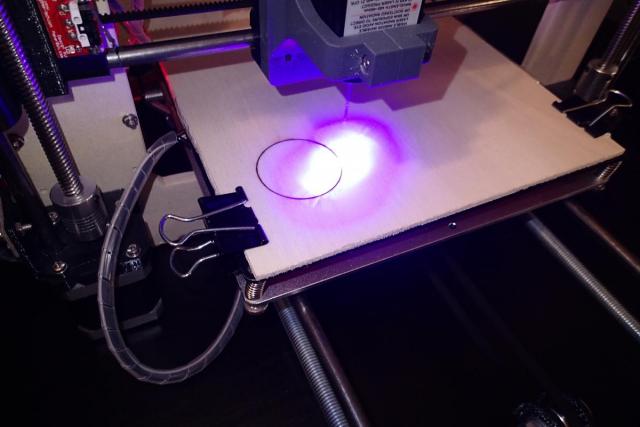
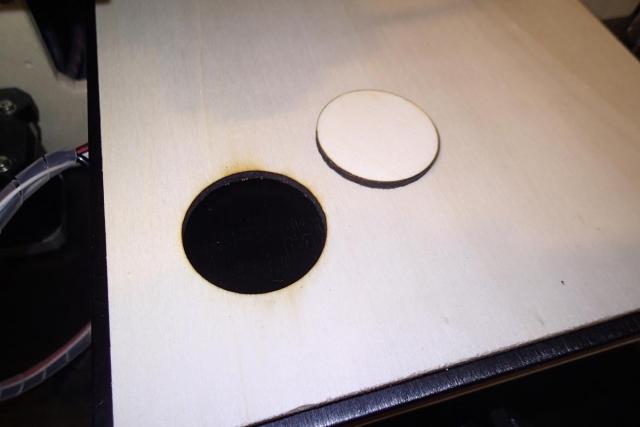
After 5 passes the test circle is cut out. Don't forget to ventilate the room, otherwise it will smell like smoked salmon.