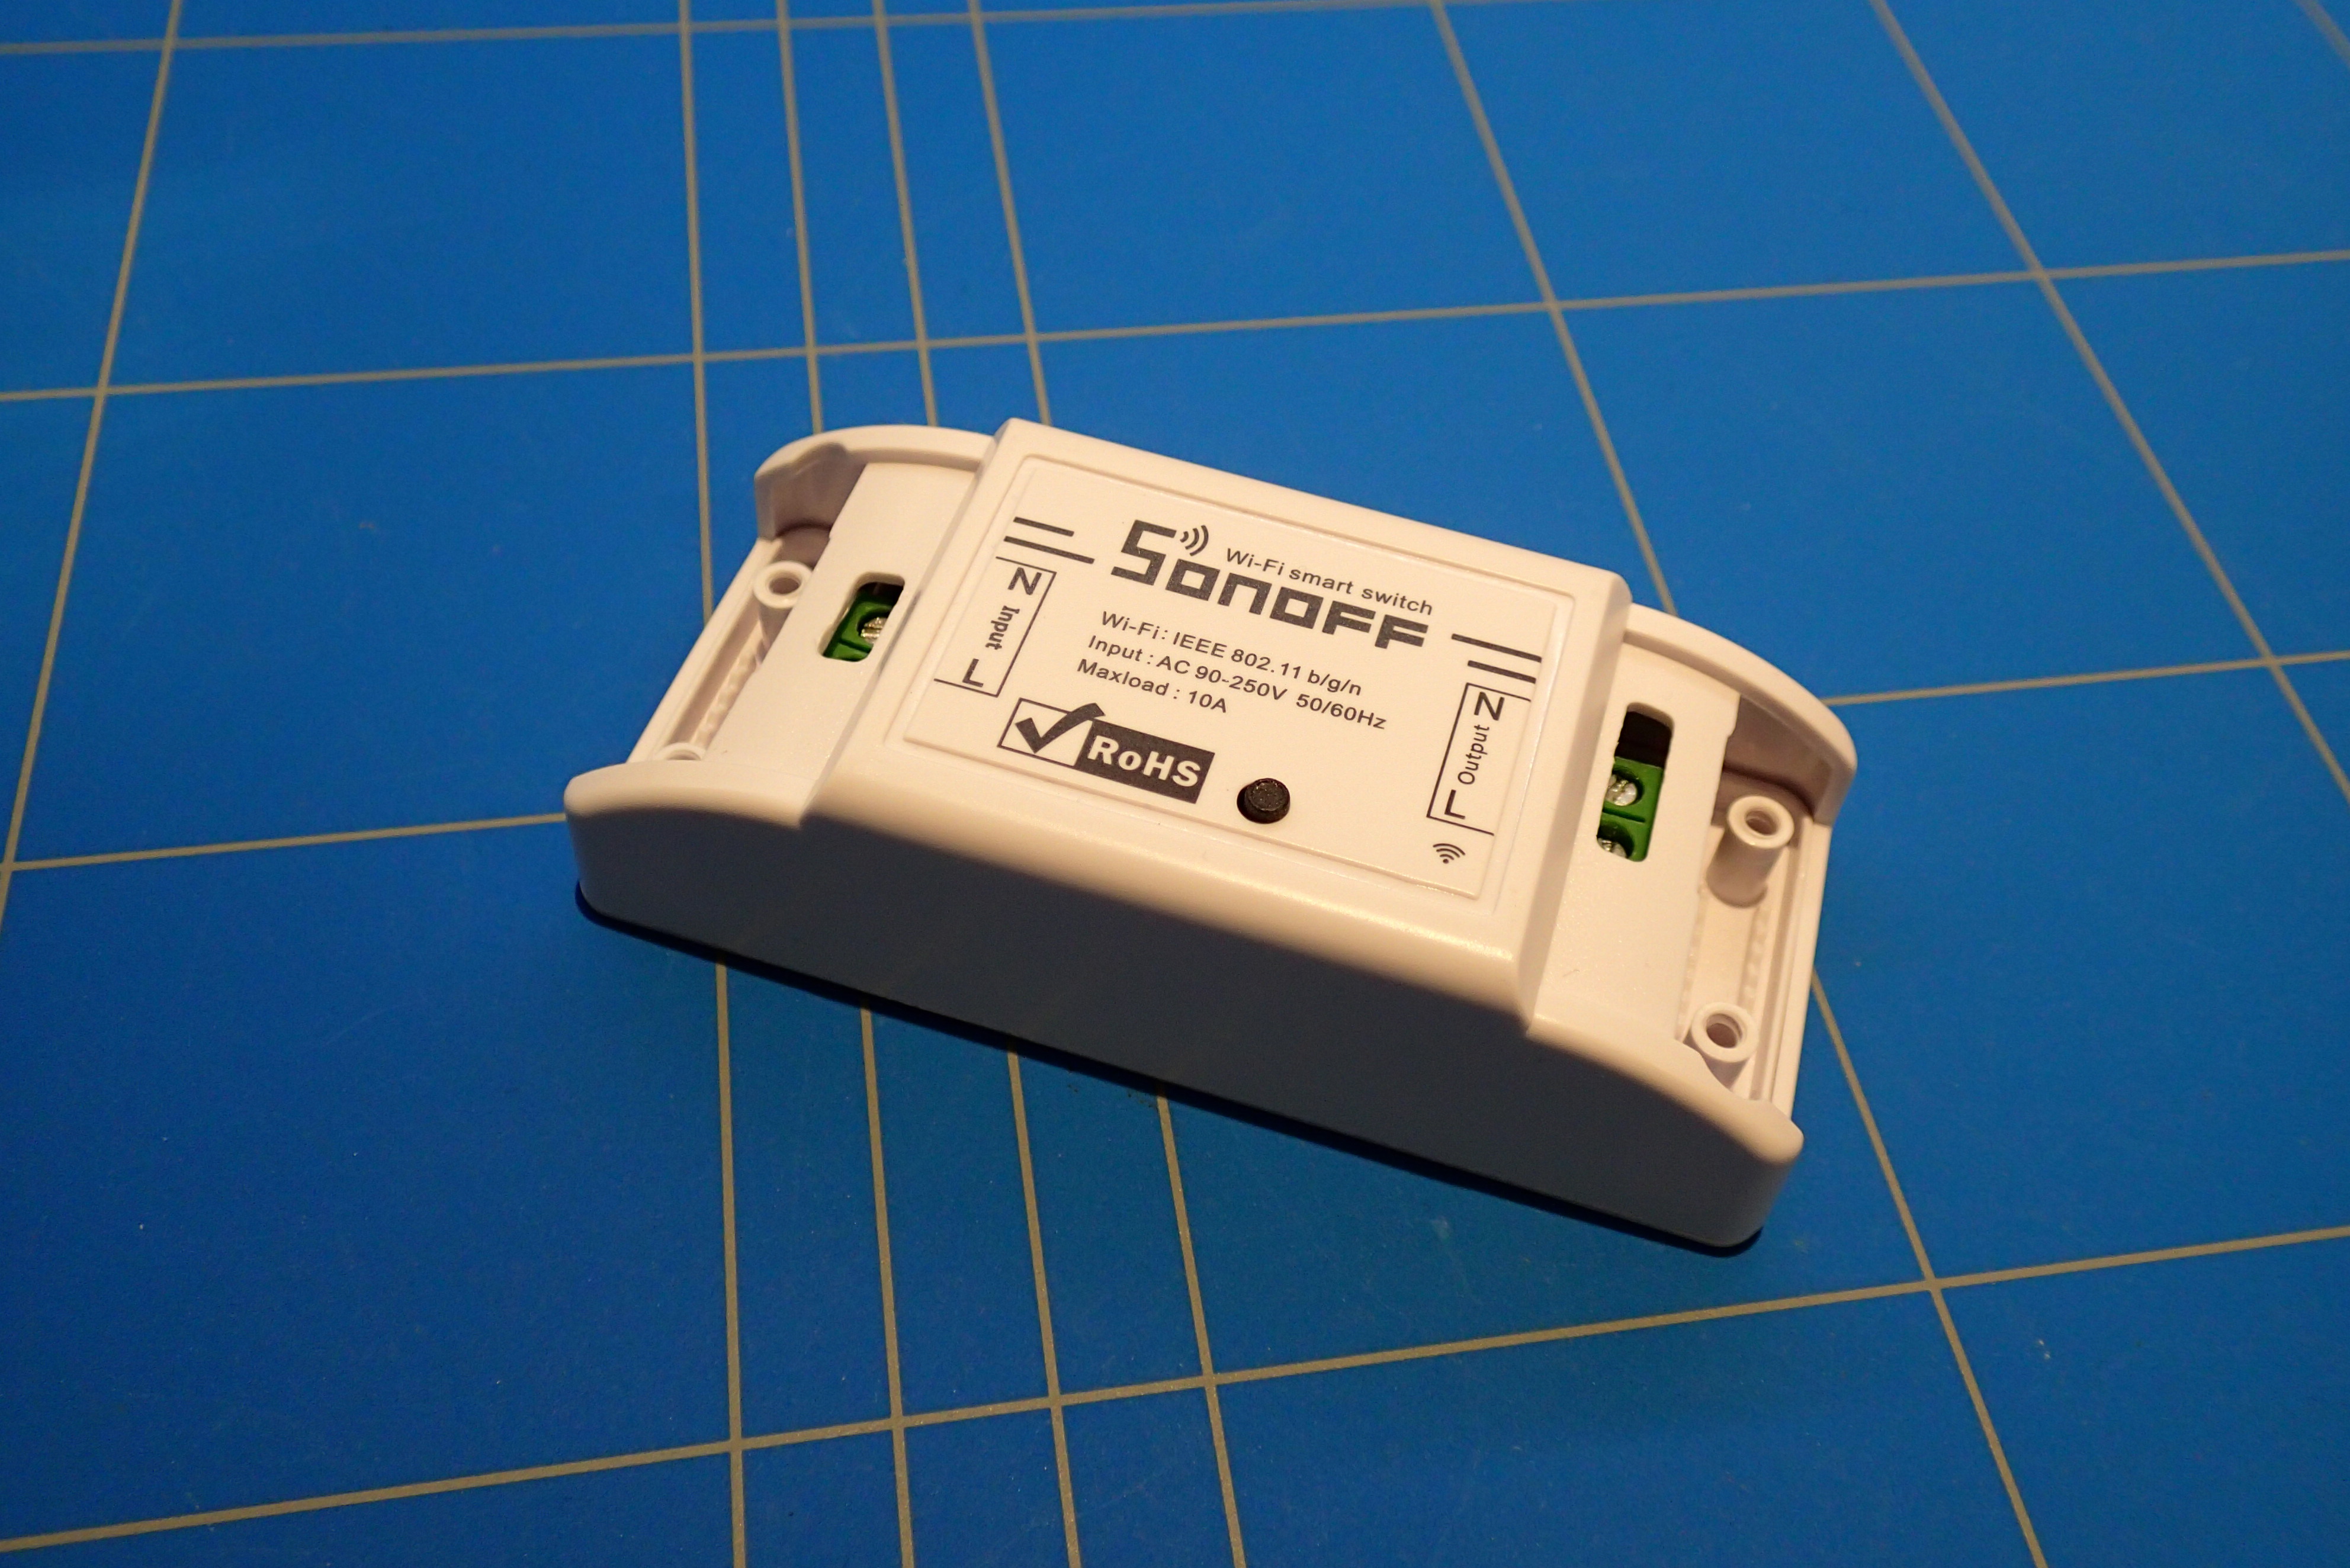
Sonoff is an ESP8266 based on/off switch that will let you control electrical devices around your home. Out of the box it can be only managed by the eWeLink app which is running on Chinese servers. If you want to take full control of the device you can flash the firmware and access it inside your local network.
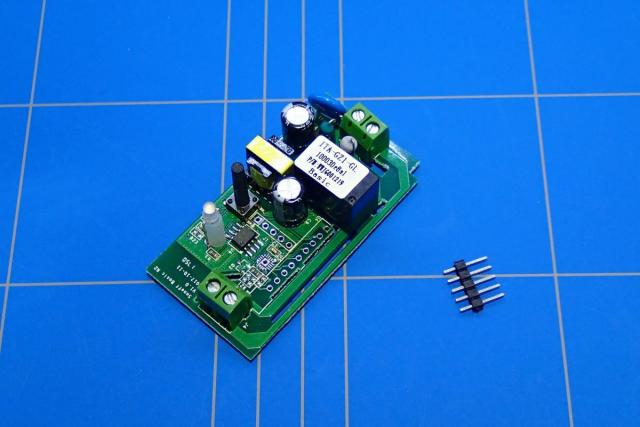
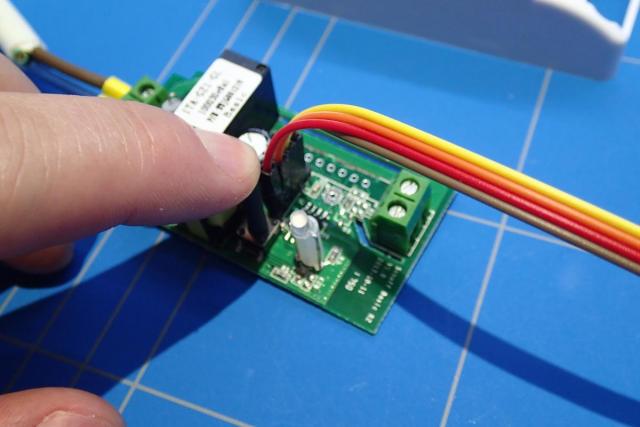
In order to flash the device you will need to solder a 5-pin DIN header. The holes are located in the middle of the PCB.
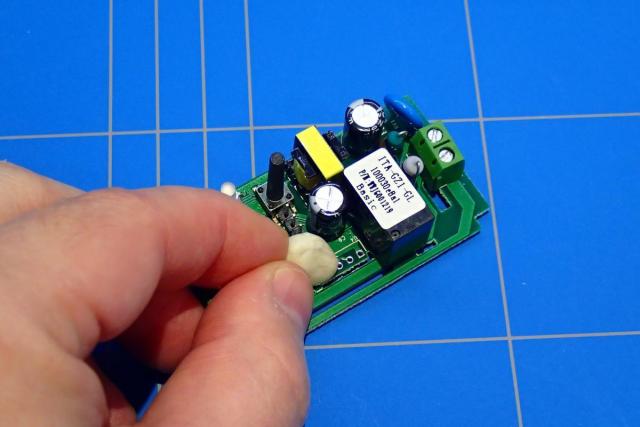
I have used blue tack to hold the pins.
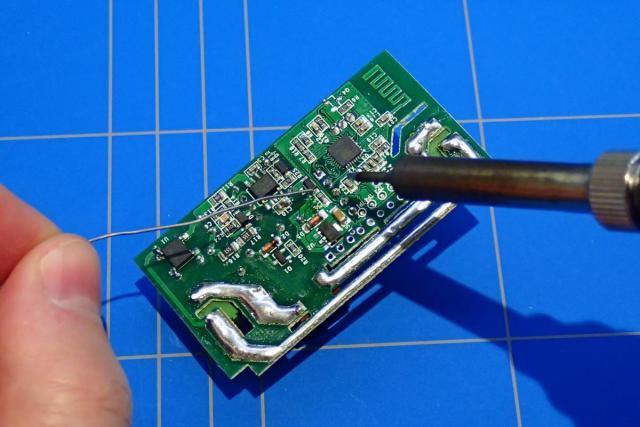
And soldered them on the opposite side of the board.
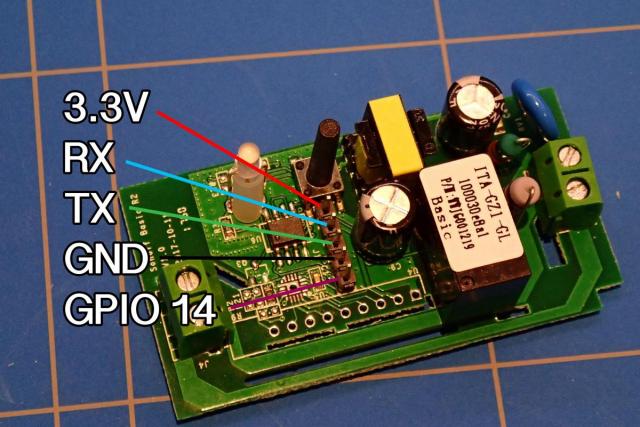
This is the pinout of the Sonoff header:
Just like with the ESP-01 project I have used FTDI USB adapter to connect to it.
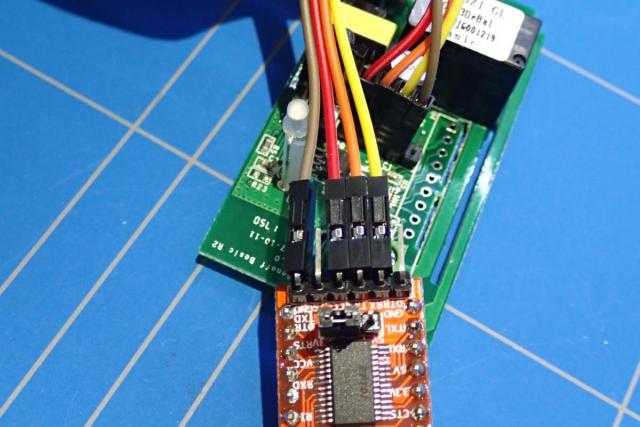
This are the connections:
| FTDI | Sonoff |
| 3.3V (VCC) | 3.3V |
| TX | RX |
| RX | TX |
| GND | GND |
There a various ways to program the ESP8266 on the Sonoff board, which are described on this Tasmota wiki page. I have chosen to use ESPtool. It is a written in Python, so first you will need to install Python. Then you will be able to use the pip tool to install the ESPtool. If you have added Python executable to your path you can execute this command:
pip install esptool
Now we need to connect the Sonoff and set it in programming mode. To do that press the button on the Sonoff and insert the USB connector of the FTDI adapter into your computer. If the LED on the Sonoff is not flashing, you have done it correctly. You can also run the command below to see if the ESP chip is recognized by your computer.
esptool.py flash_id
We can now use the ESPtool to backup the Sonoff firmware, if we ever decide to put it back. To do this execute the command below inside the command prompt. It will write 1MByte of data to the sonoff-backup.bin file.
esptool.py read_flash 0x00000 0x100000 sonoff-backup.bin
After it is finished, disconnect the USB and put the Sonoff again into programming mode and erase the memory contents of the chip with this command:
esptool.py erase_flash
We are now ready to program the Tasmota firmware. If you haven't download it yet, you can do get it on the GitHub releases page of the project. Select a file depending on your needs. E.g. whether you need support for specific sensors. I have chosen the default sonoff.bin file. To find the file on the GitHub page, just scroll down untill you see the Assets section and look for sonoff.bin link.

After downloading it you can flash this file on the Sonoff device. Don't forget to put it in the programming mode.
esptool.py write_flash --flash_size 1MB --flash_mode dout 0x00000 sonoff.bin
When it starts blinking, you have successfully flashed the new firmware.

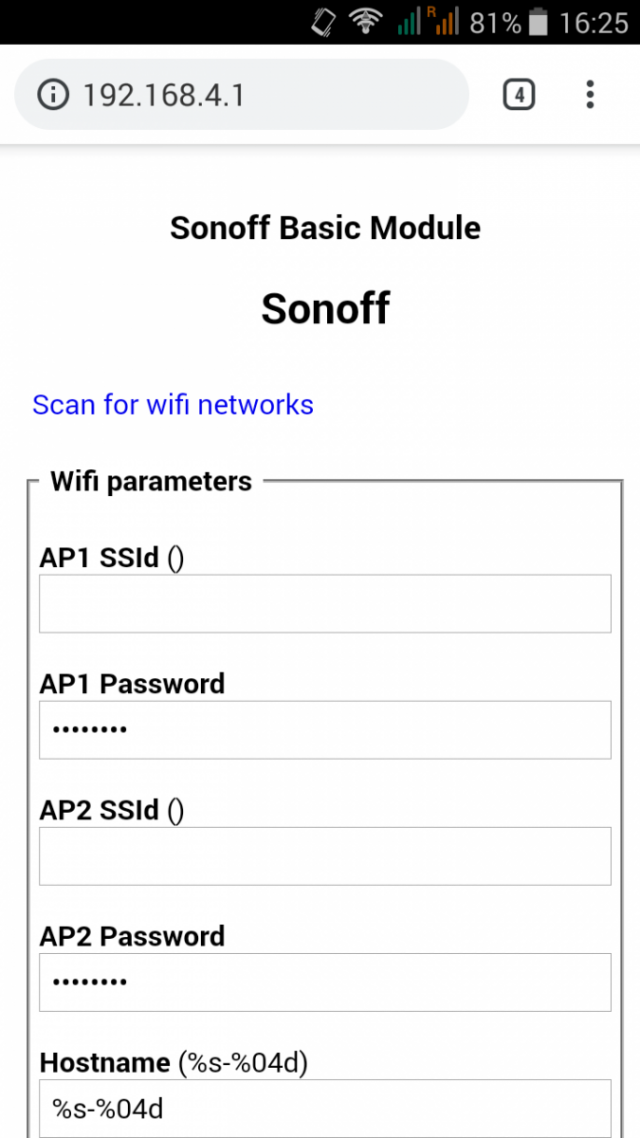
Now we can start to configure the Tasmota firmware. This can be done by pressing button sequences. All of them are described on this wiki page. At the moment we will only need 4 short button presses to put the device in the Access Point mode. After doing so, you can connect to the Sonoff WiFi AP and access it on this IP: 192.168.4.1
You can now configure you WiFi SSID and password. There is an option to setup two SSIDs. When one of them is offline, ESP8266 will try to connect to the other.
When you are finished just reboot the Sonoff and wait for it to connect to your router. Check your router DHCP connections which IP is assigned to it. In my case it was IP: 192.168.0.41

You can now access the Sonoff on that IP address.
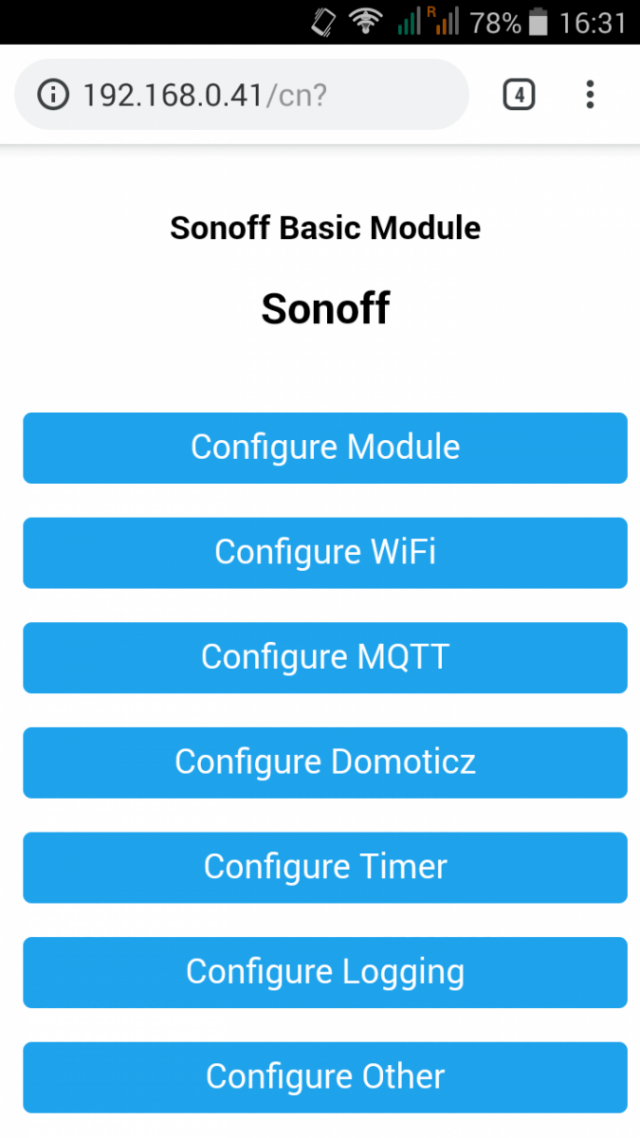
There are other options like configuration of MQTT, but I will be covered them in future blog posts.