It is time to close the opening on the back of our cabinet and add a cooling fan. A while back we cut out a panel that will function as the back door and predrilled some holes to attach the hinge. Now it's time to finish that task.
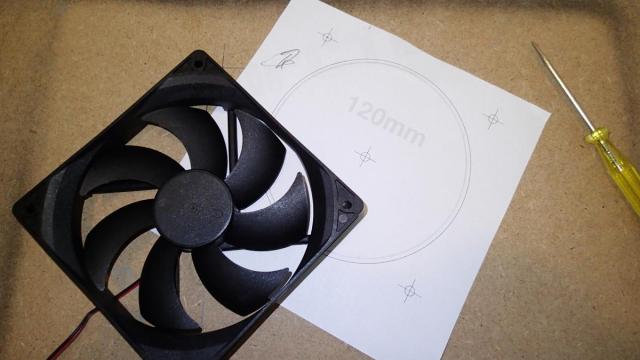
On MNPCTECH website I have found these free to download fan grill hole templates. I have printed the PDF and marked the pivot holes for the drill.
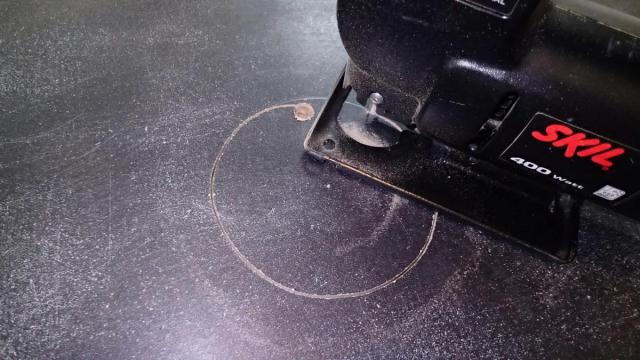
Then with a jigsaw I have cut out the 120 mm hole.
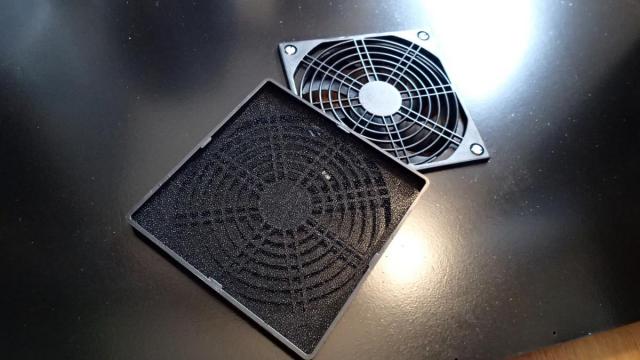
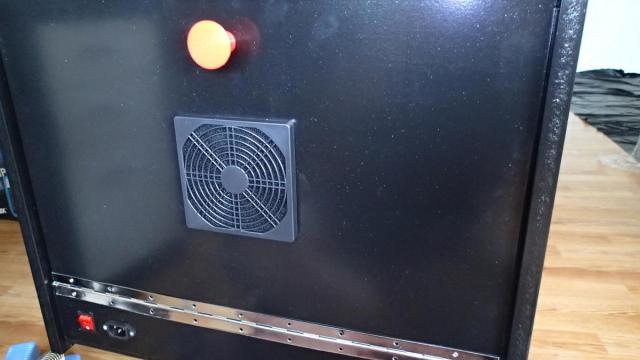
The I have painted the cover and collected the fan and a grill which also contained a dust filter.
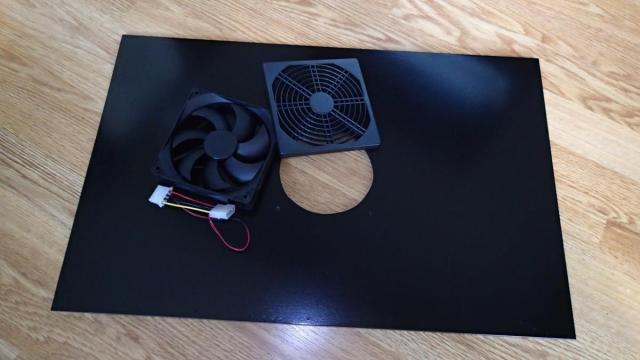
The fan grill consists of two parts. The first part must be attached on the top of the panel and the dust filver cover clicks on top of it.
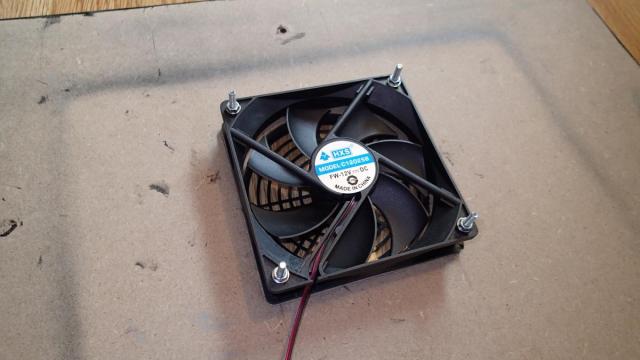
The fan is attached to on the inside of the panel. Make sure that the fan will be blowing air inside the cabinet.
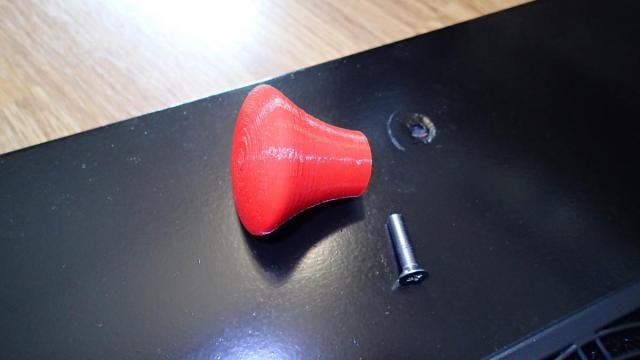
For the back panel handle I have 3D printed this design. It can be attached with a M5 bolt.
Now I have attached the hinge to the back of the cabinet. The predrilled holes helped a lot.
Then I have finally fasten the back panel.
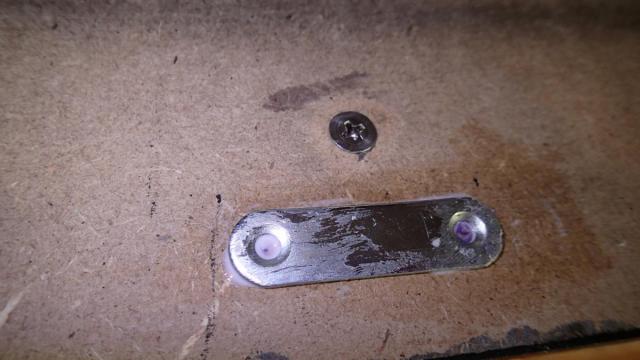
To be able to close the cabinet door I have added a small magnet. I was thinking if I should add two, but the rating of the magnet is 4 kilogram, which is certainly more than enough for this light door.
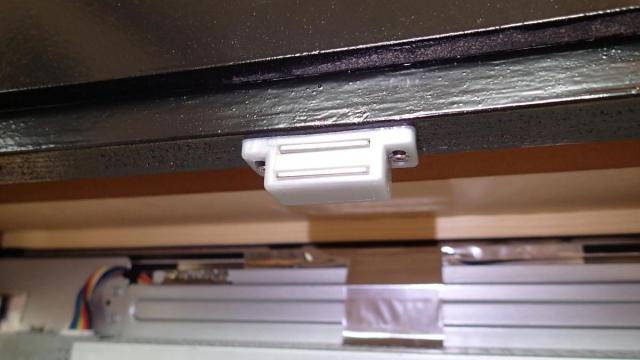
On the inside of the cabinet door I have attached the metal for the magnet. Because the panel is just 8 mm in thickness, it was not possible to use screws and I have used glue to fasten it.
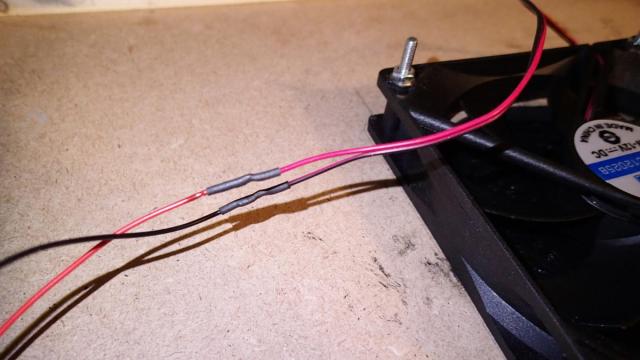
Finally I have connected the fan to the 12V power supply.