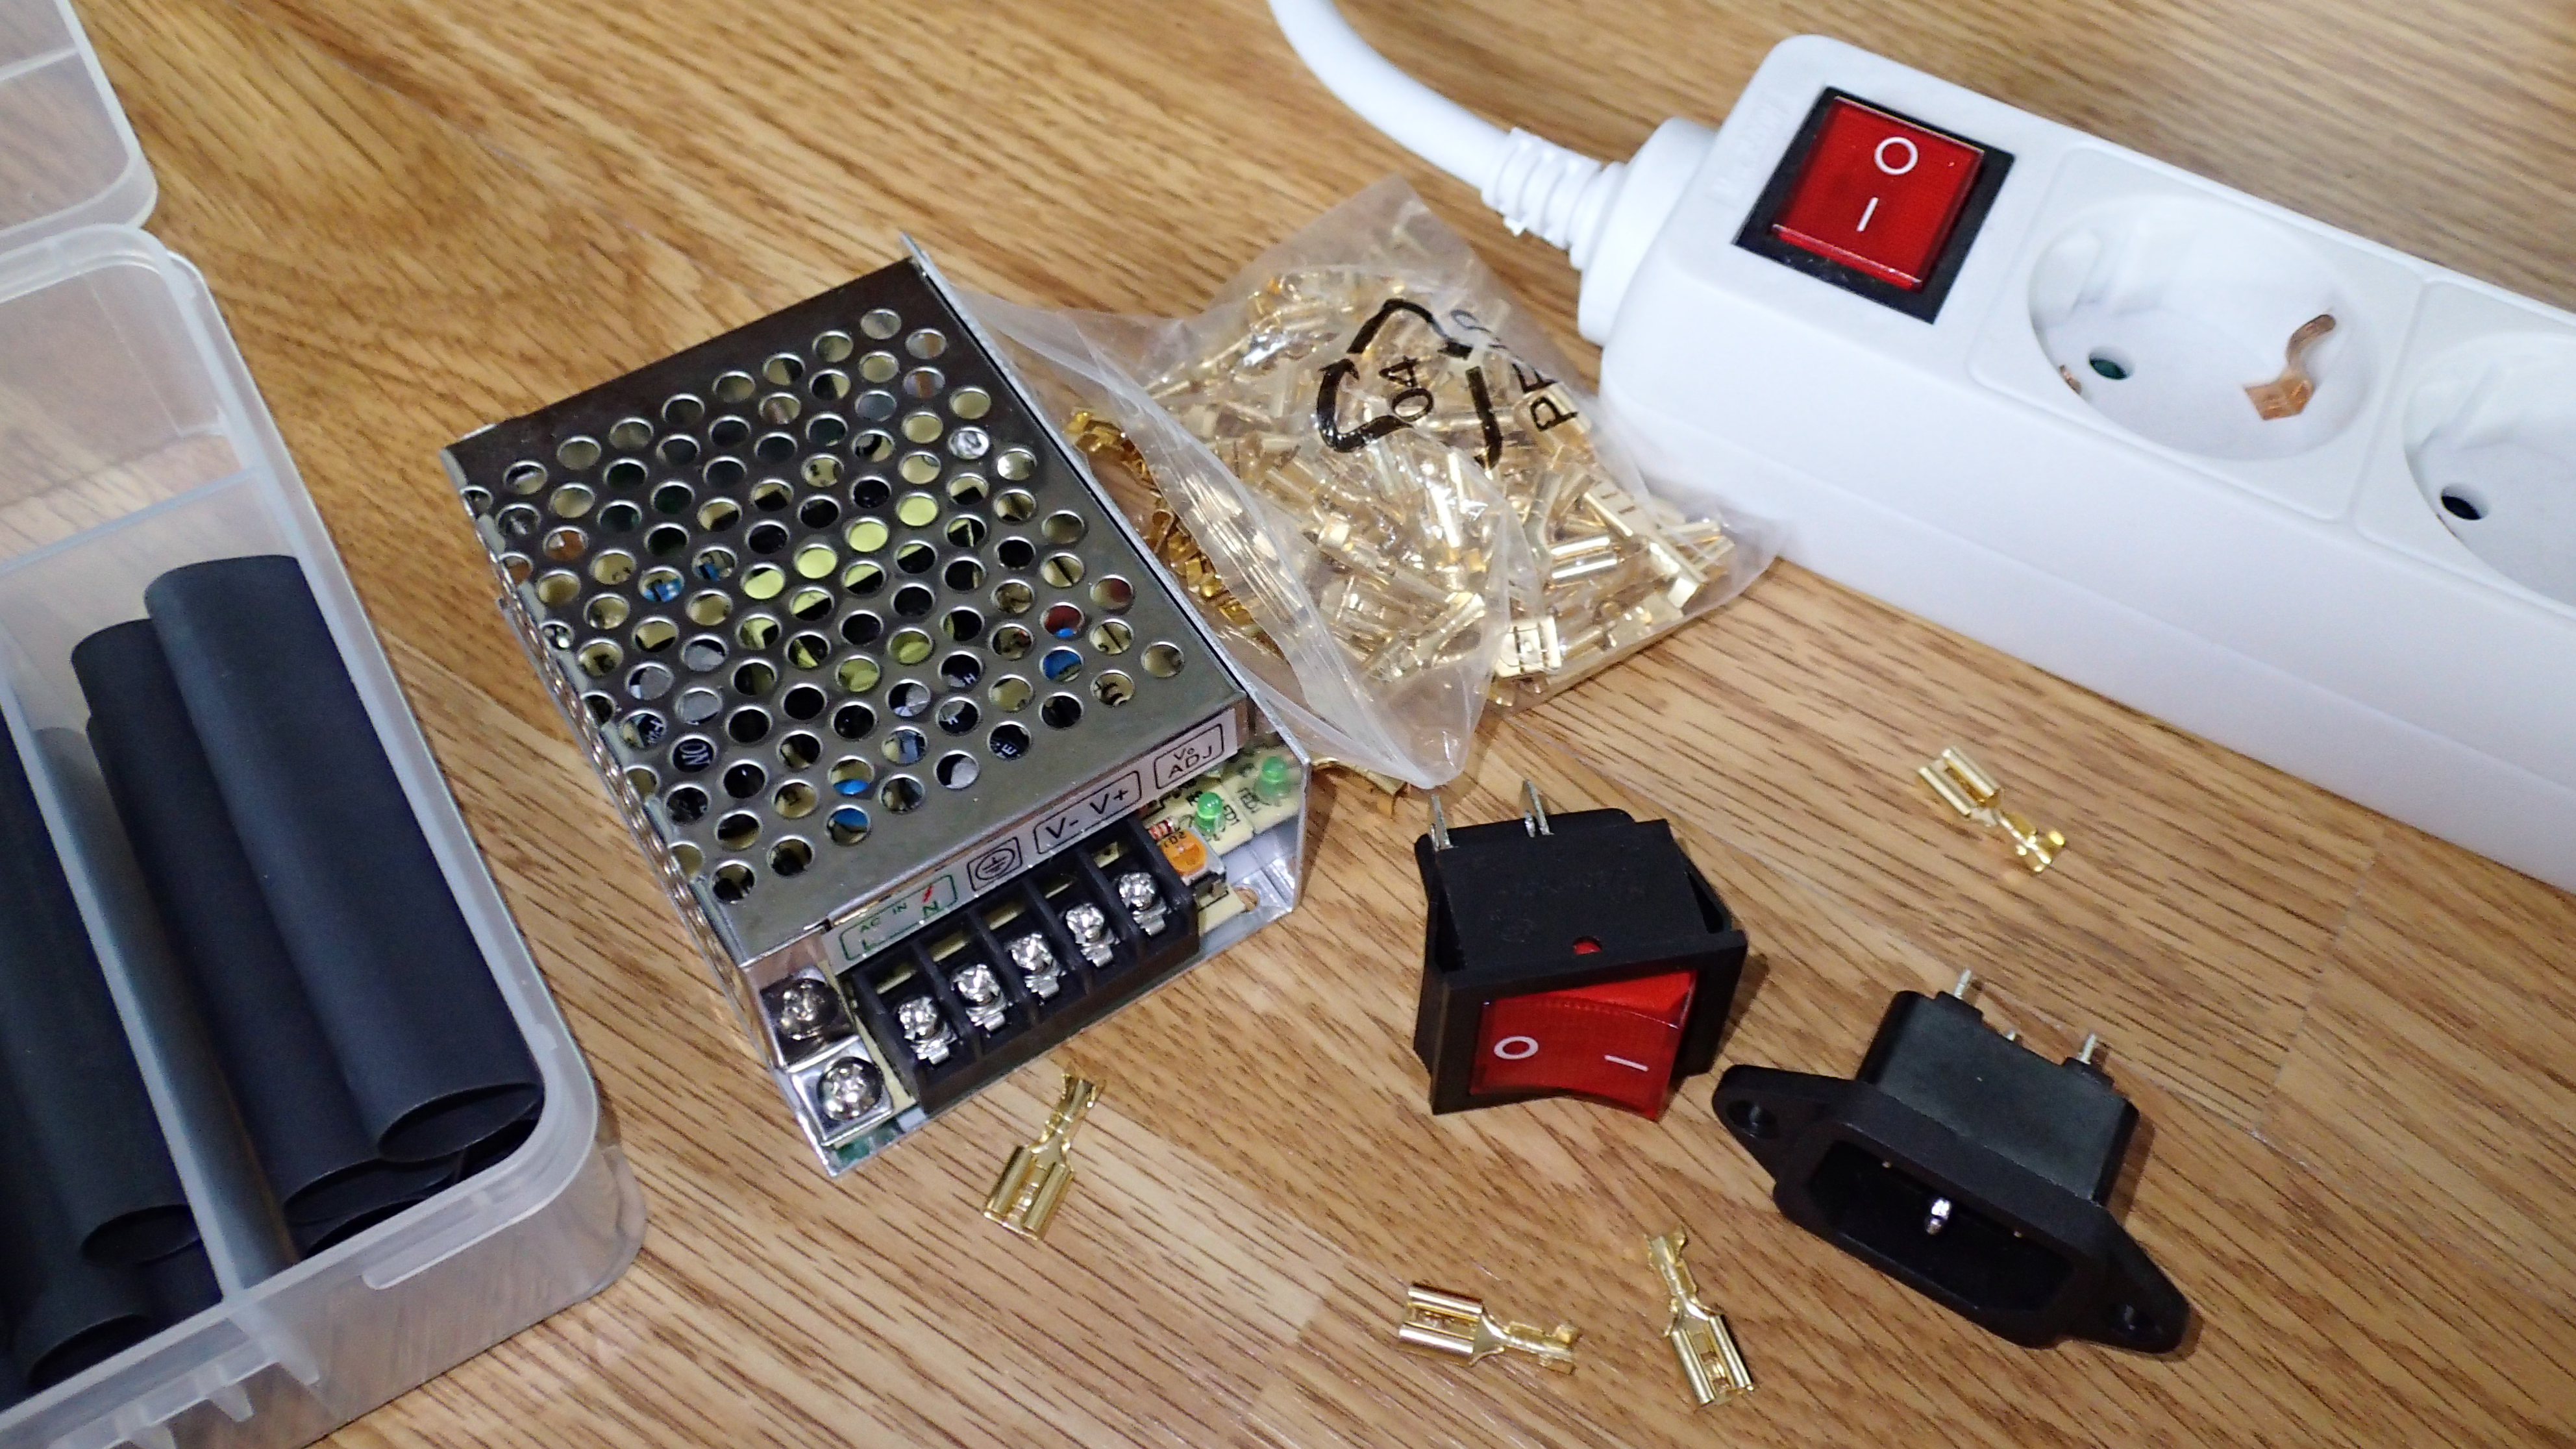
As doctor Emmett Brown "Doc" in the movie Back To The Future stated: "Marty, I'm sorry, but the only power source capable of generating 1.21 gigawatts of electricity is a bolt of lightning". Fortunately we will not need as much power for our arcade cabinet and a 12 Volt, 2.1 Ampere power supply will be more than enough.
To connect to the power source we will use an IEC 320 C14 male plug connector, which is an very common connector and a power switch which is called KCD7 rocker switch. On the Chinese online stores they can be found for around 50 cents a piece. You will also need 6.3 mm female terminal connectors. They will fit on the back of the switch and later they can be used to connect the LEDs of the buttons on the control panel. You can also get 4.8 mm version of the connectors as they also come in handy for the C14 male plug connector. I did not have them so I have soldered the wires to the plug connector. This was also the first step in the installation of the power system.
I have cut off the end of a power strip and soldered the blue (neutral) and yellow (ground) wire to the plug. The brown (phase) was going to the switch. Later I have discovered that the blue wire also needed to go to the switch, otherwise the indicator light would not turn on. Find the color codes of your country in this table. Also add shrink tubes as insulation on the soldered joints.
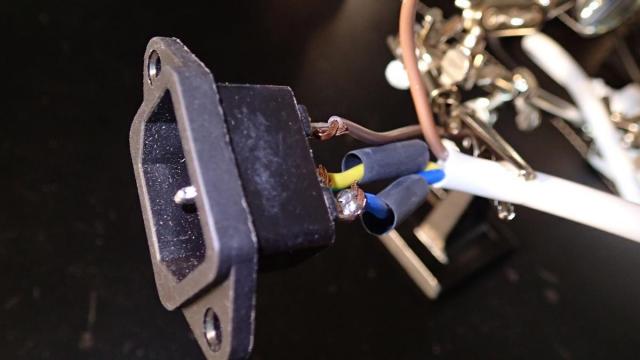
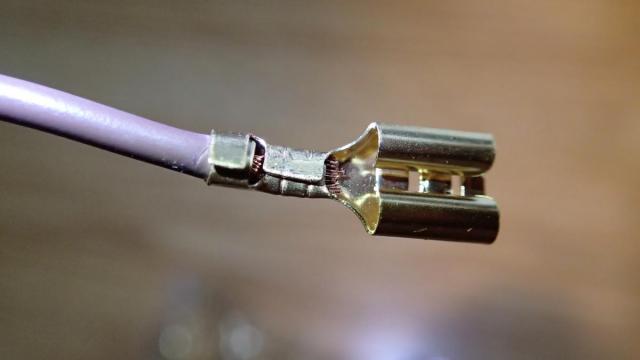
On the wires that connect to the switch I have attached the terminal connectors. The best is to use a crimping tool, but I have found that needle-nose pliers work as well.
Now connect the wires to the connector and the plug.
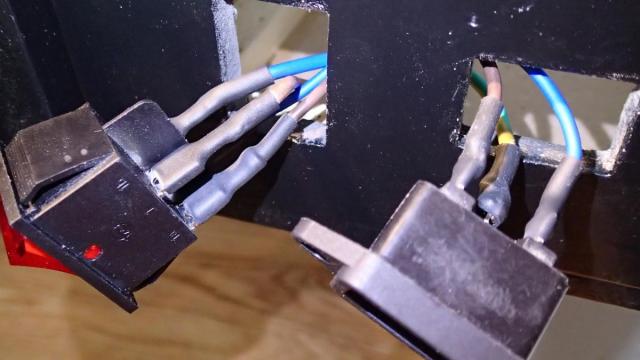
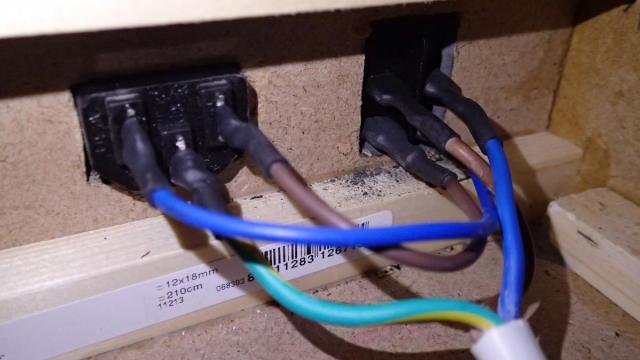
Notice that both wires (blue and brown) connect to the power plug as well as the connectors of the power strip.
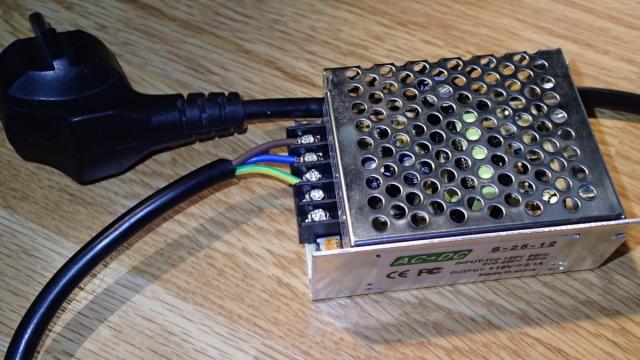
As for the 12V power supply I have connected a power cord with a plug.
The power supply is attached to the side board inside the cabinet. The 12V cables are wired to the V- and V+ connectors. In the end they will power the audio amplifier, the LEDs for the control panel and the marquee power LED strip. The marquee sign will be covered in the next blog.
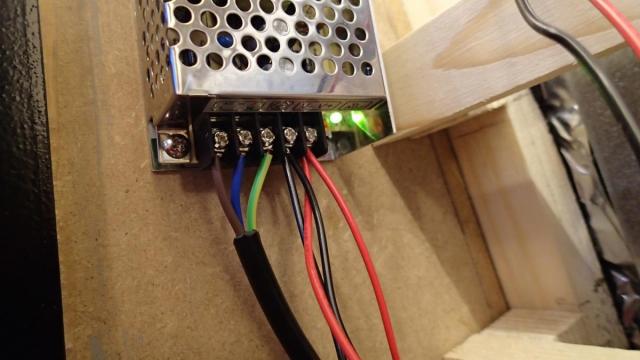
The Raspberry Pi, the LCD monitor and the 12V power supply could now be connected to the power strip.
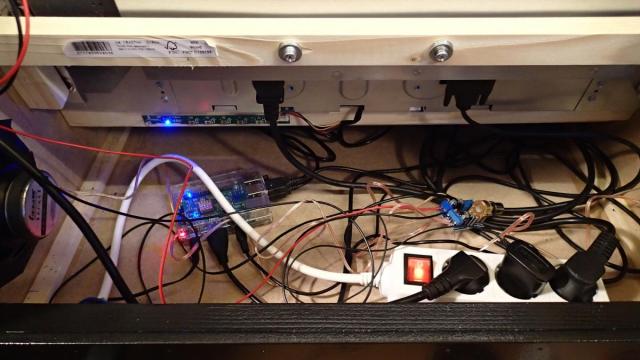
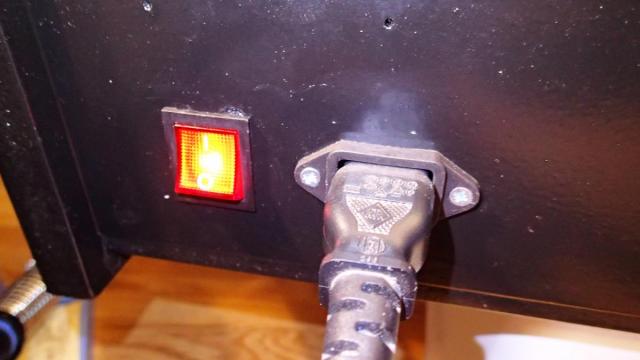
And this is how the back of the cabinet looks with the connector and the power switch turned on.