TM1638 module
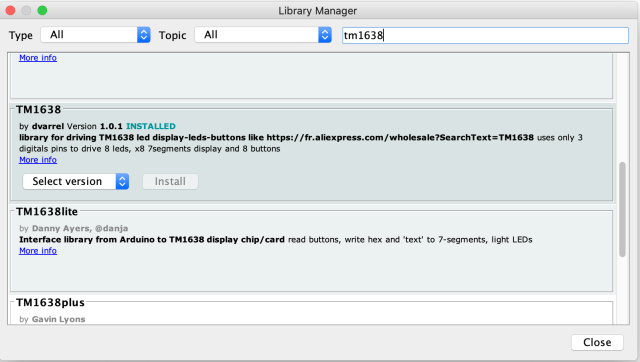
First, install the TM1638 library in the Arduino IDE. Go to: Tools -> Manager Libraries and search for tm1638. Then click on install.
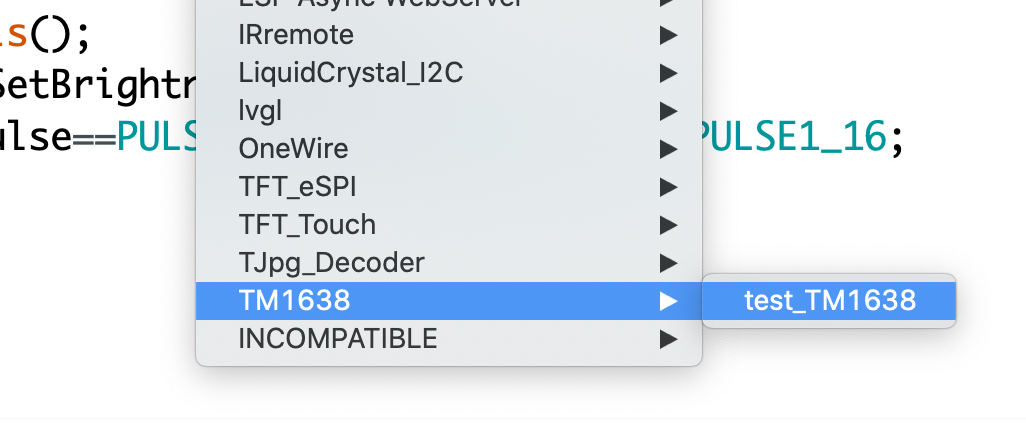
To test if your TM1638 module works, upload a test sketch from the examples. File -> Examples -> TM1638 and select TM1638_test
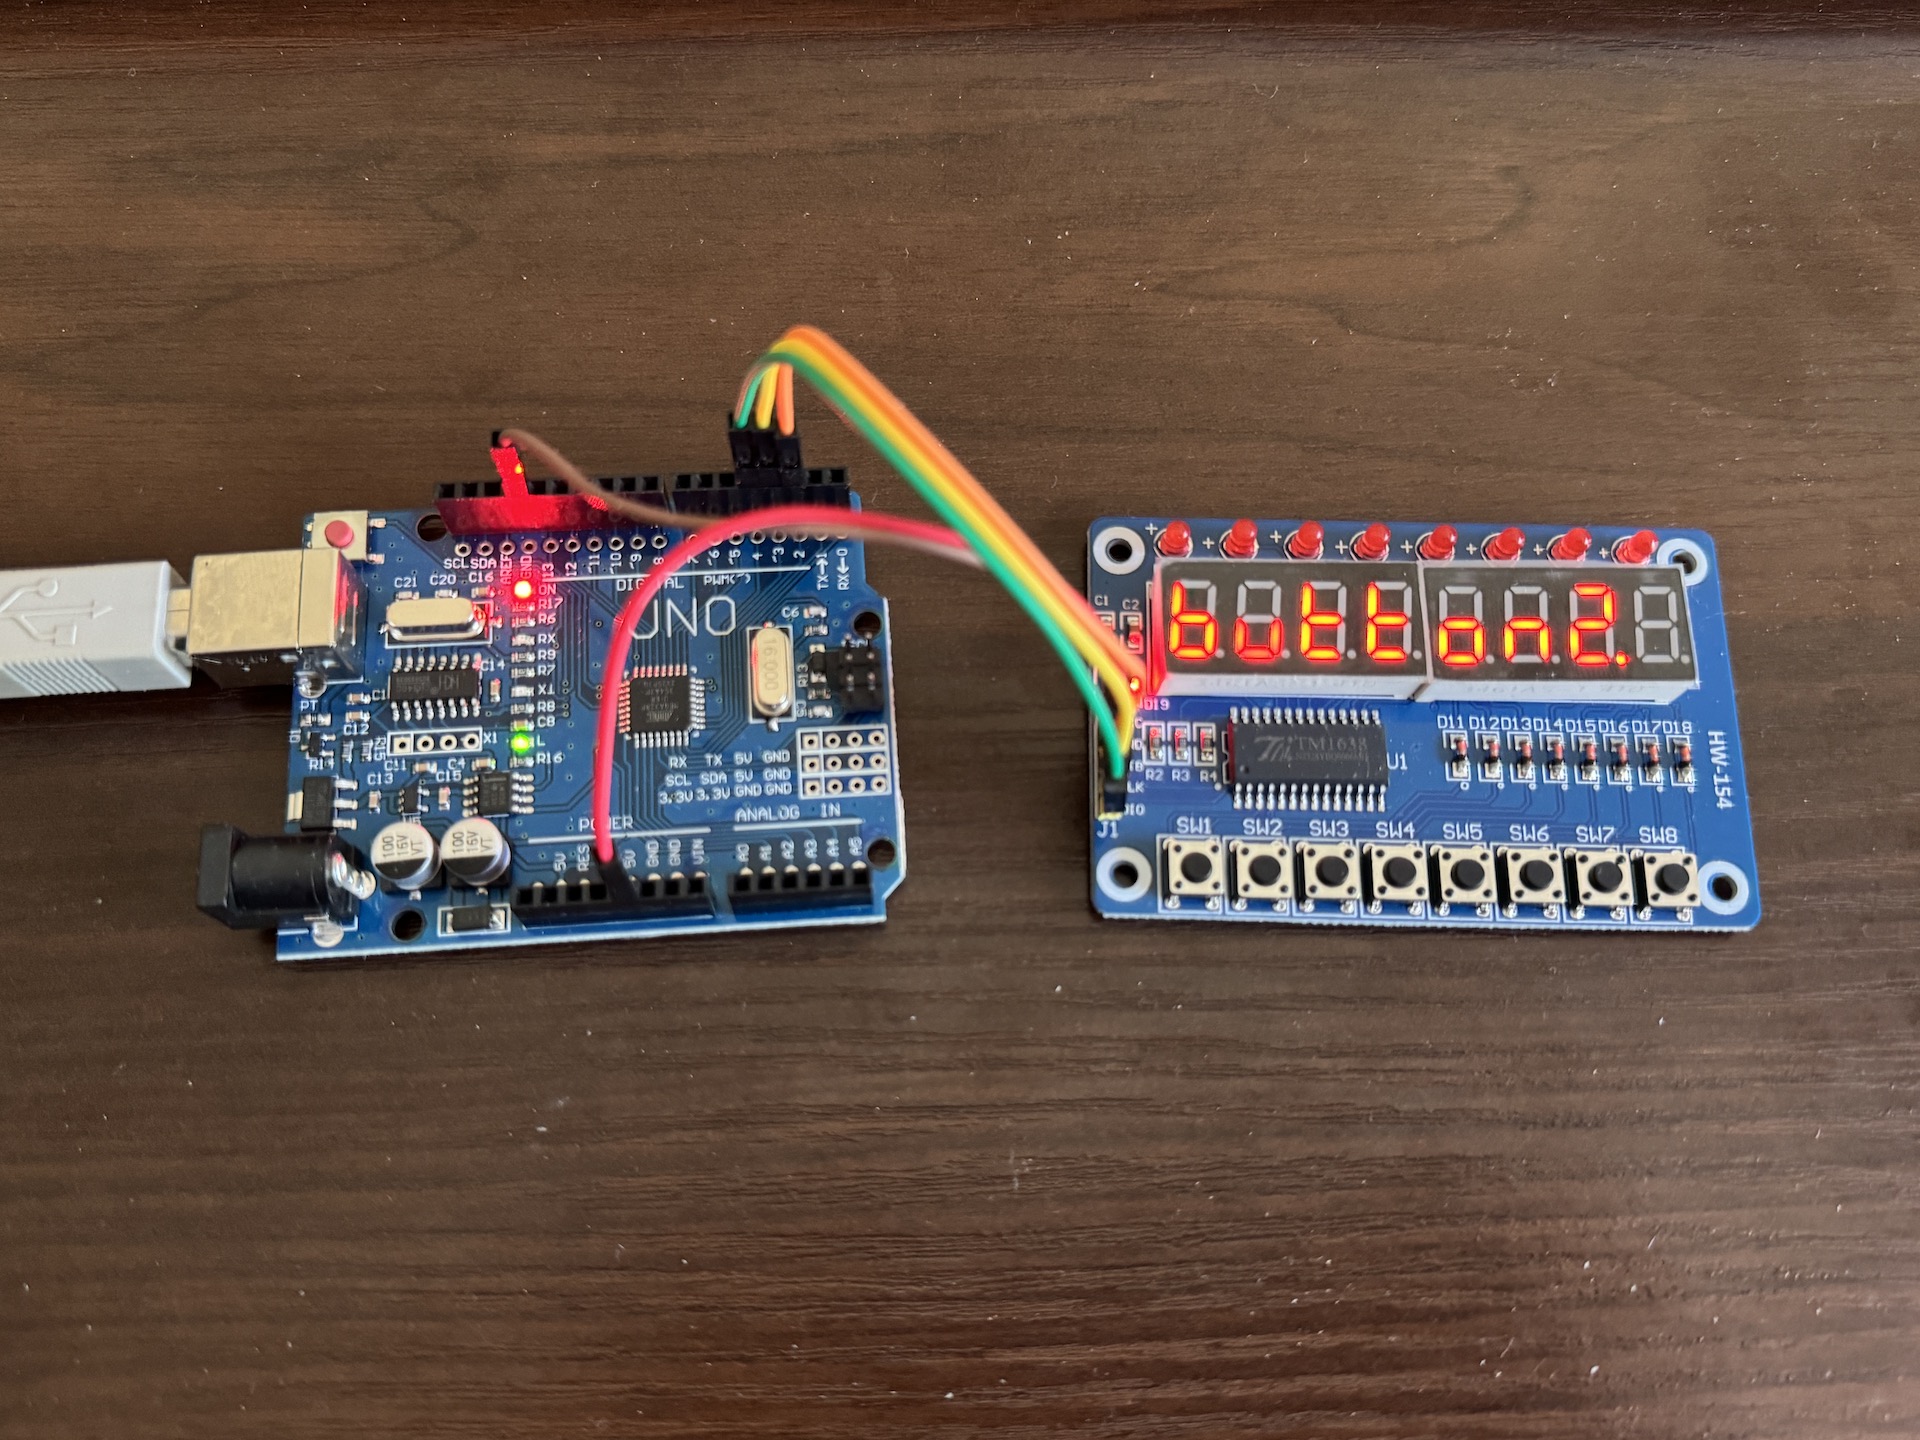
Let's connect the TM1638 to the Arduino UNO.
In the example code the output pin on the Arduino is specified in this way:
#define STB 2 // Strobe digital pin
#define CLK 3 // clock digital pin
#define DIO 4 // data digital pin
The TM1638 module has 5 pins which are VCC, GND, STB, CLK and DIO.
To make the connections you can use Male-to-Female Jumper Wires. This way it's easy to connect the male side to the Arduino and the female side to the TM1638 board.

Connect VCC, GND and the wires from Arduino pins 2,3 and 4 to VCC, GND, STB, CLK and DIO pins on the TM1638 module.

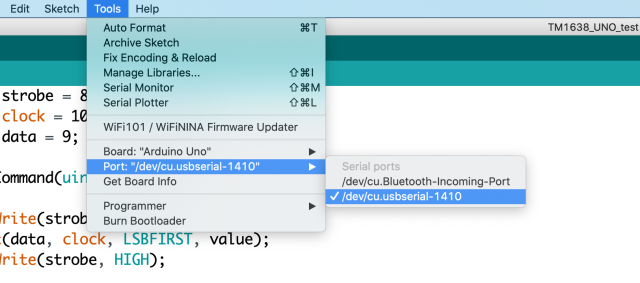
Upload the script from the IDE. I am using Arduino IDE on Mac and I had to connect it to /dev/cu.usbserial-1410 port.
Let's analyze the TM1638 example. On line 6 the module is initialized.
TM1638 tm(CLK,DIO,STB);Then the setup() function does more setup and tests the module. You can remove the tm.test() line after the first run is successful.
void setup() {
Serial.begin(115200);
tm.reset();
tm.test();
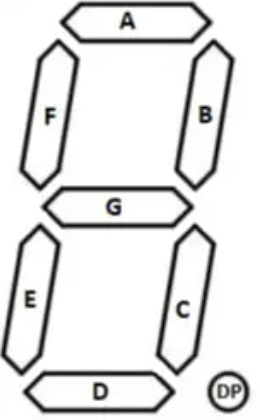
}Encode the characters in binary with segments that you want to light up. They need to be in order of the letters and the dot LED is as last. For example, if you want to light up the number 2 including the decimal point on the 7-segment display, then the binary value for that would be B11011011. In hexadecimal it is: 0xDB.
This line of the code defines the brightness of the display. PULSE1_16 is the darkest value possible.
pulse_t pulse=PULSE1_16;The text "button" is printed inside the loop function, using the method described above. If you add 0xDB to the text[] array, the text will become "button2". The for function loops through the text[] array and lights up the characters on the display. The library function displayDig() is responsible for that.
The button states are read inside the buttons variable using the getButtons() function. Then the corresponding LEDs are light up with the writeLeds(buttons) function.
Lastly, the displaySetBrightness() function toggles the brightness of the 7-segment displays by setting the pulse variable to PUSE14_16 (bright) or PULSE1_16 (dark) values.
void loop() {
 const uint8_t text[]={0x7c,0x1c,0x78,0x78,0x5c,0x54,};
 for (uint8_t i=0;i<sizeof(text);i++)
   tm.displayDig(7-i, text[i]);
 uint8_t buttons = tm.getButtons();
 tm.writeLeds(buttons);
 static uint32_t timer = millis();

 if ( millis()-timer > 1000){
   timer=millis();
   tm.displaySetBrightness(pulse);
   pulse = (pulse==PULSE1_16) ? PULSE14_16 : PULSE1_16;
 }
To explore the rest of the library, you can visit its GitHub page. The keywords.txt file shows all of the exposed functions and data types for this library.