The last time that I build a gaming system was around 7 years ago, so I was very curious how much has changed since that time. Fortunately the ATX system still exists and I could find all the needed parts. I hope you will find this tutorial useful.
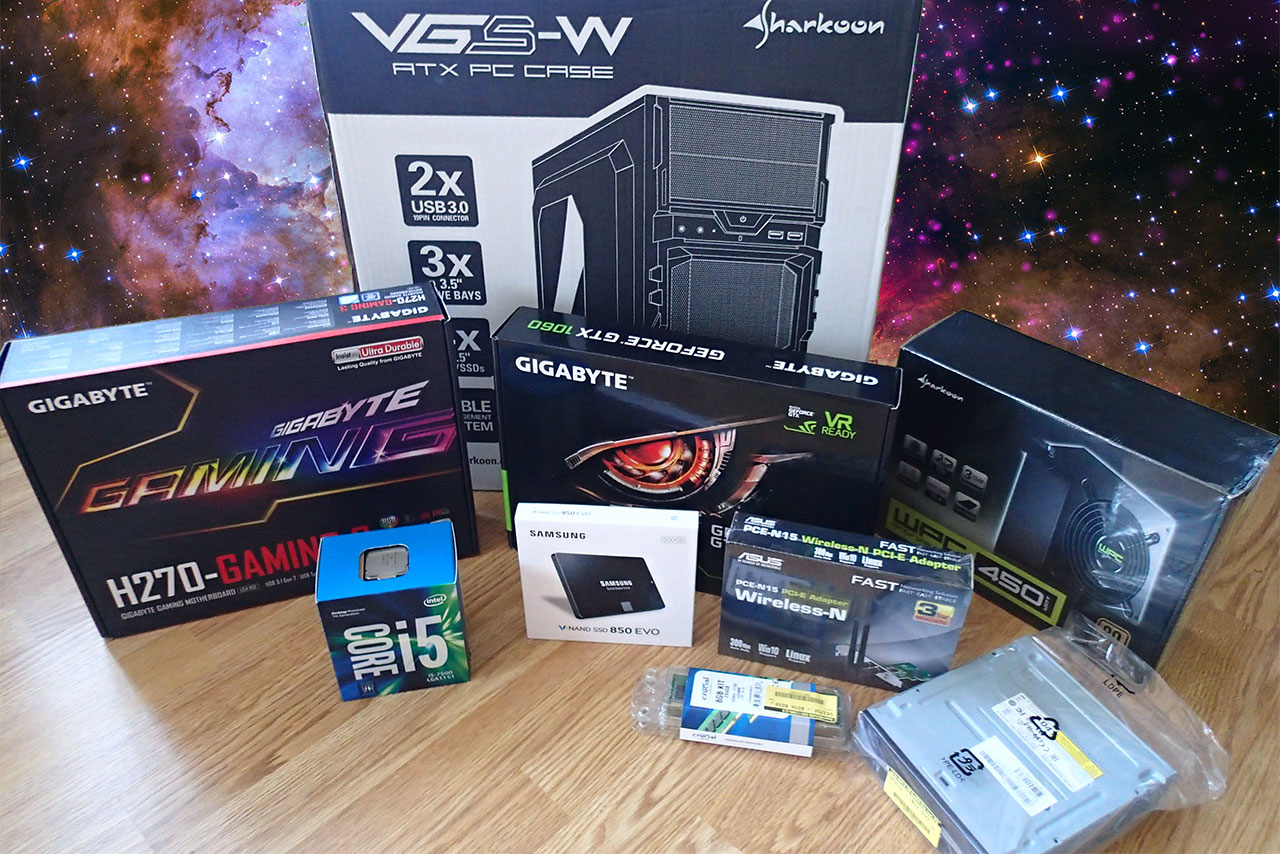
The list of the components that I have used for this build:
- Sharkoon VGS-W ATX case (blue leds)
- Sharkoon WPC450 Bronze - 450W ATX power supply
- Gigabyte H270-Gaming 3 - Socket 1151 motherboard
- Intel Core i5-7500, 3.4Ghz, 6MB, Socket 1151 processor
- Crucial 8GB (2x4GB) DDR4 2133MHz memory modules
- Gigabyte GeForce GTX 1060 WINDFORCE OC 3GB video card
- Samsung SSD 850 EVO 2.5" SATA III 500GB hard disk
- ASUS PCE-N15 802.11n N300 PCIe Wifi Adapter
- Lite-On iHAS124 - SATA DVD reader/writer
- Sharkoon Skiller MECH SGK1 (Brown switches) gaming keyboard
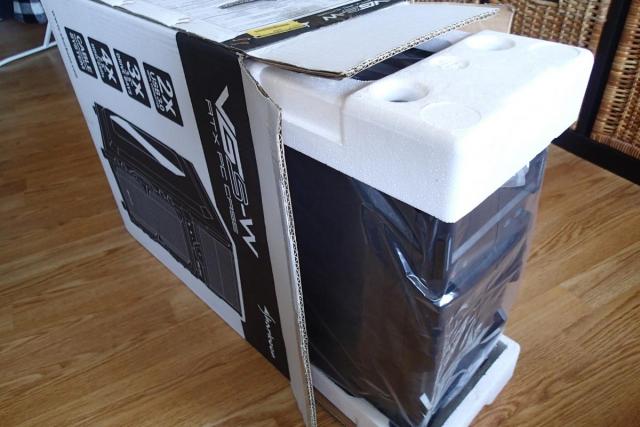
I have started the build with unpacking of the ATX case. It was well packaged and protected.
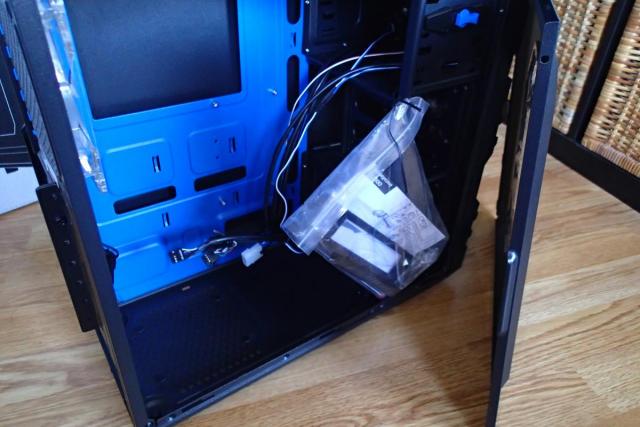
Access to the side panels was easy by only unscrewing of two bolts. Inside it had assembly instructions with some extra mounting brackets.
The power supply was also complete with cables and very well packaged.
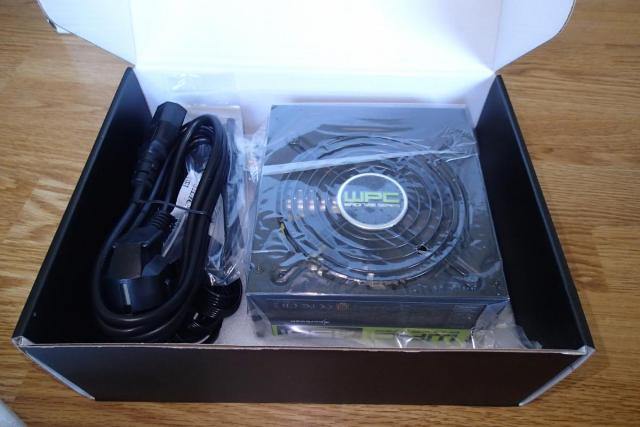
I have continued with the installation of the power supply inside the case. I have especially chosen a power supply of the same brand as the case, just to be sure that they will be a perfect fit.
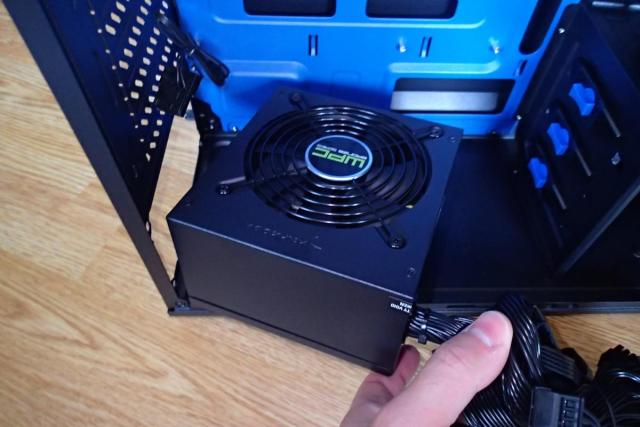
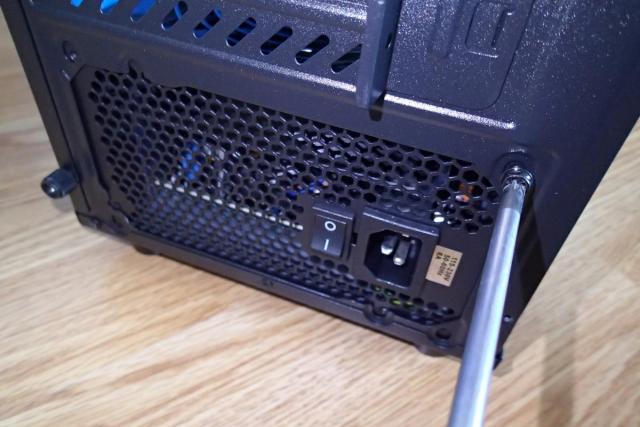
On the back it could be fasten with 4 screws that were provided with the power supply.
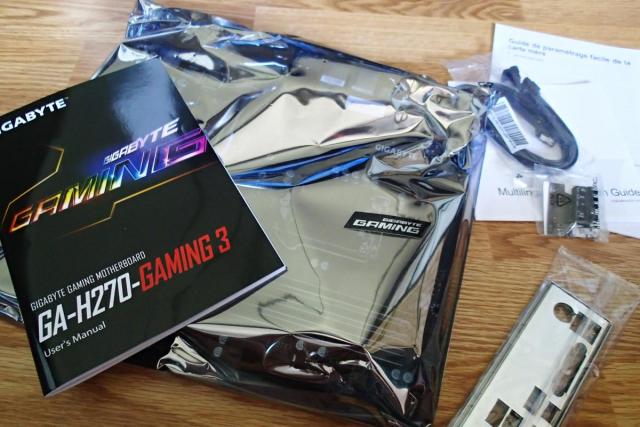
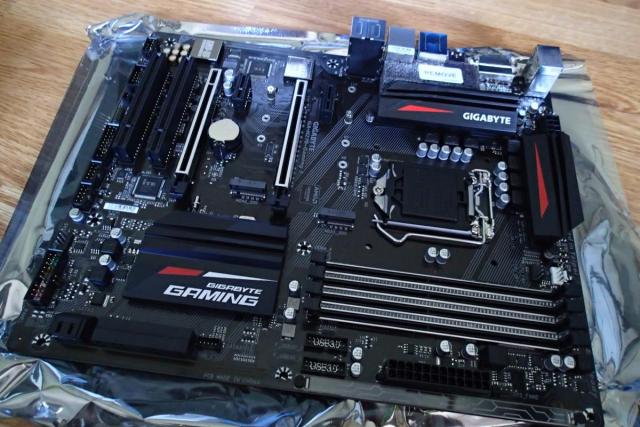
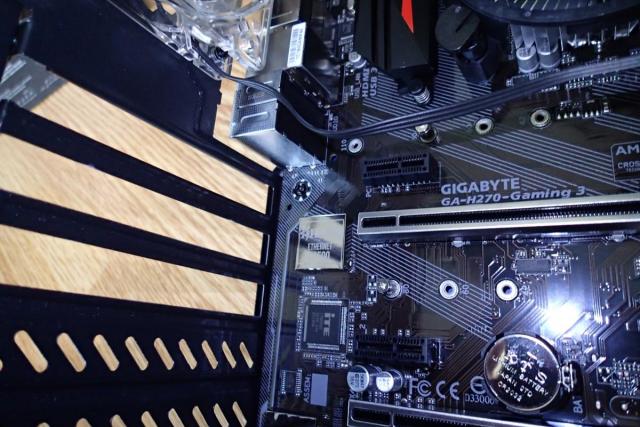
It was now time to assemble the motherboard. The Gigabyte motherboard was packaged in an anti-static bag and included a manual, 2 SATA cables and an ATX backplate. It also had a nice metal sticker with the text: GIGABYTE GAMING.
The motherboard looked like this. It had some extra foam protection between the connectors and one of the heat sinks. The socket was also protected with a plastic cover.
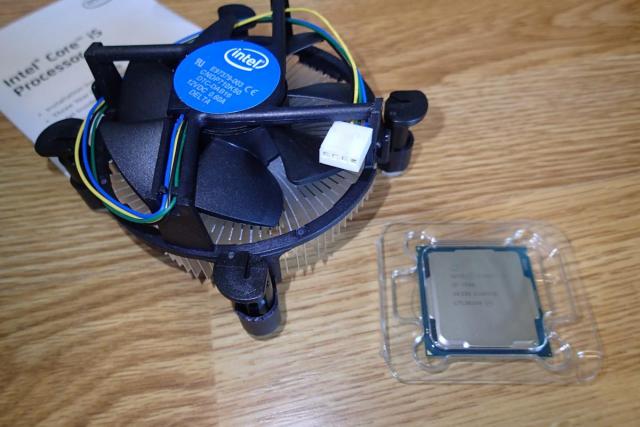
Now it was time to install the processor. The processor was boxed and included a cooling fan.
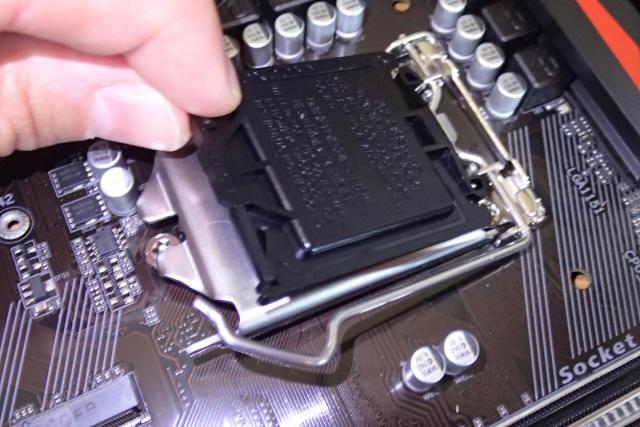
The processor could be installed by lifting the socket casing and placing it according to the instructions. It is actually foolproof and only fits in one way, that is.. if you don't force it.
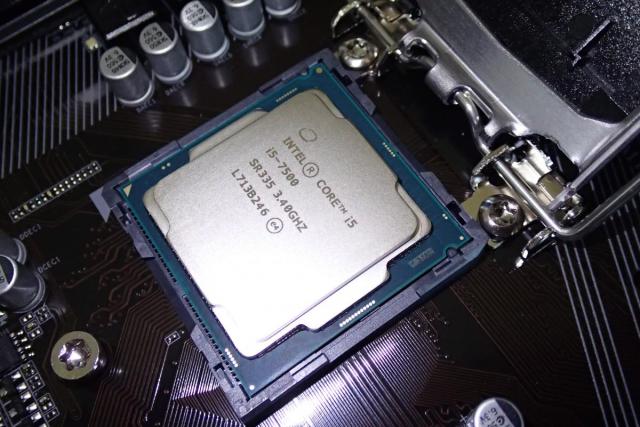
Don't forget to remove the plastic cover when you close it up and secure it with the metal handle.
Now we can place the cooling fan on top of the processor. It already has thermal paste provided on the bottom so no need to worry about that.
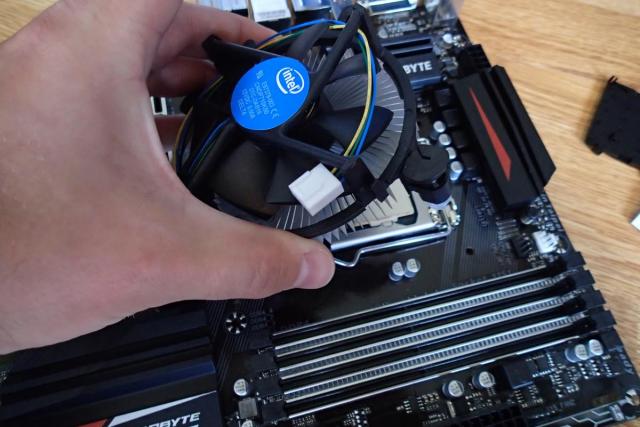
To lock it in place just click the four push pins on the sides of the fan.
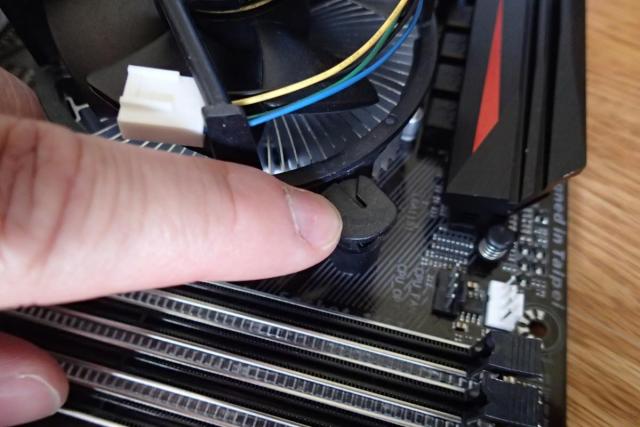
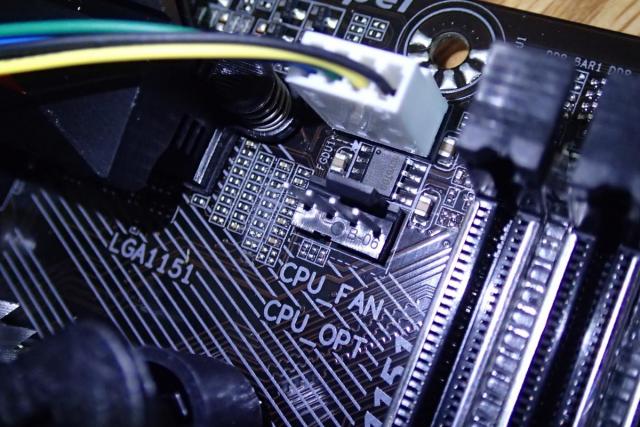
Now you can connect the power to the fan by inserting the plug with the 4 pins that states CPU_FAN.
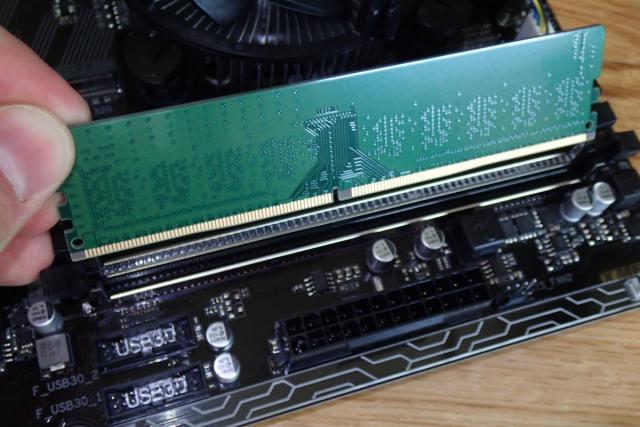
It is time to install the memory. The UDIMM modules come packaged in a plastic casing. I have chosen 2x 4GB instead of 1x 8GB card so that it can take advantage of dual channel.
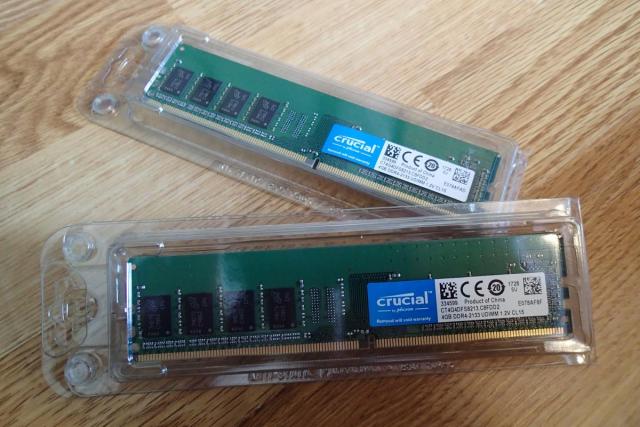
Insert the memory modules in first (DDR4_1) and second bank (DDR4_2) on the motherboard. When you push it and hear a click, it should be secure.
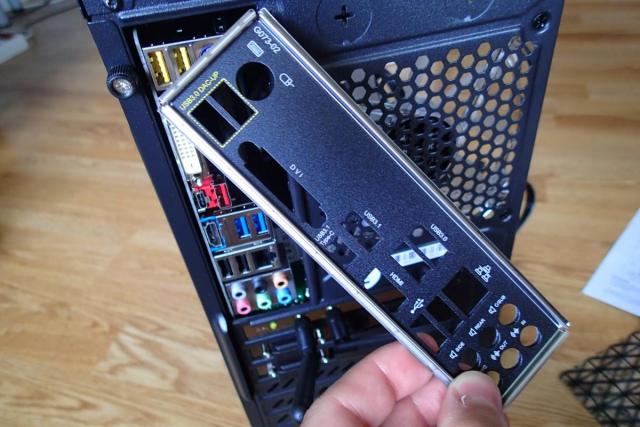
Before the motherboard can be slid inside the case (and not make the same mistake that I did) first you need to install the ATX backplate. Push it in the hole from the inside of the case and make sure it's not moving.
Carefully manoeuvre and place the motherboard inside the case. I was holding on the CPU cooling fan while doing this.
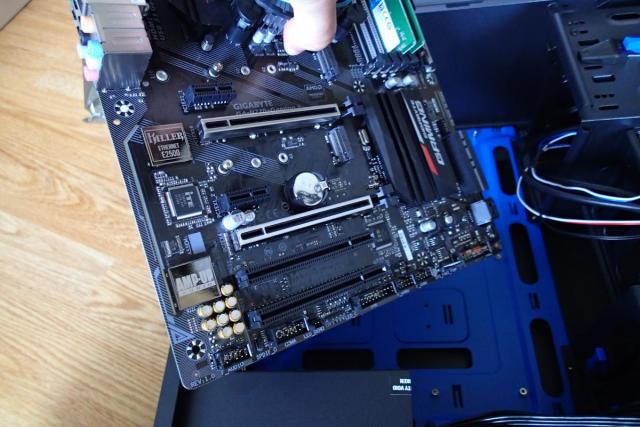
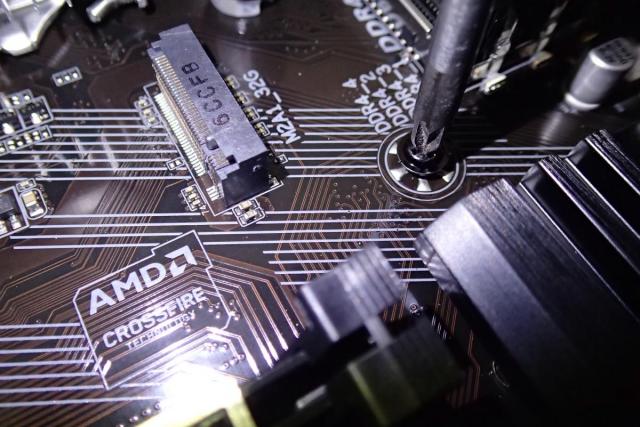
Align the holes on the board to match the screws and tighten them firmly.
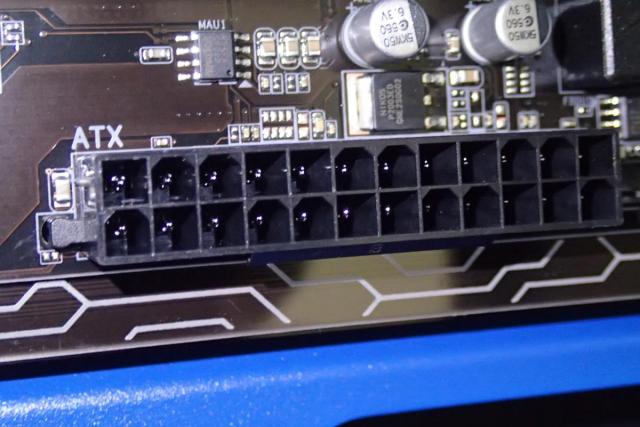
Now we can connect the power supply plug to the motherboard. It's the largest one and can not be missed.
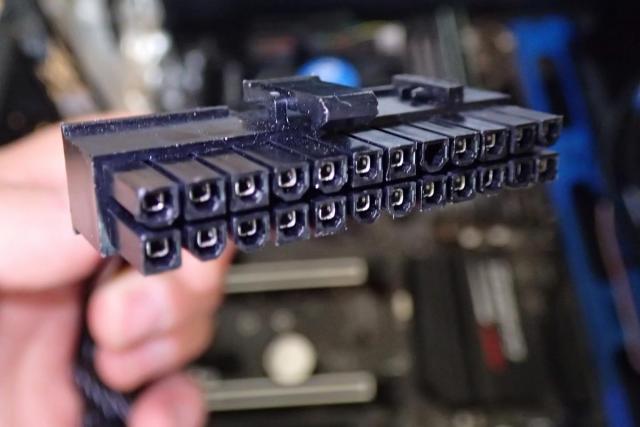
It only fits one way (if you don't force it).
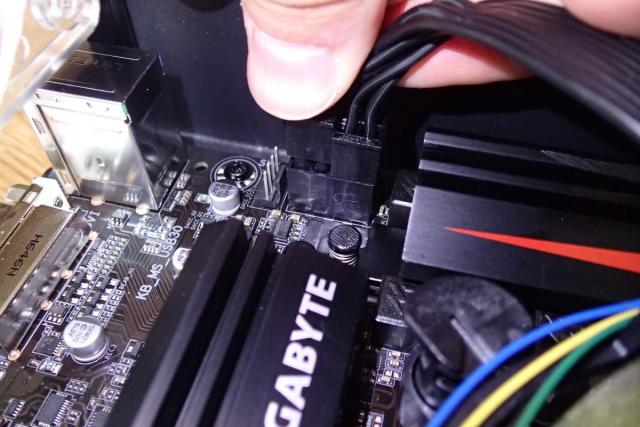
The ATX power supply will also have ATX_12V connectors They are two 2x2 squre blocks. When building my first computer based on ATX, I forgot connecting it and spend an hour to figure out why it was not turning on.
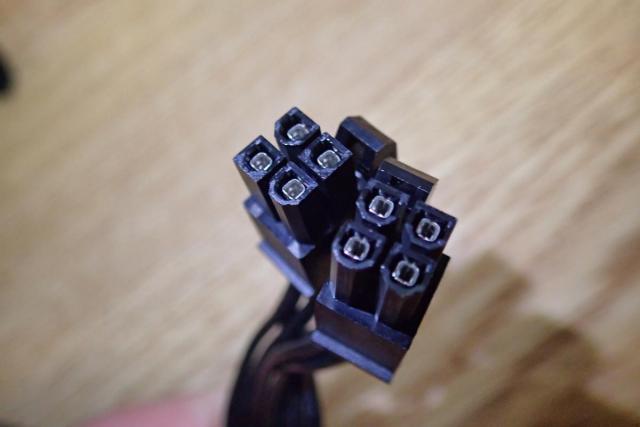
Insert them on the connector provided on the motherboard. They also fit one way, so no mistake can be made.
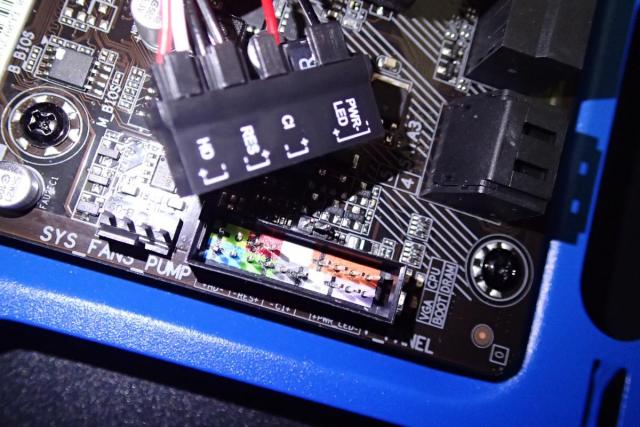
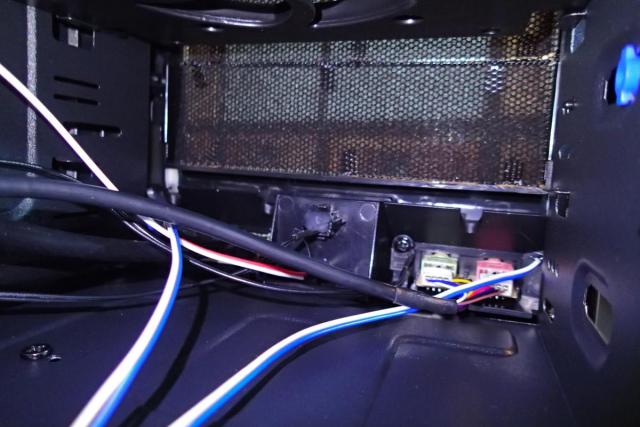
Now comes the most annoying part of the build. Connecting all the cables from the case to the motherboard, like power button, reset switch, HDD led and usb cables. Luckily the gigabyte motherboard provides a connector to make it easier.
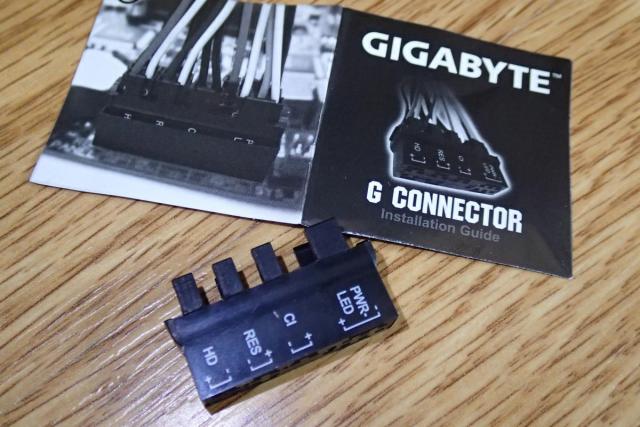
Locate all the cables and slide them inside the casing. Just make sure the + (red wire) of the led connector matches. The other ones do not matter the polarity. The speaker is not on the motherboard and needs to be connected separately as well.
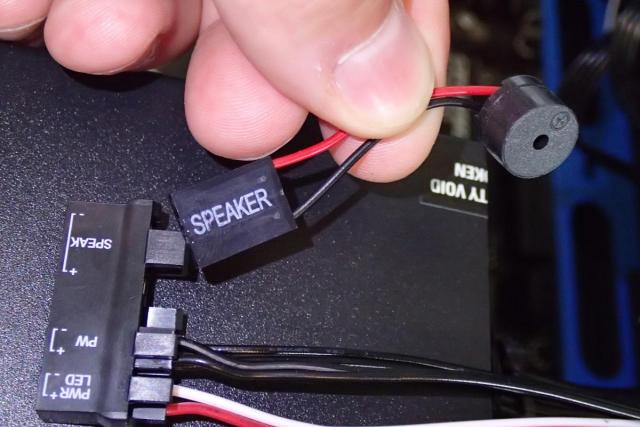
It can now be easily connected on the motherboard.
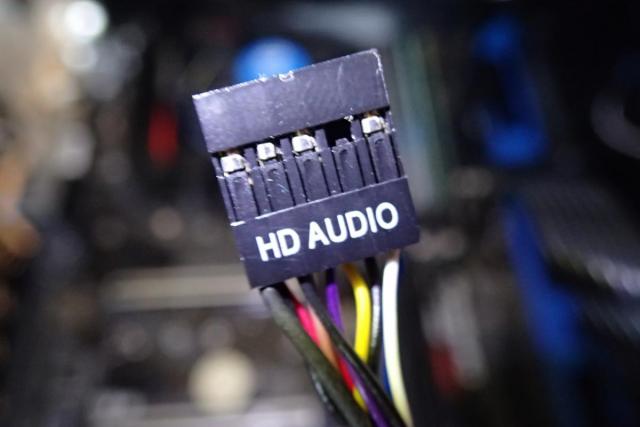
Don't forget to connect the HD Audio plug to the motherboard. Use the manual to find the location on the motherboard. If you don't connect it, you don't be able to use the front inputs for the head phones and microphone.
USB 3.0 connector (F_USB30_1) is also located on the motherboard. It the cable with the blue plug.
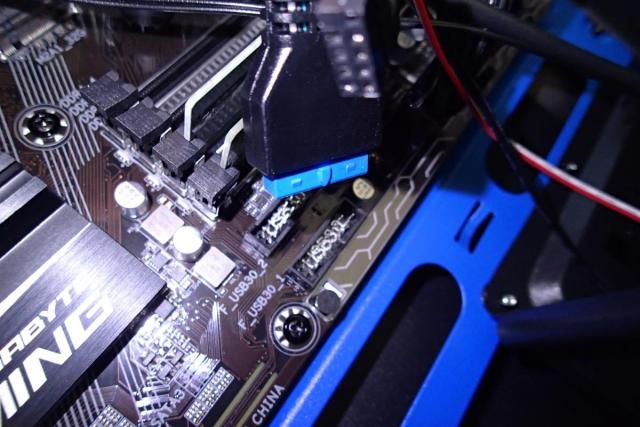
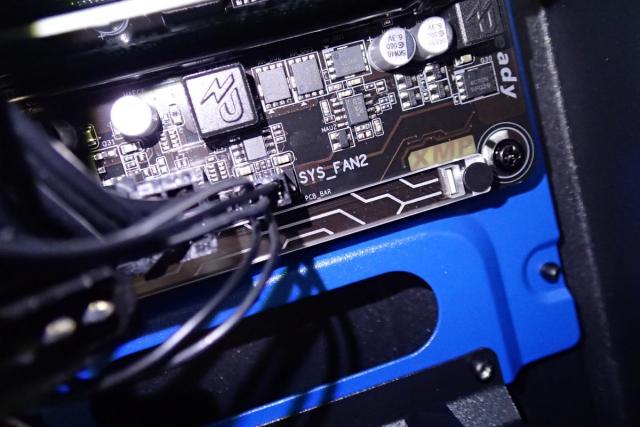
Locate the system fan cable, that is on the back of the case and connect it to the SYS_FAN2 port.
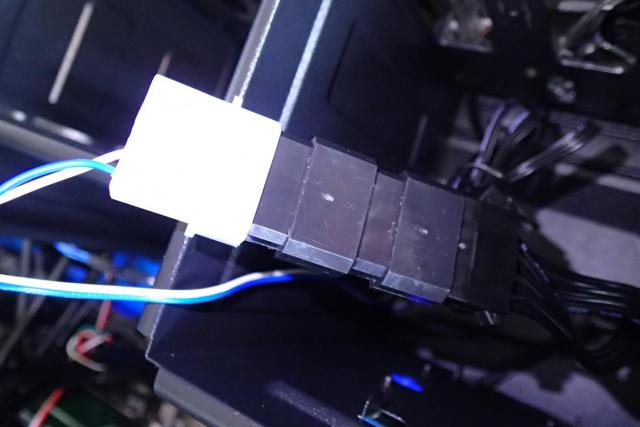
The fans on the front of the case can all be stacked up together and connected directly to the power supply.
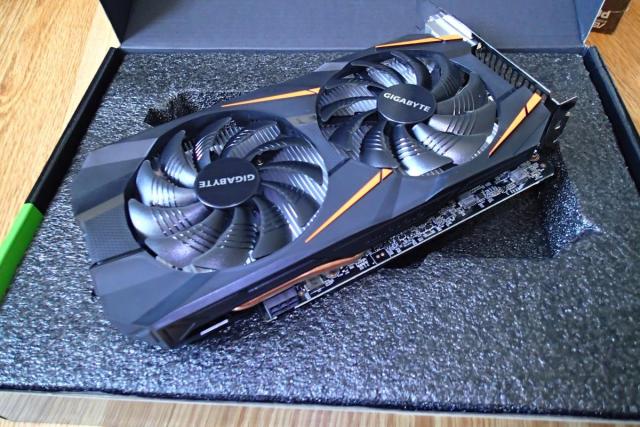
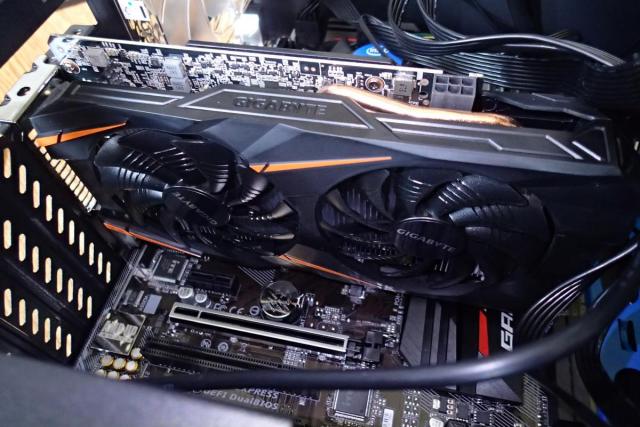
The Gigabyte Geforce video card consists of two large fans and looks and feels very decent.
To connect it we need to break out one of the PCI Expansion slot covers on the back of the case. The video card uses two of them.
Place the video card inside the upper PCIe 16x slot. There is a plastic lock on the back and it will click when you push the card in place.
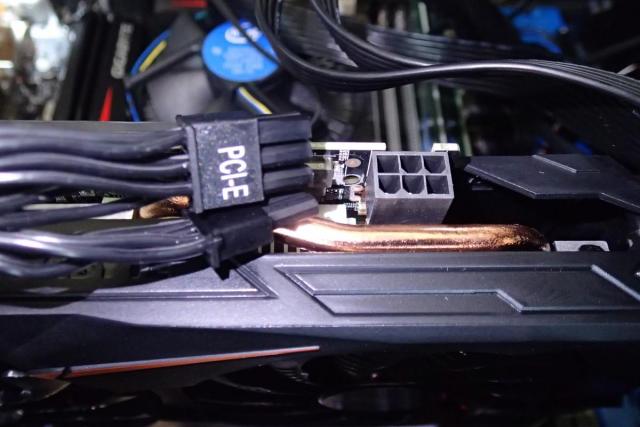
Locate the PCI-E power cables that origins from the power supply and connect it to the video card power input.
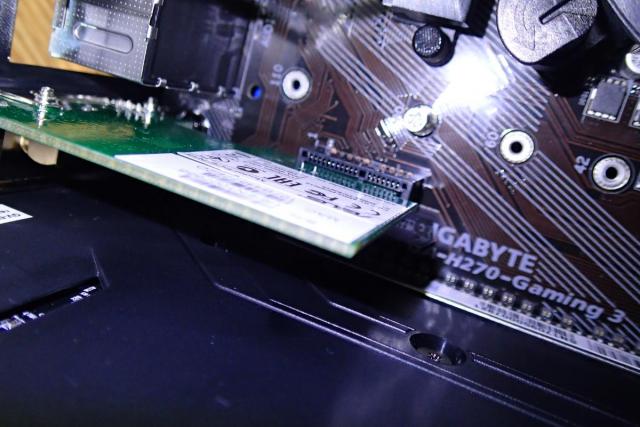
The Asus Wifi adapter provides 2 antenna's and a PCI-e low profile bracket.
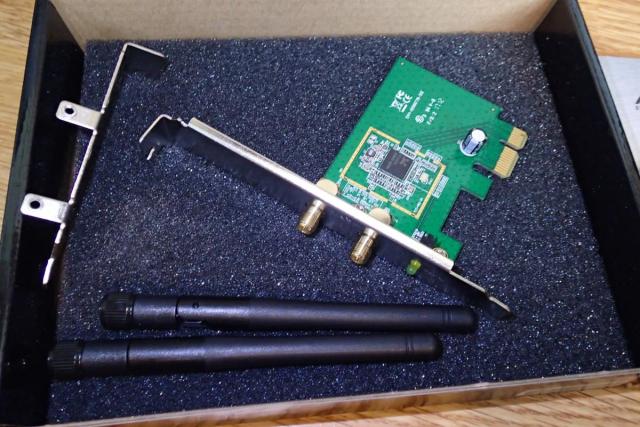
It fits in the short PCIe connector on the motherboard.
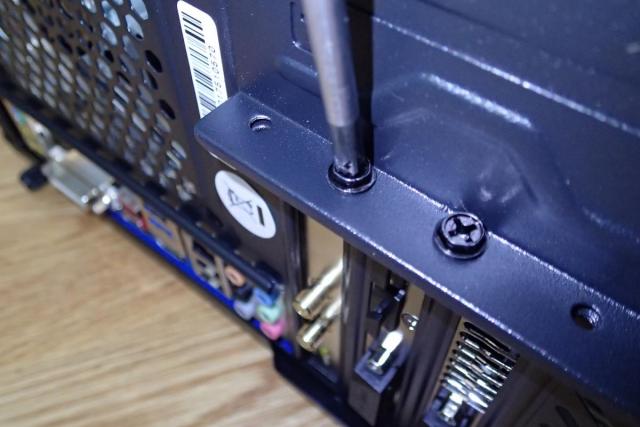
After placing both of the cards we can securely fasten them on the outside of the case with the provided bracket.
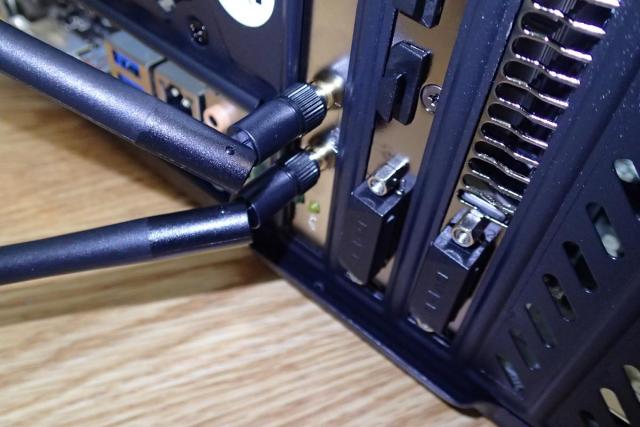
You can also attach the antennas.
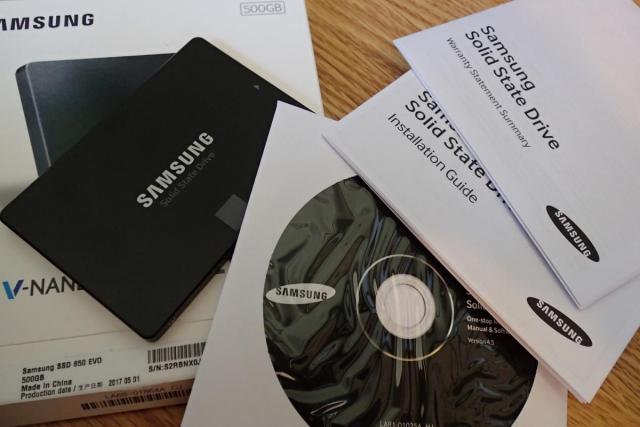
We can now proceed with the installation of the SSD hard disk. The package consists of manuals and an installation DVD.
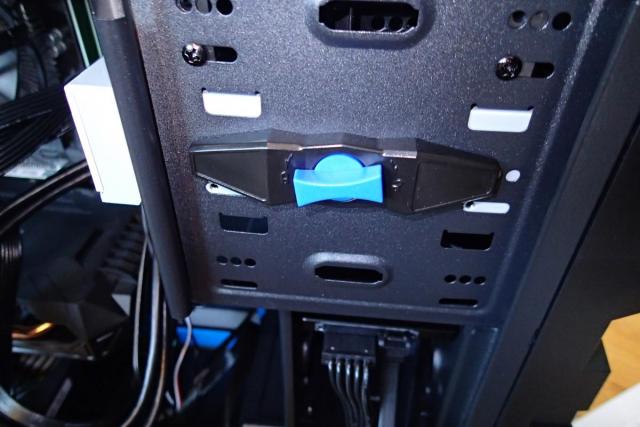
The Sharkoon case provides 2.5" mounts and no other brackets are needed. Slide the harddisk inside one of them and secure it with provided screws.
Connect the SATA power and data cable to the hard disk. The power connector is somehow flat and is wider that the data cable.
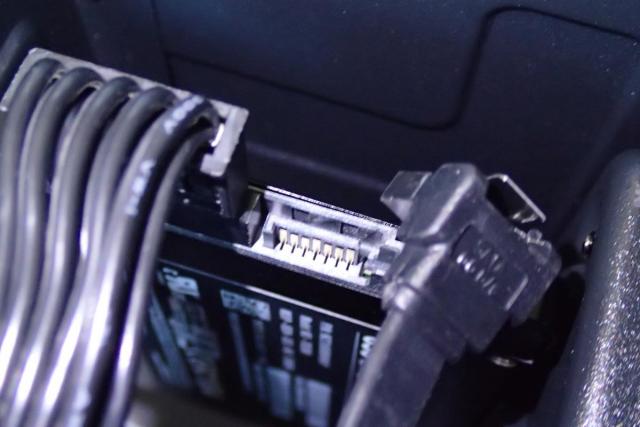
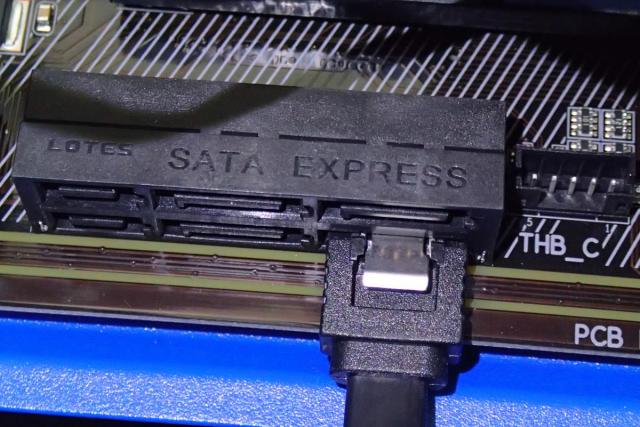
The motherboard has 4 SATA EXPRESS data connectors. Connect the hard disk to the first slot.
To connect the DVD drive we will need to remove one of the covers on the front of the case. I wish that I could tell you to do this gently, but I could not figure out how and had to apply some force pushing it inside the case and bending it a little.
Eventually the DVD drive could be slid into the opening.
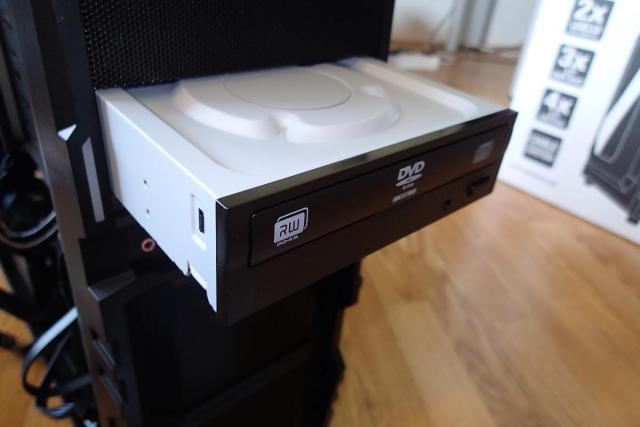
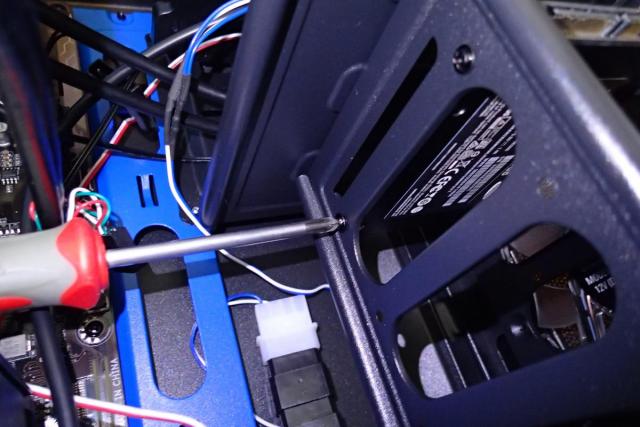
The case provides nice attachments to secure the DVD driver without the usage of screws. You can simply place it on the screw openings and twist to fasten it.
Just as the hard disk the DVD drive uses SATA. Connect the cables in the same way.

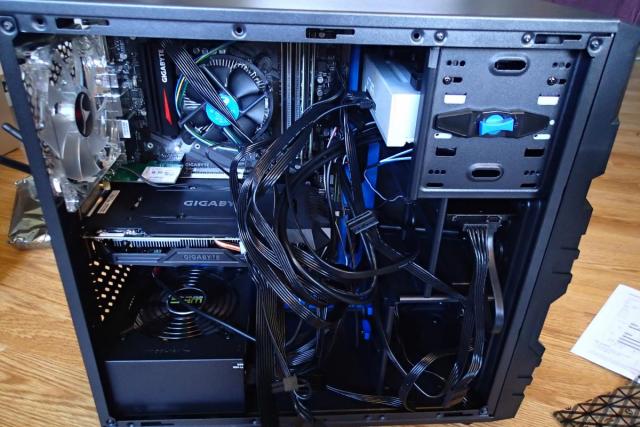
We are now finished with the build of the gaming PC. This is the final picture of how everything looks inside. You can also use cable ties to nicely lead the cables. This is important for a good air flow.
To conclude, I had a lot of fun building the system. I did not encounter any real changes from the time that I build the gaming computer in 2010. The technology got a bit faster and power efficient, but I did not needed any other knowledge and skills to assemble it.
I have setup the system with Windows 10 as it is still the best system to play new games.