Reprap is a very popular Open Source 3D printer. The idea of this project is of a self replicating machine that can create copies of itself. So when you want to build your own 3D printer, the first thing is to get a set of 3D printed parts. It is a good idea to dive into the RepRap community and get to know people that can help you acquire them. You have the option to buy a complete DIY 3D printer set that includes all the parts, but this is of course less fun than assembling everything yourself.
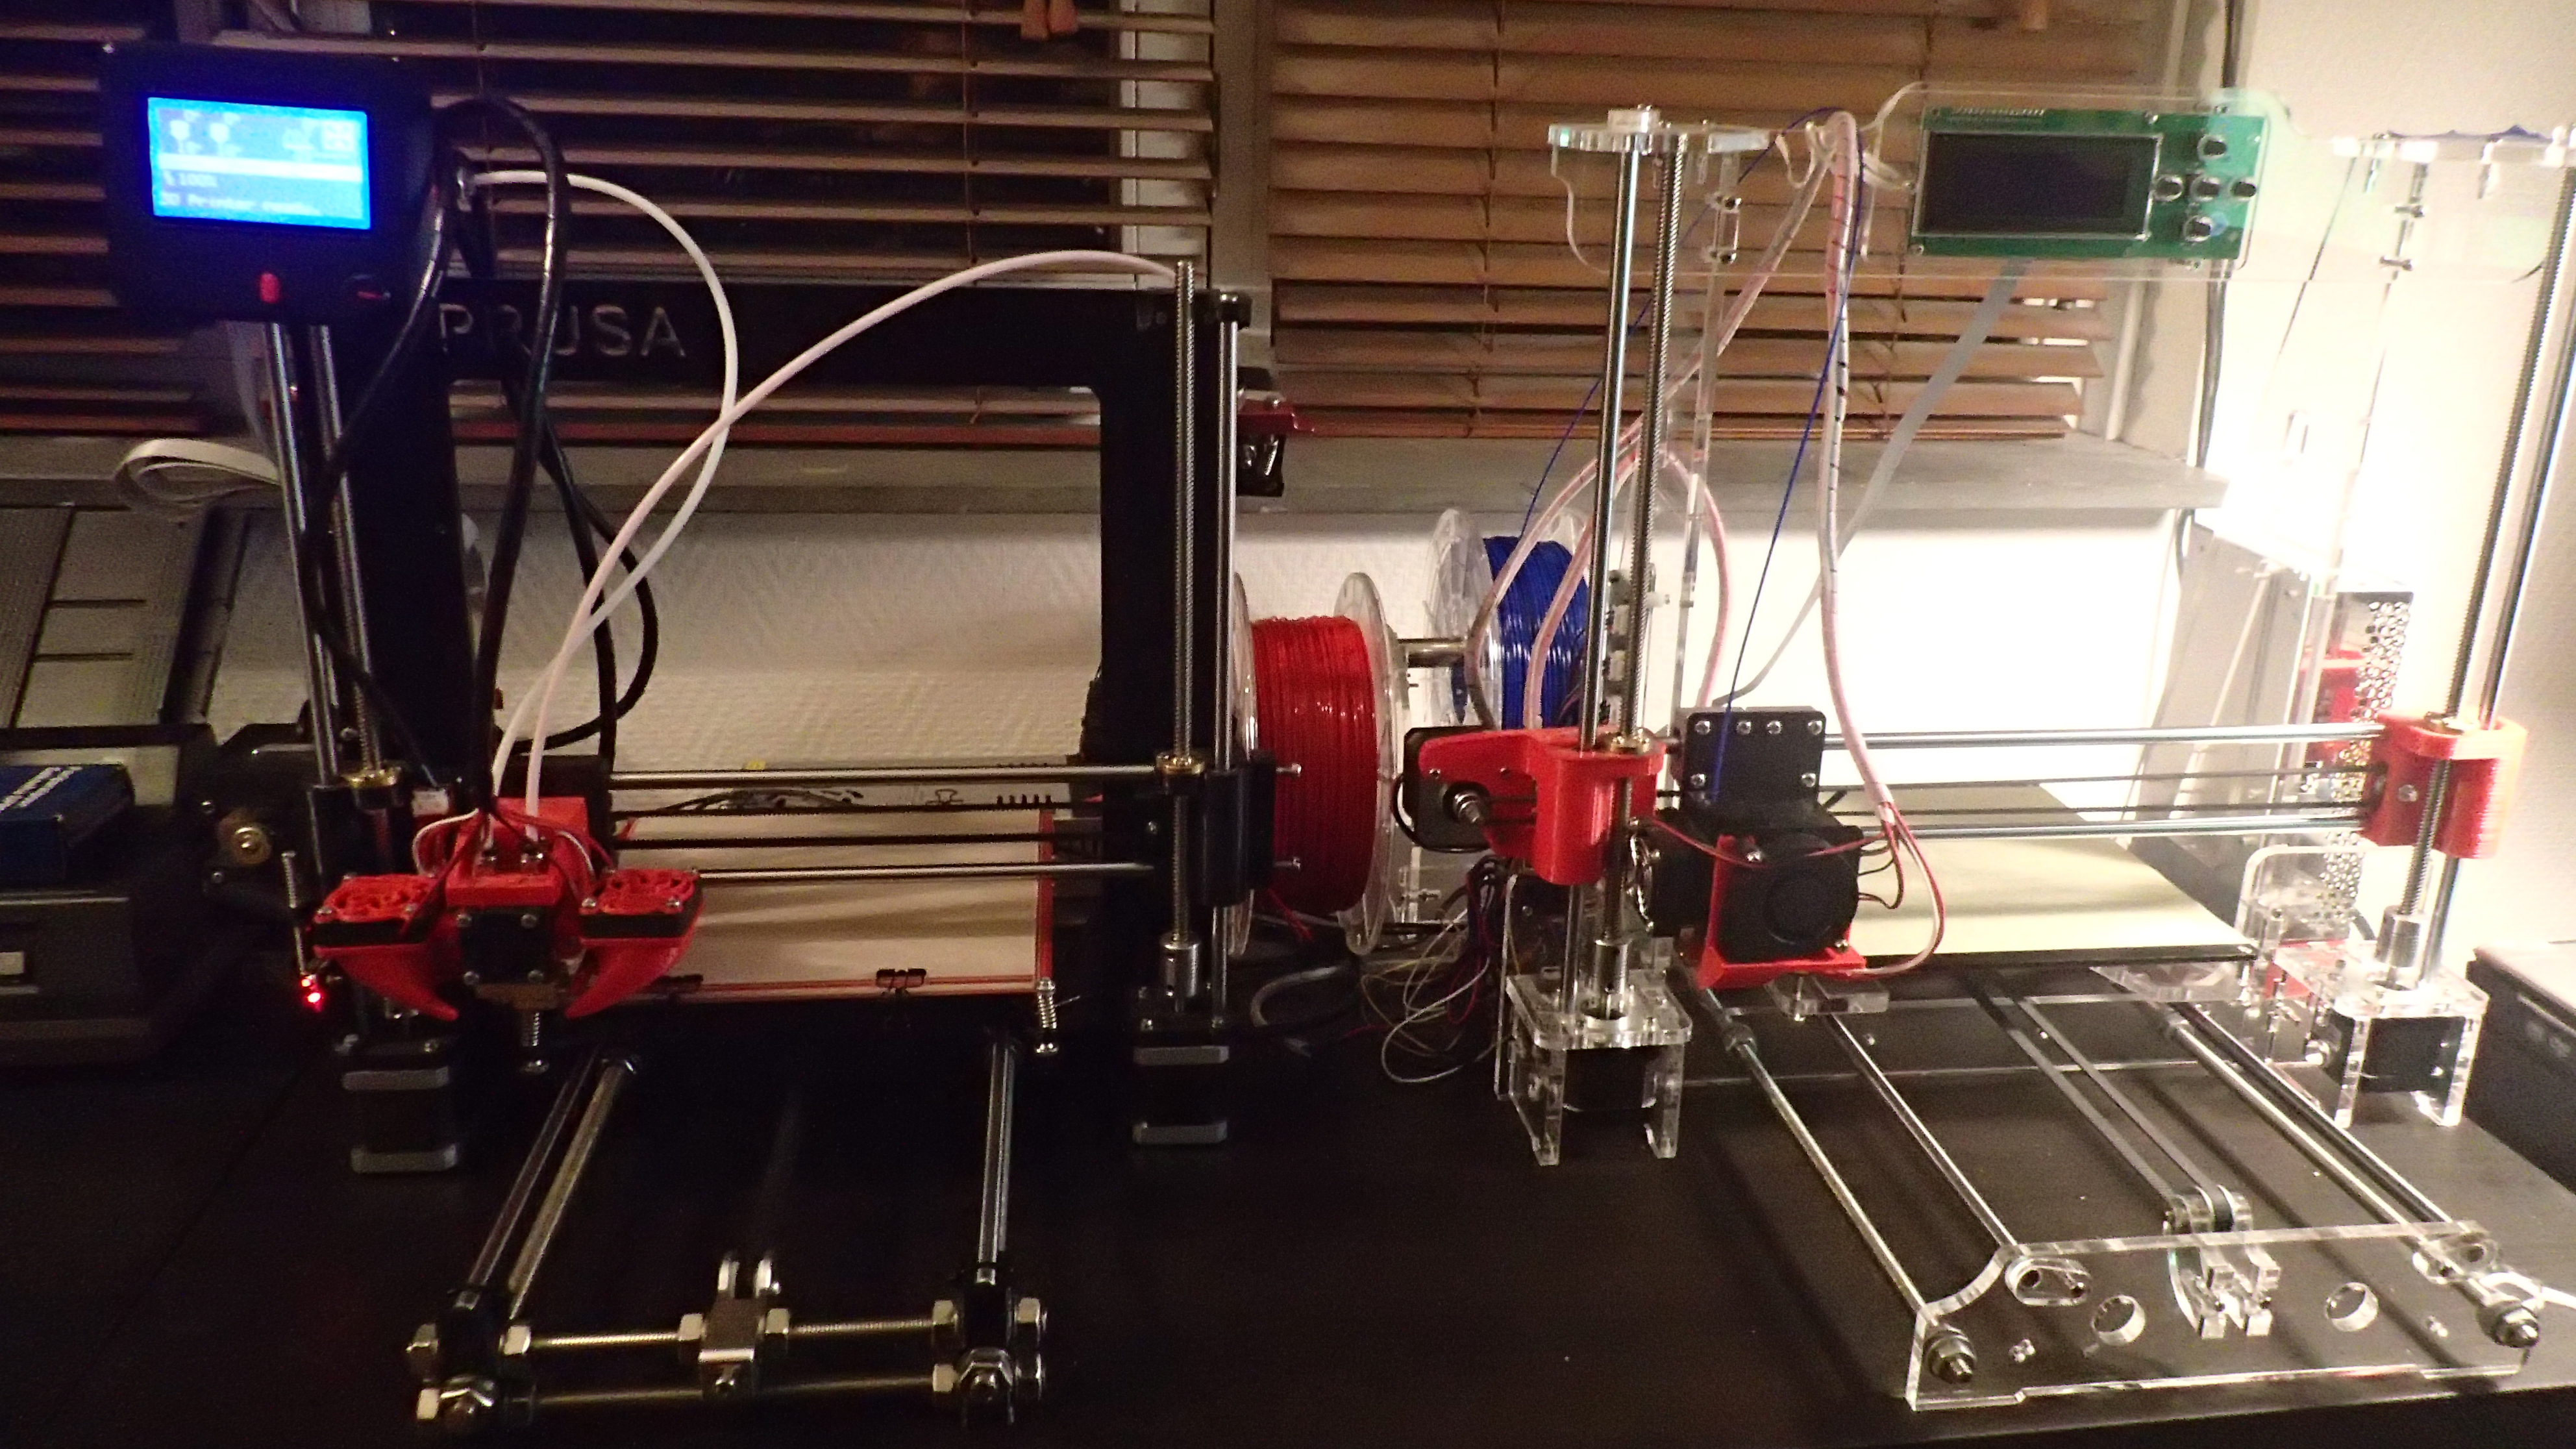
I have chosen a slightly different approach as I did not know anybody with a 3D printer and I had no idea which printed parts I needed. I decided to buy a cheap 3D printer from China and use it as base for building my own 3D printer. After getting acquainted with the 3D printer I was ready to start my own project. My goal was to build a Reprap Prusa i3 model, as I read a lot of good things about it and it was widely used among hobbyist. I also wanted to be able to print in 2 colors, so the printed needed to have a dual extrusion system.
The first think that you will need is a frame. It is the base of your printer and it will greatly determine the quality of your prints. The 3D printed parts ensure that you can combine other parts needed for the frame. The exact version of my printer is called: Reprap Prusa i3 Rework. However I have modified it a bit, mainly for stability and ease of setup.
I have started to look for the parts and a good manual about the printer with a complete BOM (Bill Of Materials). After some research I have found several resources that were very helpful.
- Reprap website. This will give you a good idea about which printed parts are needed
- Thingieverse project which has a list of the 3D files to print (in STL format)
- Manual on how to assemble the frame
- Howto guides from the official Prusa website
I understand that it is a lot of information to swallow, so I will try to split it up into small pieces that are clear to understand.
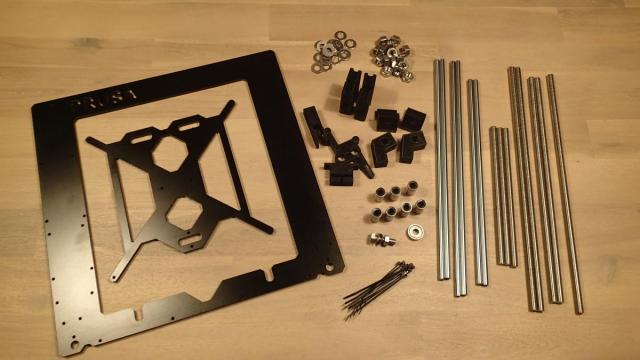
Next to the printed parts, to build the main frame structure you will also need the materials listed below. The second part of the frame will include the rods for the Z and X-axis and I will cover it in the next parts of this tutorial.
The frame itself is a cutout of 6 mm aluminum plate and is based on a DXF drawing which looks like this:
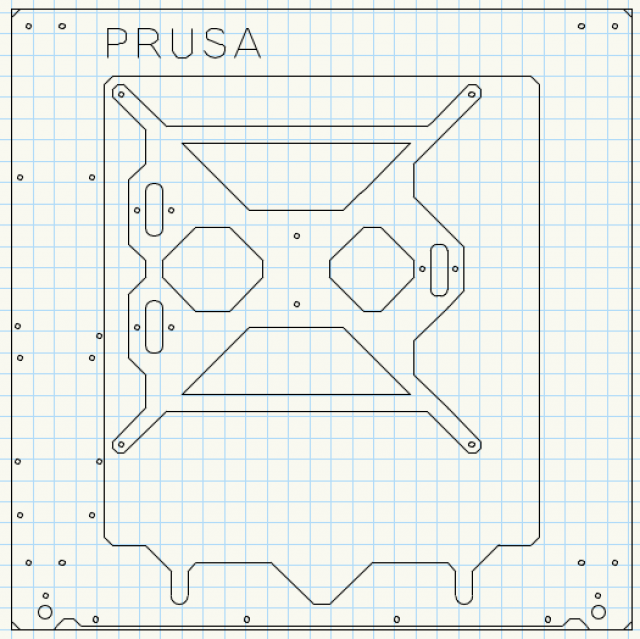
Here you can download the Prusa3ALU-FREZOVANY-v4.dxf source file. It is possible to make a laser cutout when you provide this file for a company that has a machine to do it, but it is very expensive if you just order one piece. You can also buy this frame online. I have ordered mine in an online Chinese webshop for around 70 euro. You have also the option to 3D print this frame, or make a cutout from wood but I do not recommend it, as the whole stabiliy of the printer will be compromised and it will affect the quality of your 3D prints.
To form the base structure you will also need M10 (which stands for 10 millimeters in diameter) threaded rods with these lengths:
- 3x M10 x 210 mm threaded rod
- 2x M10 x 360 mm threaded rod
- 1x M10 x 370 mm threaded rod
- 2x M10 x 380 mm threaded rod
For the X,Y and Z-axes, you will need 8mm smooth steel rods (preferably chromed) in these lengths:
- 2x 370 mm - for the X-Axis
- 2x 350 mm - for the Y-Axis
- 2x 320 mm - for the Z-Axis
You will also need a total of 11 LM8UU 8mm linear ball bearings. 3 of them, we will use for the slidable printing bed platform, 4 will be used for the X-axis where the extruder will be mounted and the remaining 4 are for the Z-axes.
The remaining parts are:
- 38x M10 nuts
- 38x M10 washers
- 1x M8 x 30 mm bolt with 2x M8 washers and 1x M8 nut.
- 1x M4 x 20 mm bolt with 1x M4 nut.
- 1x 608 bearing
- Cable ties 2.5 mm wide and 100 mm long (black)
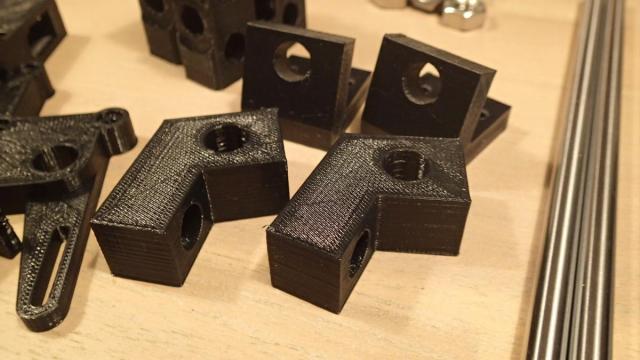
The first parts you will need to print are the Y-CORNERS. You can find them in the collection of this thingiverse project. They support the whole structure and will form the base. You will need to print 4 of them.
Next you will need to print the Y-BELT-HOLDER, Y-IDLER and Y-MOTOR. These parts are needed to hold the belt and the Y-stepper motor in place.

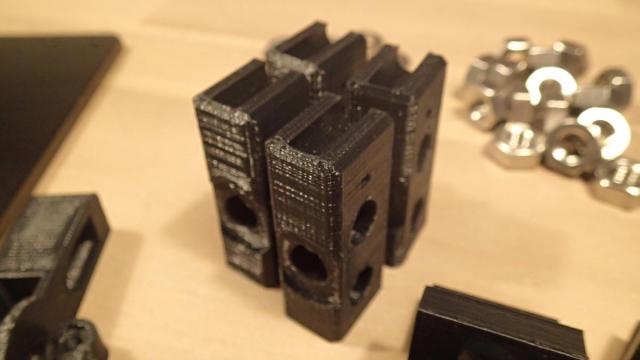
And the last prints for this part of the project are Z-Axis support brackets which can be found in this project by Tech2C. Print 2x z-axis-support-bottom and 2x z-axis-support-top of the 10 mm version as we will be using M10 threaded rods.
In the next part we will assemble the base of the frame.