Sometimes a backup is just a good idea.
And sometimes it is the only thing standing between you and a painful reinstall.
In this case I had a small mini laptop running Windows 11 Pro that I wanted to use for Ubuntu and later for Home Assistant experiments. Normally I would just shrink the Windows partition, install Linux alongside it, and move on.
But this machine had a problem.
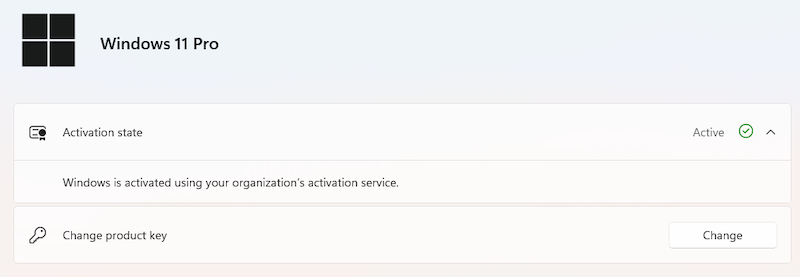
The Windows installation looked activated, but there was no OEM key stored in the BIOS/UEFI, and the system was not using a normal personal digital license either. Instead, Windows reported that it was activated using an organization's activation service. That means this installation was using KMS / volume activation, which is something normally used by companies and schools to activate many machines at once.
That changed everything.
Because if I wiped this laptop and later wanted to reinstall Windows, there was a very real chance that activation would be gone for good. So before touching partitions or installing Ubuntu, I wanted a full image backup of the internal SSD.
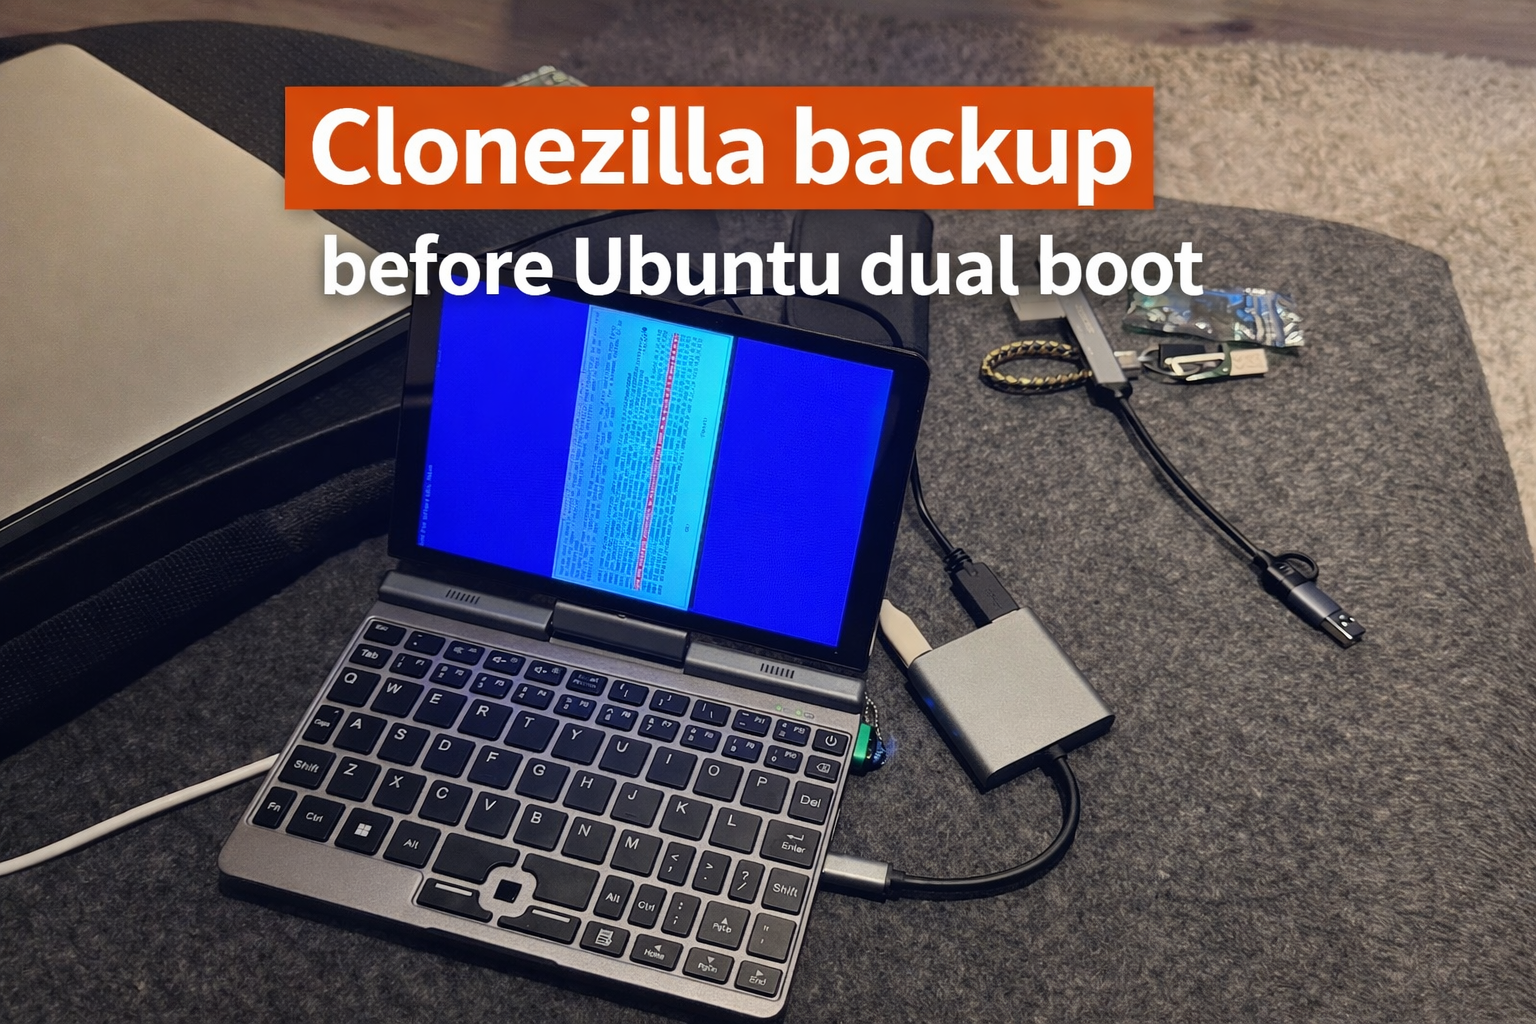
This is where Clonezilla came in.
The reason for the backup in the first place
At first I thought I would just extract the Windows key and save it somewhere. But that did not work.
Running the usual command to read the firmware key returned nothing:
wmic path softwarelicensingservice get OA3xOriginalProductKeyNo key.
Then I checked the activation status and things got more interesting.
The system reported:
- Windows Professional
- VOLUME_KMSCLIENT
- activated through an organization’s activation service
- no embedded OEM key in firmware
- and activation valid until a far future date
That is not what you normally expect on a consumer mini laptop.
In a clean factory setup, I would expect one of these:
- an OEM key in UEFI/BIOS
- or a digital license tied to the hardware
But this machine had neither of those visible. Instead, it looked like the seller or assembler had used a KMS volume activation method.
That raises an obvious possibility: the vendor may have installed Windows using a prepared image or some kind of cloned setup, and then relied on the activated state of that image instead of providing a proper per-device OEM license.
In other words, the Windows installation worked now, but a clean reinstall later might not.
That was the whole reason for making a full disk image first.
slmgr /dlv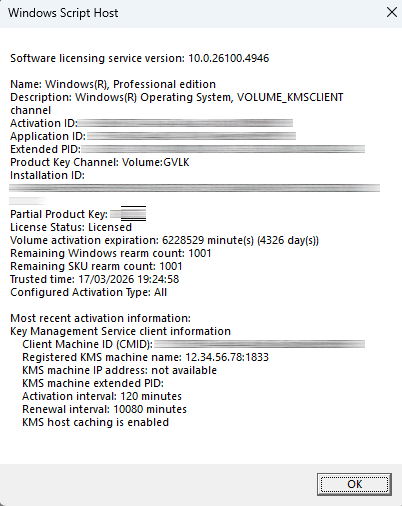
The machine
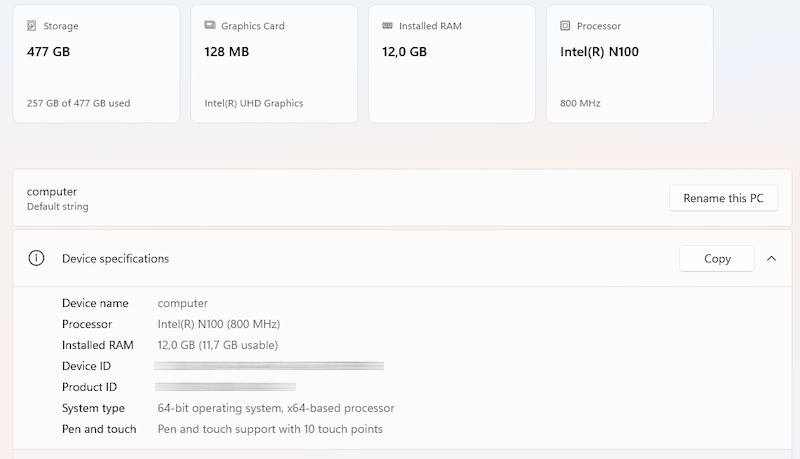
The laptop itself is one of those small generic P8-style mini laptops. Mine has:
- Intel N100
- 12GB RAM
- 512GB SSD
- touchscreen
- Windows 11 Pro
So not exactly a powerhouse, but nice enough for experiments, Linux, and maybe even Home Assistant.
Why Clonezilla?
I wanted a backup that would restore the entire SSD, not just copy some files.
That means:
- EFI boot partition
- Windows partition
- recovery partition
- bootloader and partition layout
- and ideally the current activated Windows installation state too
Clonezilla is great for that. It is free, proven, and made exactly for this kind of disk imaging work.
If I ever need to go back, I want to restore the whole drive as it was, not rebuild things from scratch.
What I used
For this backup I needed:
- an external SSD with enough free space
- Clonezilla written to bootable media (I have used an USB card reader with an SD card)
In my case:
- the internal SSD had about 105GB used
- the external SSD had about 400GB free
- the external drive was formatted as NTFS
That was more than enough.
First I checked the disk layout in Windows
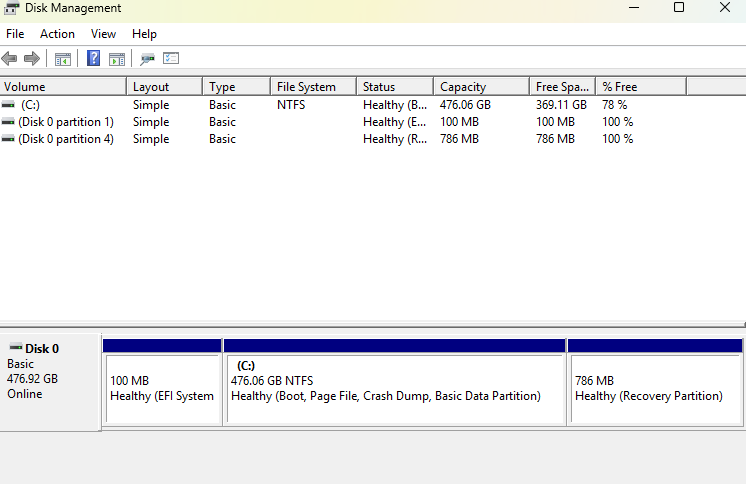
Before booting Clonezilla, I checked the drive in Windows Disk Management.
The internal SSD had a nice simple layout:
- 100MB EFI partition
- main Windows partition
- recovery partition
That is a good sign, because simple layouts are easier to back up and easier to restore later.
Creating the Clonezilla boot media
I downloaded the Clonezilla live ISO and wrote it to a bootable SD card with Rufus. A USB stick would work just as well.
In Rufus, I have used this settings to write the ISO image:
- Partition scheme: GPT
- Target system: UEFI
- After clicking on START, select ISO mode
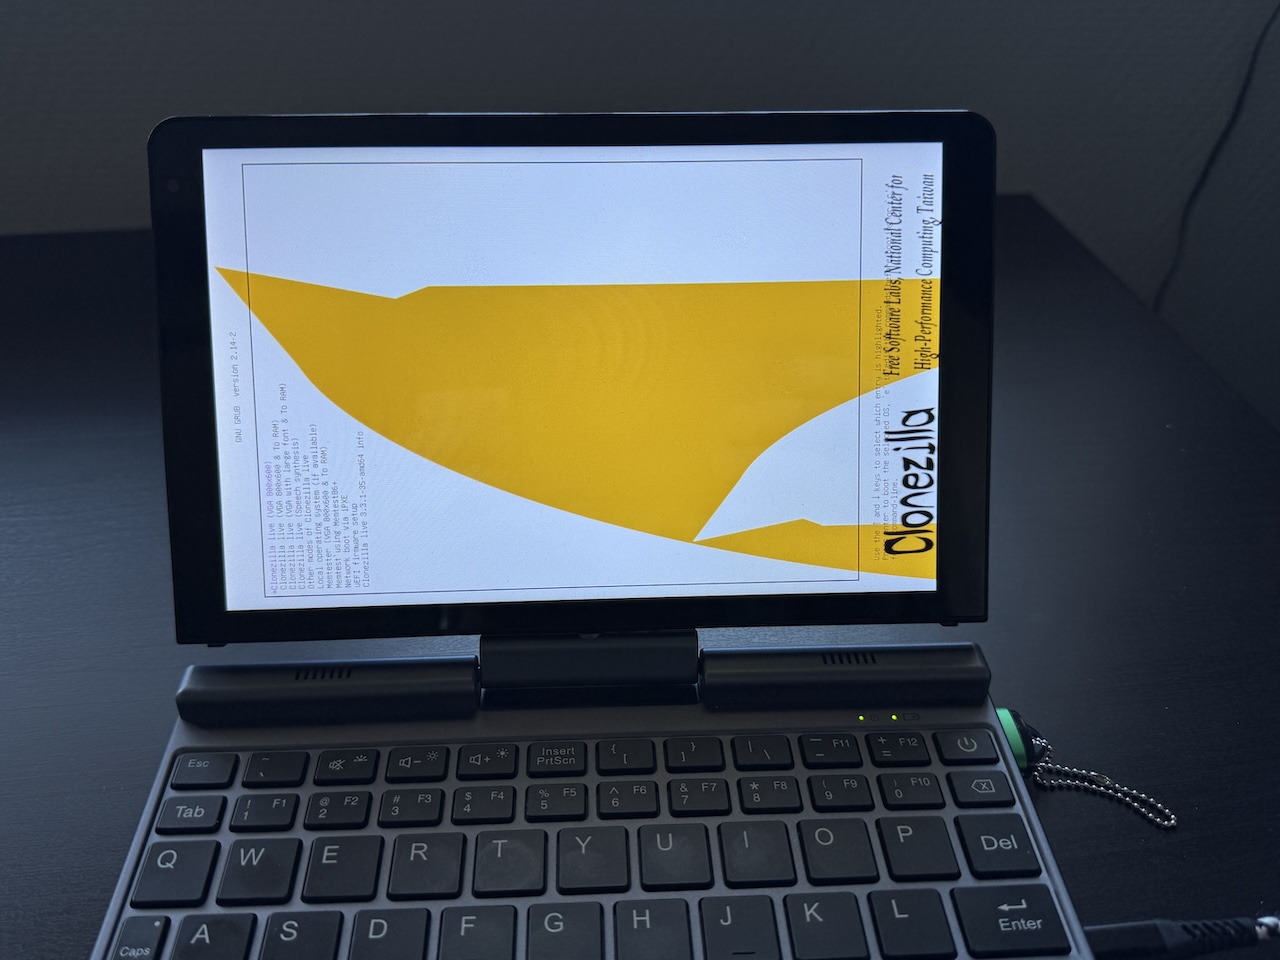
One thing I immediately noticed on this machine: the BIOS and Clonezilla both displayed in vertical orientation. Windows itself did not. That looked a bit alarming at first, but apparently some of these small devices handle screen orientation in a funny way at firmware and early boot level.
So yes, it looked weird, but I continued.
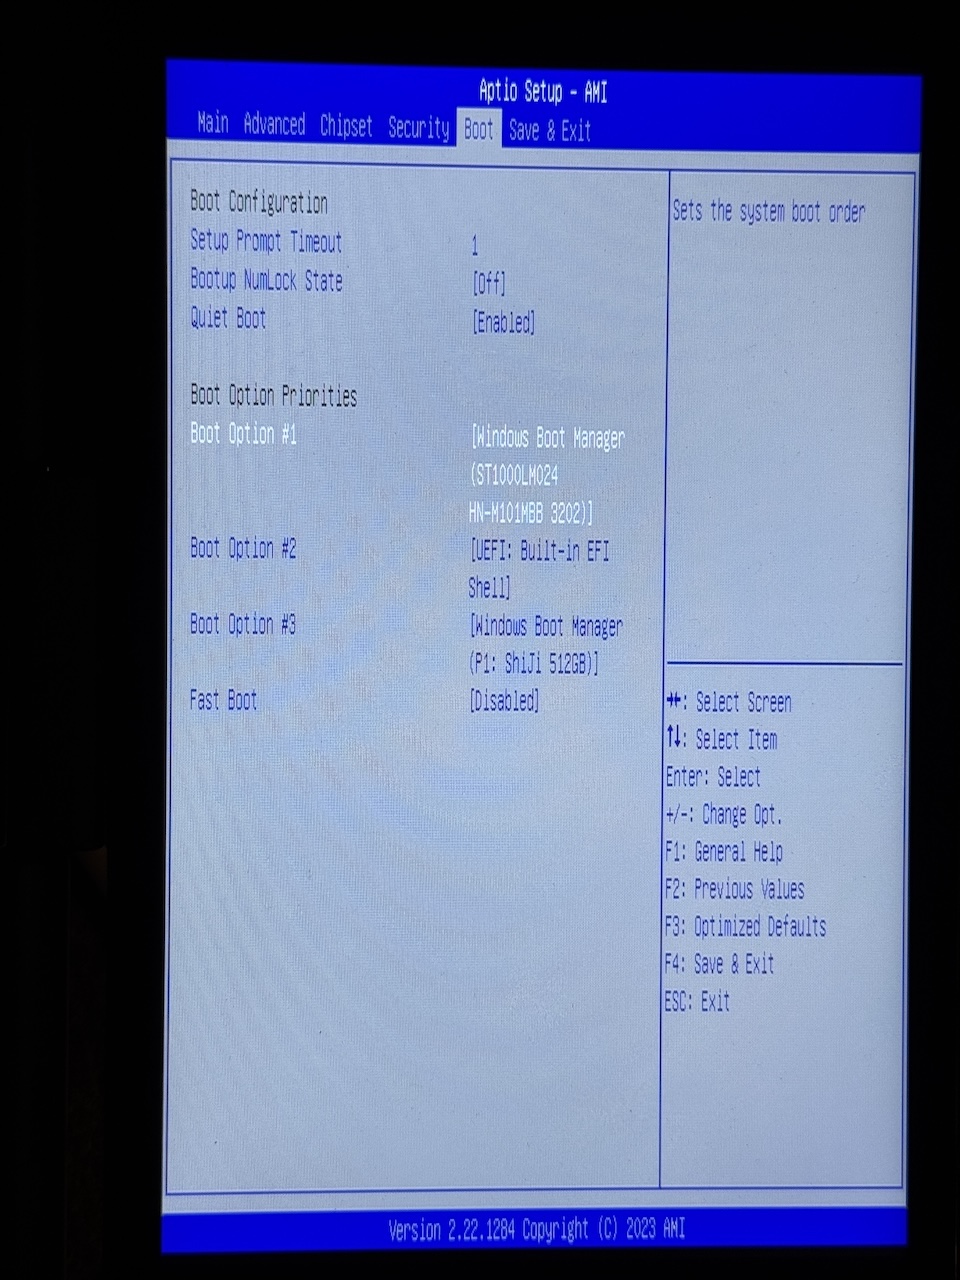
Booting from Clonezilla
I have boot from Clonezilla, I had the enter the BIOS. To do that I had to press the ESC key right after the machine has powered up. Then I could change the boot media to USB.
Once Clonezilla started, I chose:
- device-image
- local_dev
That means:
- create an image
- store it on a local connected drive
Clonezilla then scanned the connected devices and showed:
- the internal SSD
- the external backup SSD
- the Clonezilla boot media
That is one of those moments where you really want to pay attention.
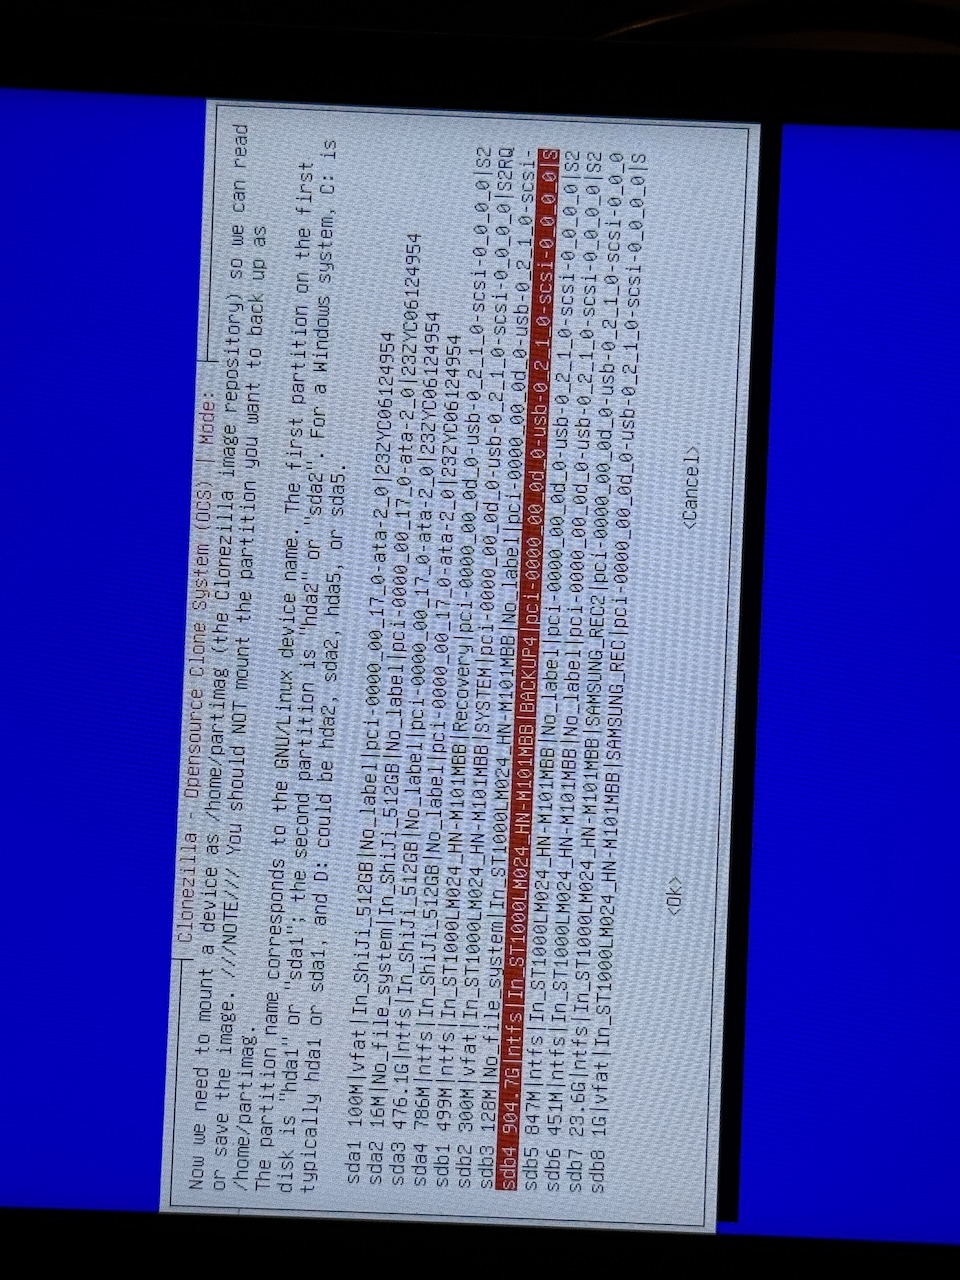
Selecting the backup destination
On the external SSD there were several partitions, but the one I needed was the large NTFS data partition.
That became the destination for the image files.
After that I skipped the file system check for the external drive and continued into the image setup.
Choosing the backup mode
For the actual backup I selected:
- Beginner
- savedisk
This is important.
I did not want only one partition. I wanted the entire internal disk backed up, including EFI and recovery. So savedisk was the correct option.
For the extra questions I kept it simple:
- compression enabled
- skip source file system repair
- skip saved image checking
- no encryption
- no log copy to Clonezilla media
- ask later what to do when finished
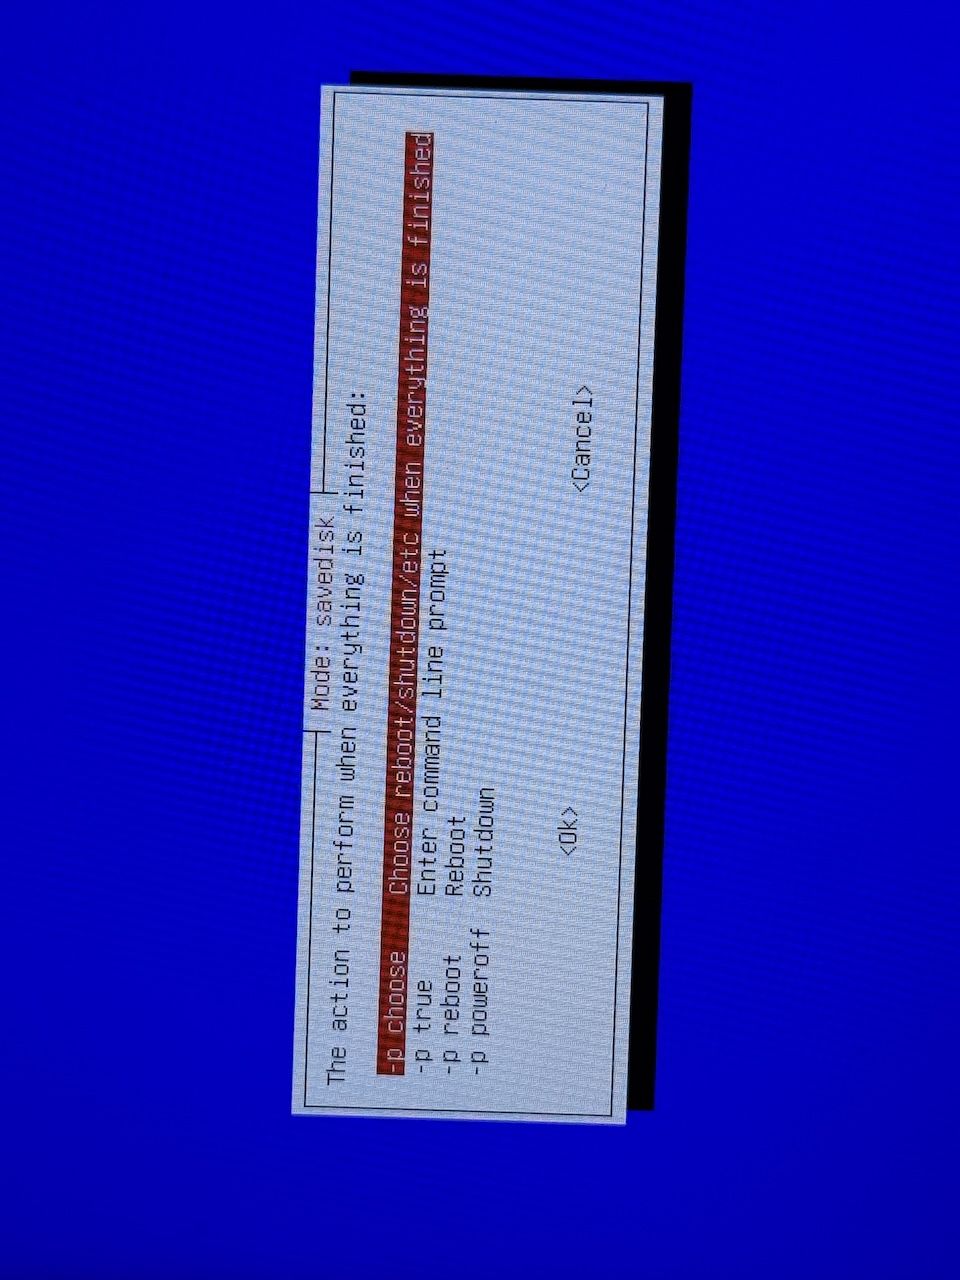
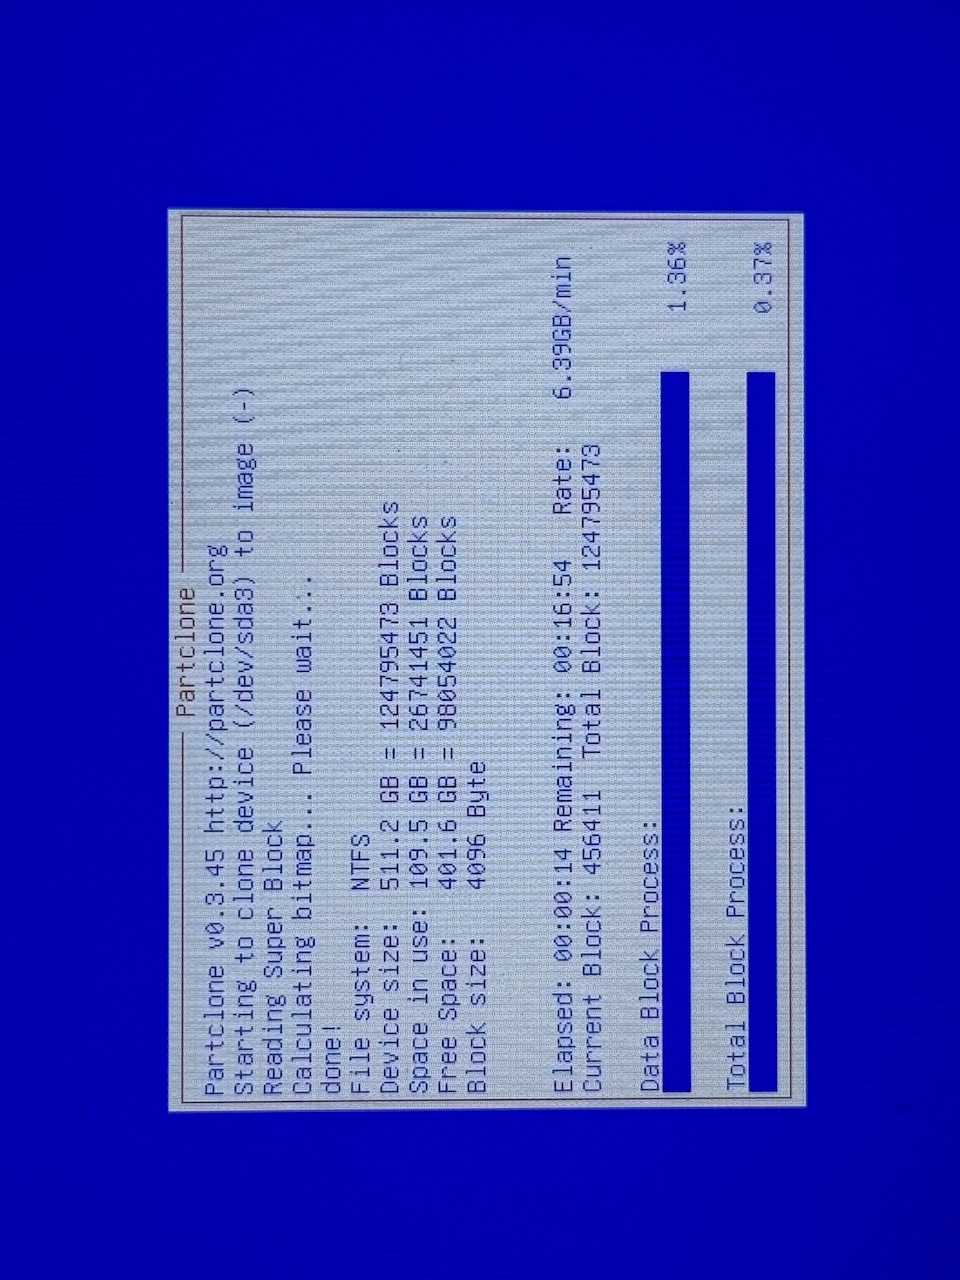
Creating the image
After the final confirmation, Clonezilla started backing up the disk.
The biggest part, of course, was the Windows partition. The used data was around 109GB at that point, so it was not too bad.
Once the backup started, all I had to do was leave it alone and let it work.
Backup finished successfully
Clonezilla eventually reported that the image had been saved successfully.
That was the key moment of the whole process.
At that point I had:
- a full image of the internal SSD
- a fallback plan
- and a much safer feeling about continuing with Ubuntu

Checking the backup files
Back in Windows I opened the backup folder on the external SSD and checked whether the Clonezilla image files were really there.
I always like doing that. It does not prove a restore, but it does confirm that Clonezilla actually wrote the image files and metadata to the drive.

The next step: resizing the Windows partition
With the backup safely done, I moved on to preparing space for Ubuntu.
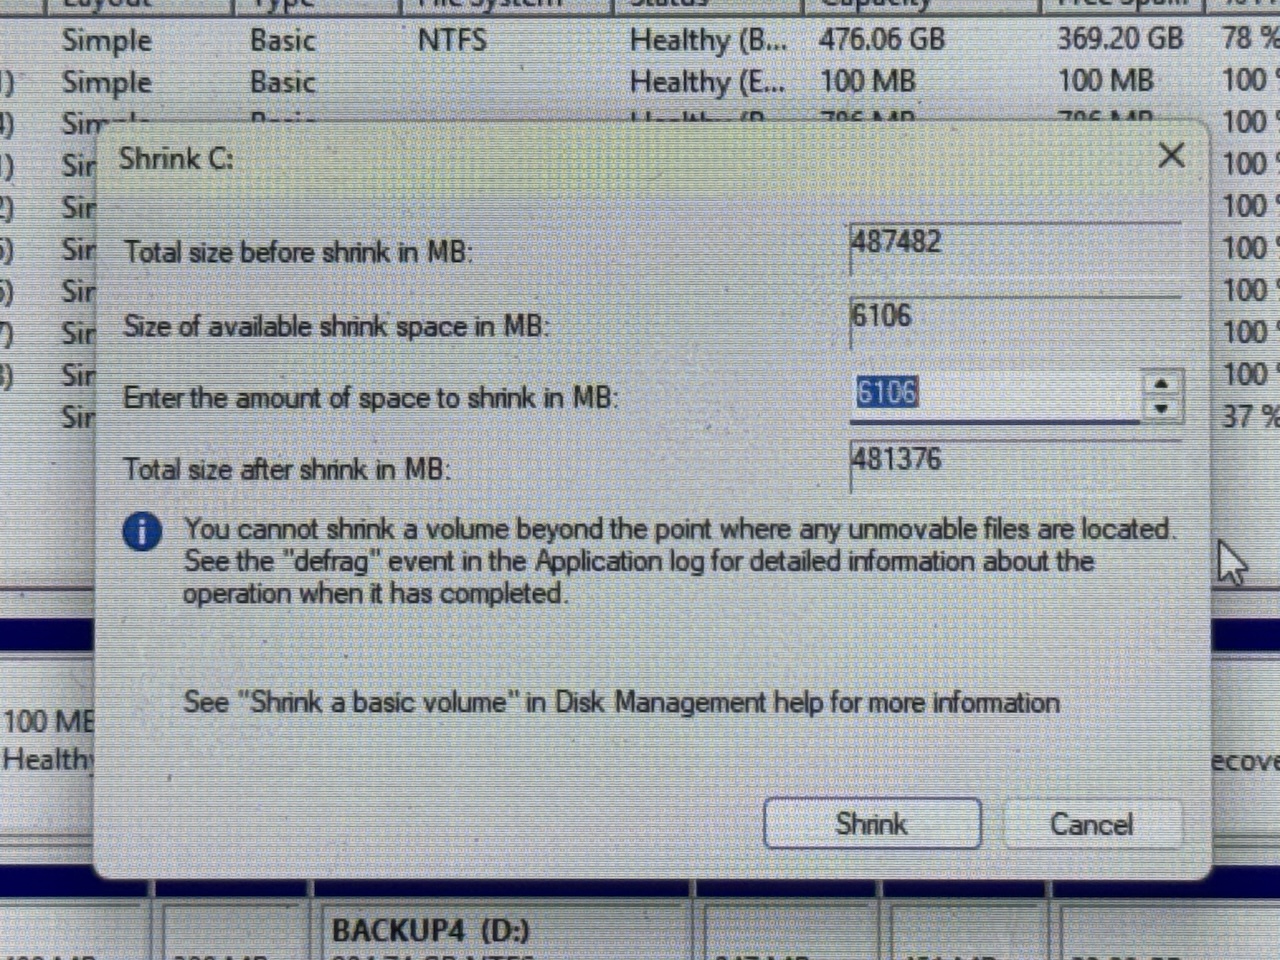
First I tried the obvious method:
Windows Disk Management → Shrink Volume
And Windows responded with nonsense.
Even though the drive had loads of free space, it would only let me shrink the partition by about 6106MB.
That was nowhere near enough.
Trying to convince Windows
I tried the usual tricks to make Windows more cooperative:
- disabled hibernation with powercfg /h off
- disabled the paging file
- disabled system protection
- ran defrag C: /X
The last one deserves a note.
Normally I do not care much for defragging SSDs. It is not really a performance win like it used to be on spinning hard drives. But in this case the goal was not speed. The goal was to consolidate free space so the partition could be shrunk.
Still, even after all that, Windows remained stubborn and offered the exact same ridiculous amount of shrink space.
So I stopped wasting time on it.
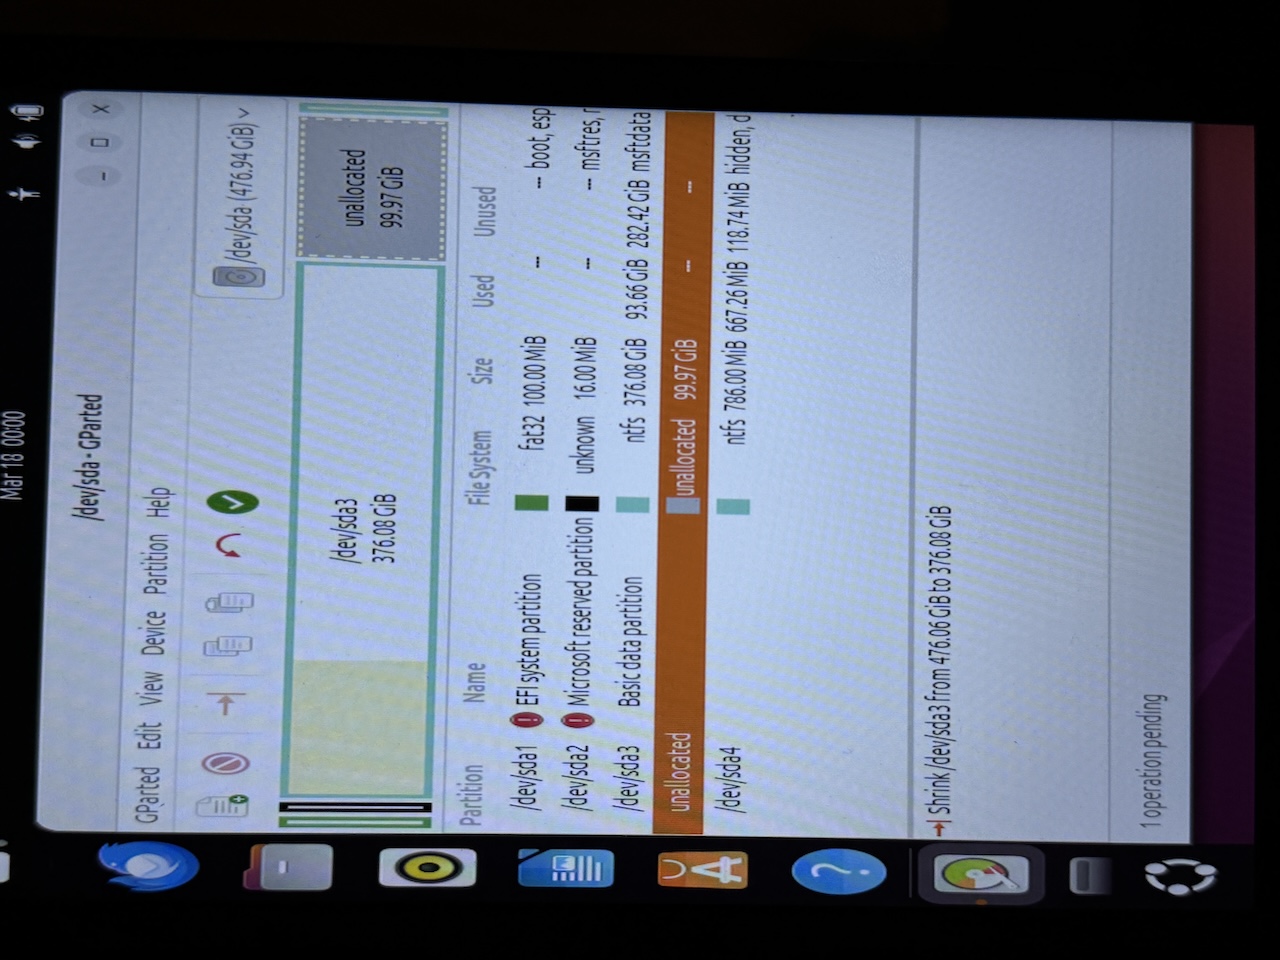
The better solution: GParted from Ubuntu Live
Plan B turned out to be much better.
I booted the Ubuntu live environment and used GParted there instead.
That had its own drama:
- black screen on boot
- needed nomodeset
- vertical display again
- mouse movement worked but clicking was weird at first
- touchscreen unexpectedly started working later
So yes, it was one of those installs.
But once GParted opened, resizing the NTFS partition was easy.
I selected the big Windows partition and reduced it to leave about 100GB unallocated for Ubuntu.
That worked immediately.
No arguing. No fake 6GB limits. No drama from Windows.
Installing Ubuntu alongside Windows
After that I started the Ubuntu installer and selected:
- Install Ubuntu alongside Windows Boot Manager
That was exactly the option I wanted.
The installer summary showed:
- existing EFI partition used for /boot/efi
- Ubuntu being installed into the resized space
- Windows left intact
So I continued.

Ubuntu install quirks
After installation, Ubuntu did not boot nicely straight away.
The first normal boot gave GRUB splash screen and then a black screen. So I edited the GRUB entry (pressed e on the grub menu scrreen) and replaced the text quiet splash with nomodeset
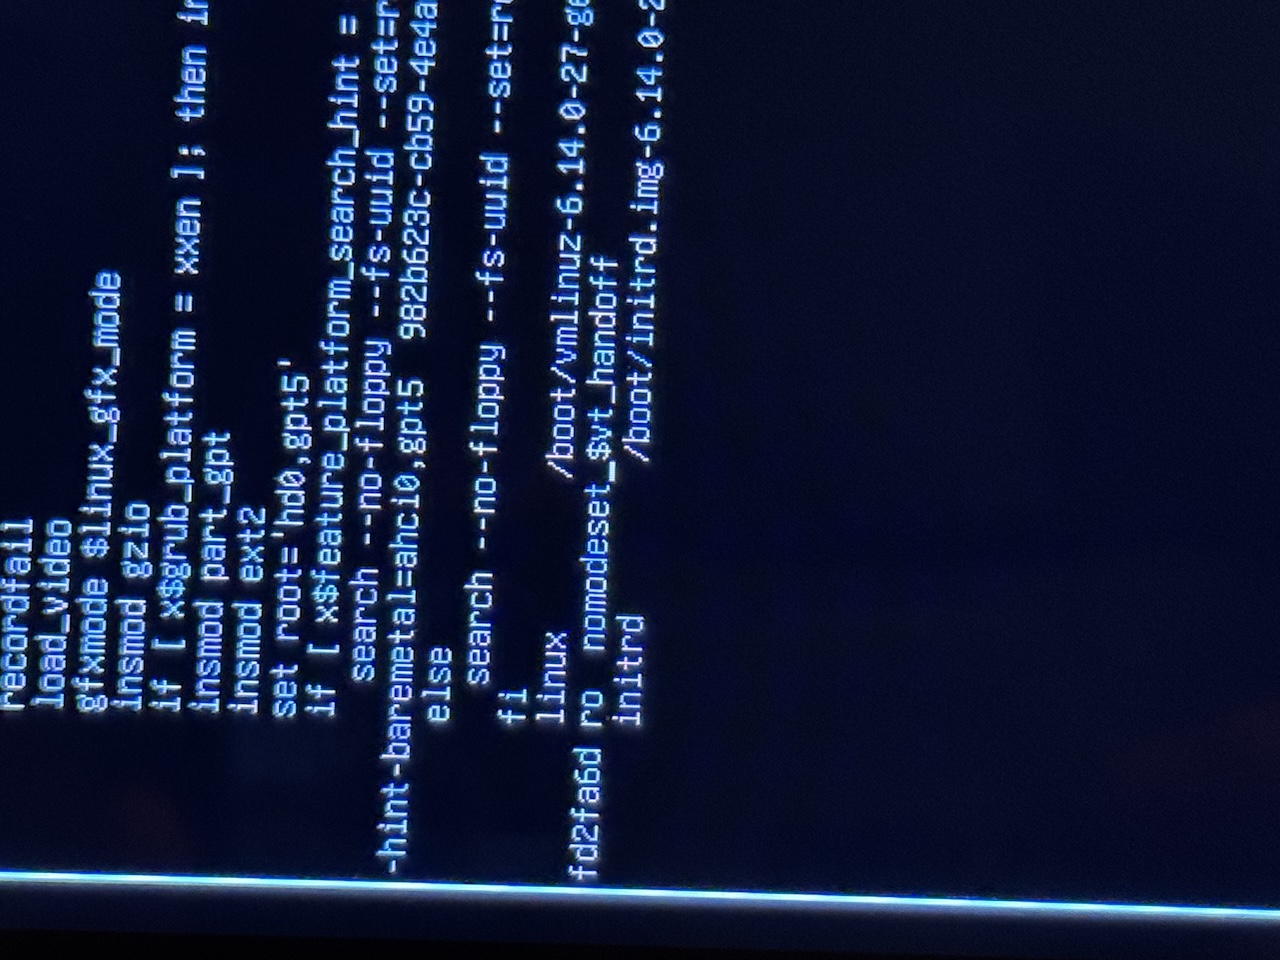
That allowed Ubuntu to boot.
Then the desktop came up in vertical orientation, but fortunately the fix was simple:
- open Settings
- go to Displays
- set orientation to Landscape
That solved the desktop.
Later I made the boot workaround permanent by editing GRUB and setting:
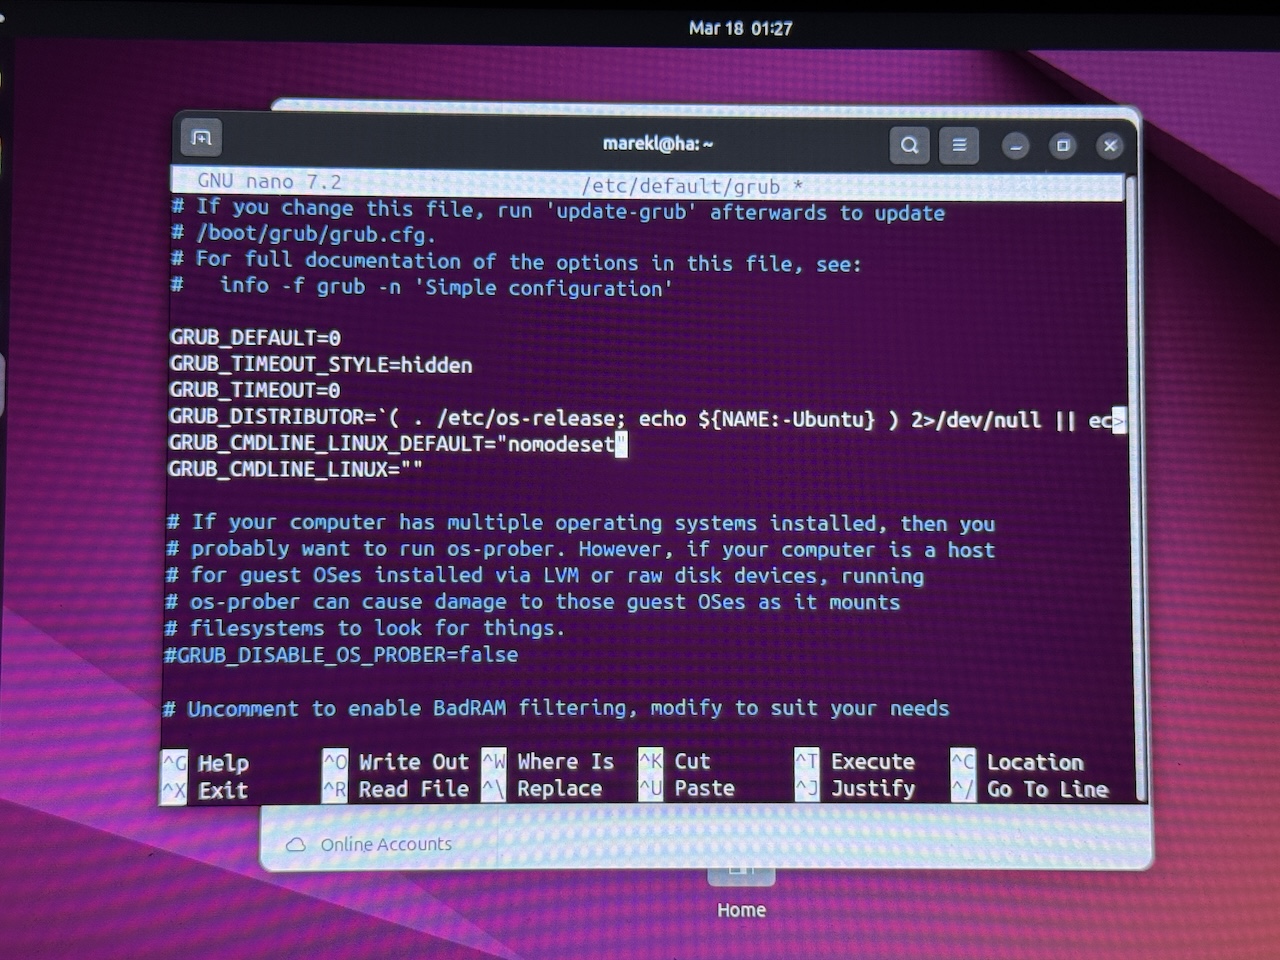
GRUB_CMDLINE_LINUX_DEFAULT="nomodeset"Then I ran:
sudo update-grubAfter that Ubuntu booted without manually editing GRUB every time.
The login screen still remained vertical, but that is a separate fix for another day. For now the important thing was that Ubuntu worked.
Final result
At the end of all this I had:
- a full Clonezilla backup of the original SSD
- Windows still booting and working
- Ubuntu installed alongside Windows
- a dual-boot setup that actually works
- and a much safer platform for experimenting further
That alone made the Clonezilla step worth it.
Conclusion
This backup was not just "nice to have." It was necessary.
Because once I discovered that the existing Windows installation was using:
- VOLUME_KMSCLIENT
- organization activation
- no firmware OEM key
- and no obvious personal digital license path
I no longer trusted a clean reinstall to preserve activation.
Maybe the vendor prepared the machine from an already activated image. Maybe they cloned a setup across several units. Maybe they just used the fastest possible method to make Windows look activated before shipping. I cannot prove exactly what they did.
But I can say this:
It did not look like a normal consumer OEM Windows setup.
And that made Clonezilla the right choice.
So if you are about to install Ubuntu on a machine with an existing Windows installation, especially a generic mini laptop with questionable licensing, I would absolutely recommend making a full disk image first.
It takes extra time.
It can be a bit awkward.
And yes, sometimes the BIOS and installer will insist on being vertical for no good reason.
But when things get weird, having a full backup changes everything.