Gotek floppy disk emulator can not be used on an Amiga computer without modding it. Luckily it is not hard to change the firmware on the device to be able to boot ADF images from an USB drive.
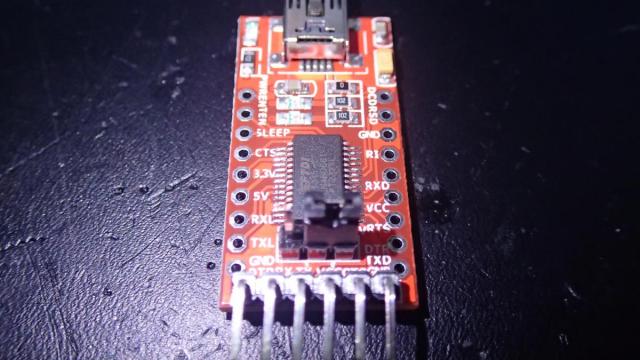
In order to be able to flash the STMicroelectronics chip you will need a FTDI FT232R serial to USB adapter board. This will allow you to re-flash the chip on the Gotek device.
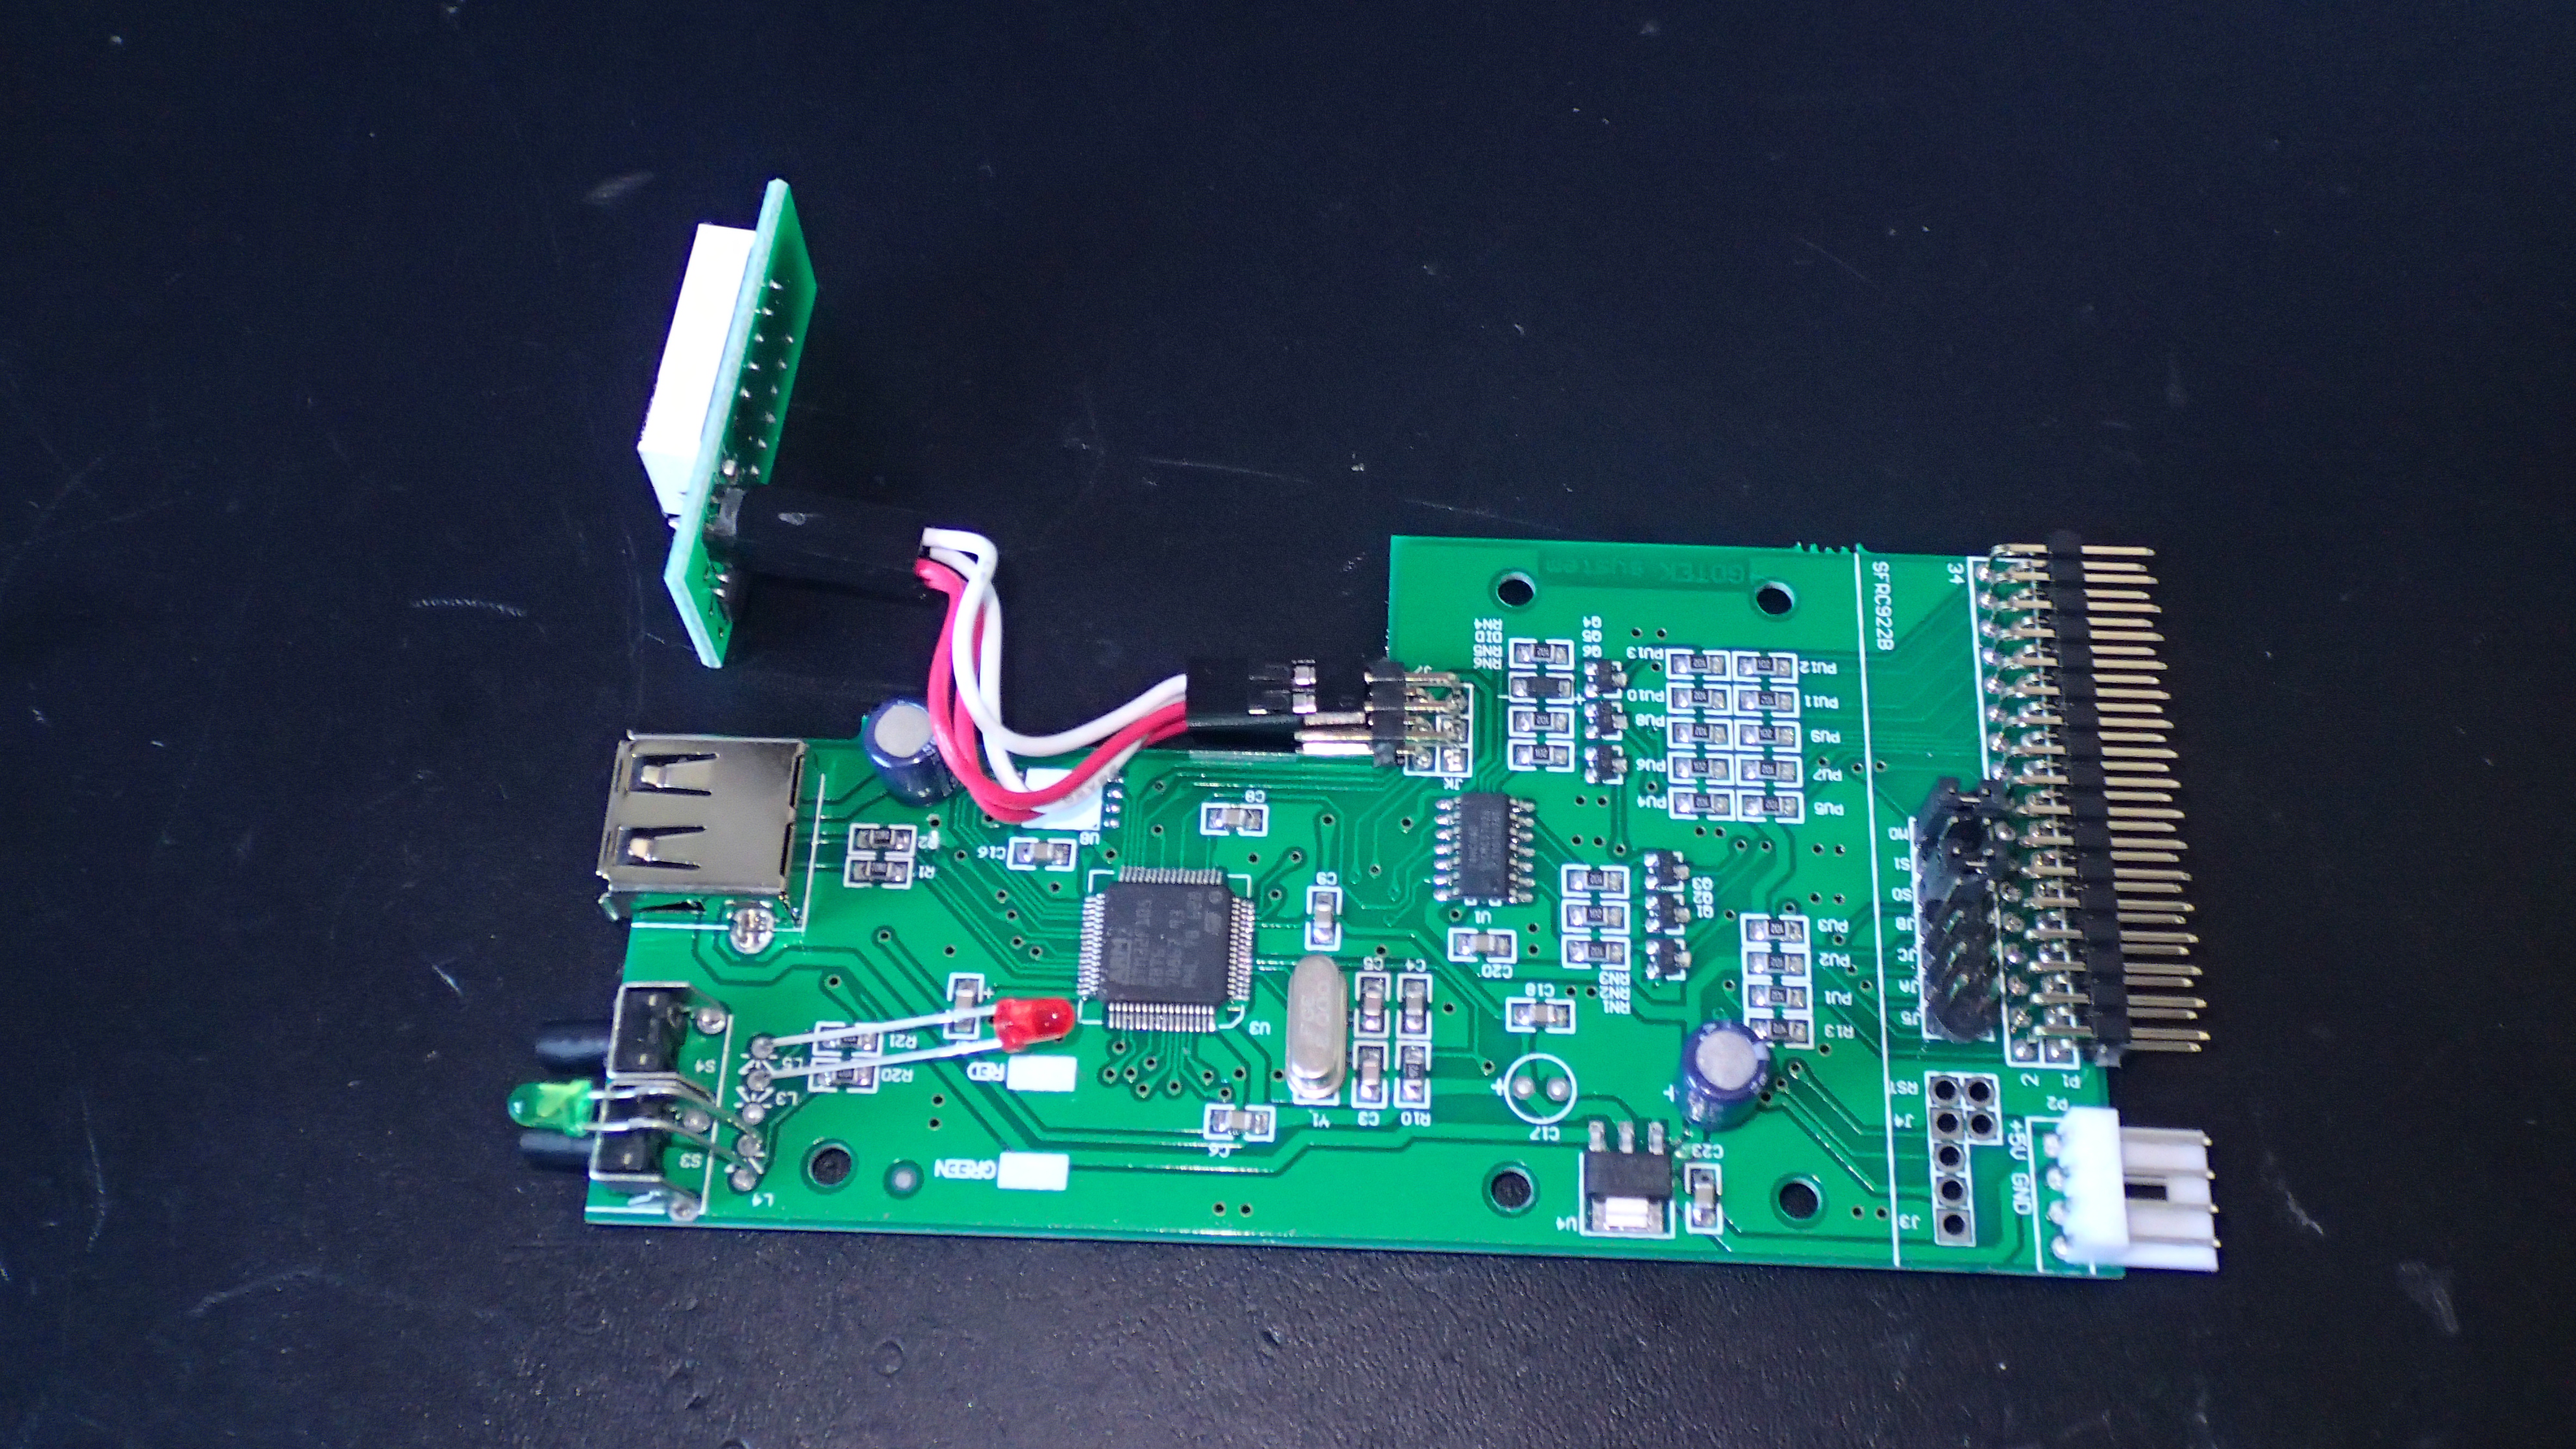
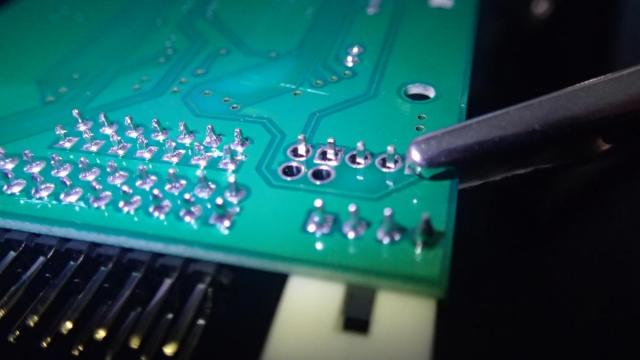
To make the connection between the FTDI board and the Gotek drive we will solder some pin headers onto the Gotek board.
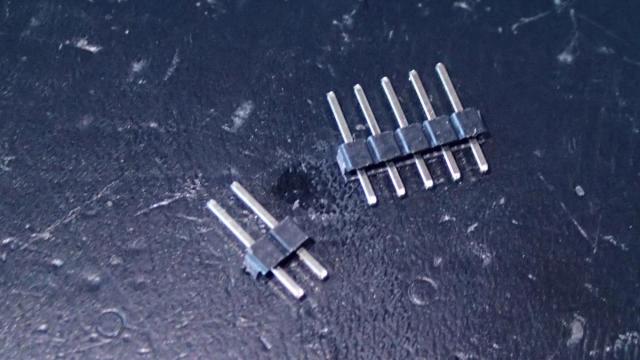
I have attached the pin headers to the board on a soldering iron stand with crocodile clips.
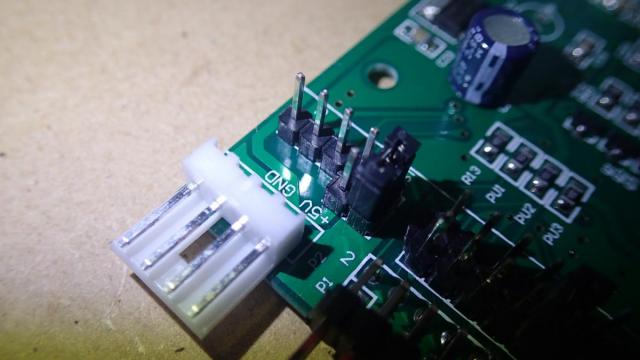
After soldering it will look like this. You will also need 2 jumper switches. The picture below shows the reset jumper. At a later stage you will need to reset the board in order to flash the chip. This jumper does not need to stay on permanently.
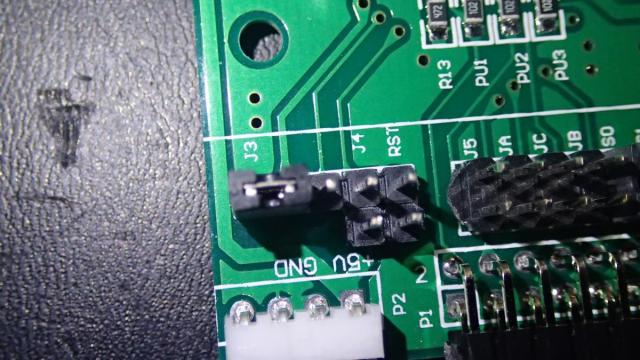
For now remove the reset jumper and put it on the board like this. It will need to stay on during the flashing procedure as it will set the chip in the programming mode.
First connect the +5V and GND from the FTDI board to the Gotek board. On the image the orange wire is +5V and the blue wire is GND. Then connect the TX(D) and RX(D). The yellow wire is RX(D) and the green is the TX(D). Note that the RX from the FTDI chip goes to TX on the Gotek board.
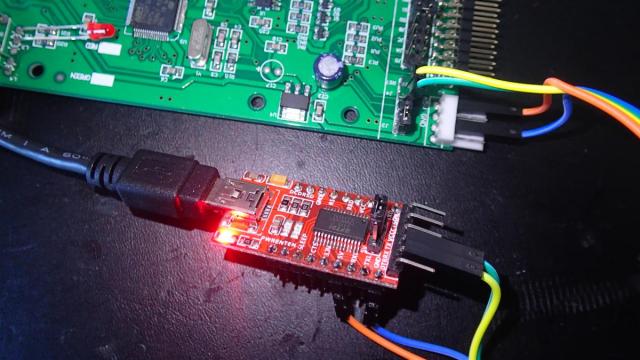
Check this diagram below for the correct connections.

Now it's time to download the STMicroelectronics Flash loader demo software which we will use to do the flash.
You will also need to download this firmware HEX file : cortexamigafloppyemulator_v105a.docx (Change the file extension .docx to .zip !)
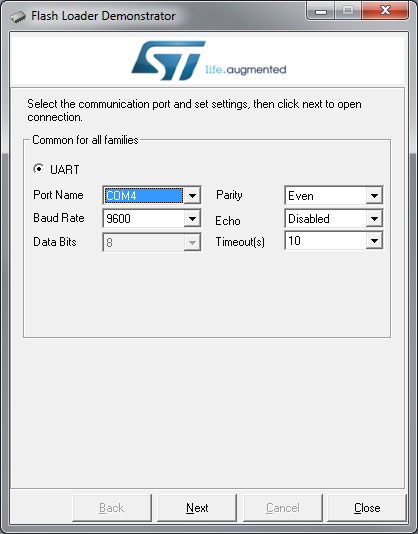
After you install the software you will see a screen where you can select the COM port of your FTDI board. In my case it was COM4.
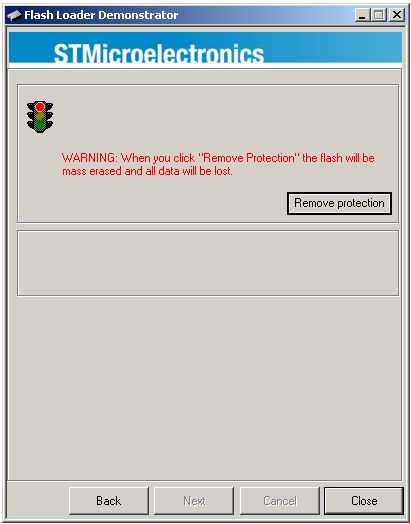
Now when you press next you will get a screen with a message that you will need to remove protection. Now it's time to place the reset jumper and remove it after 3 seconds. Only then you will be able to continue.
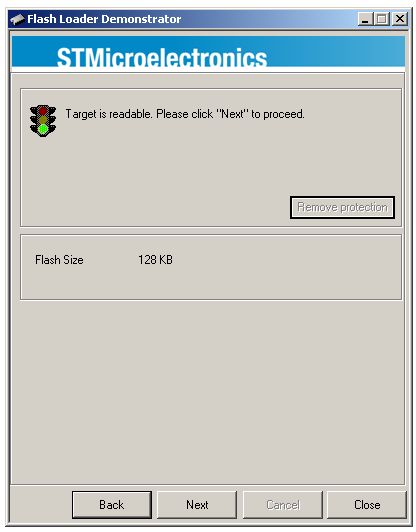
If the chip has been reset you will see this dialog:
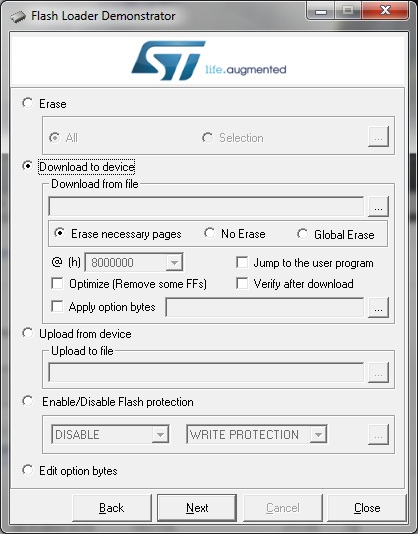
Keep pressing next till you will see this screen. Here you can select the CortexAmigaFloppyEmulator_1.05a.hex file to be downloaded to the chip.
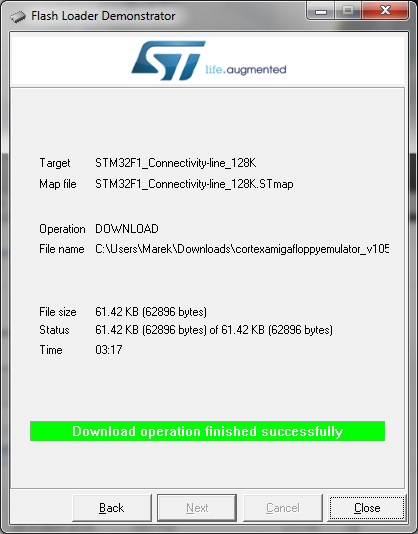
Press next and wait. It will take a while till the download will complete. If everything went ok, you will get this screen.
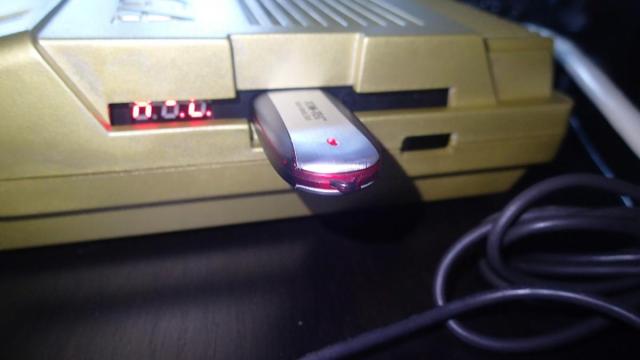
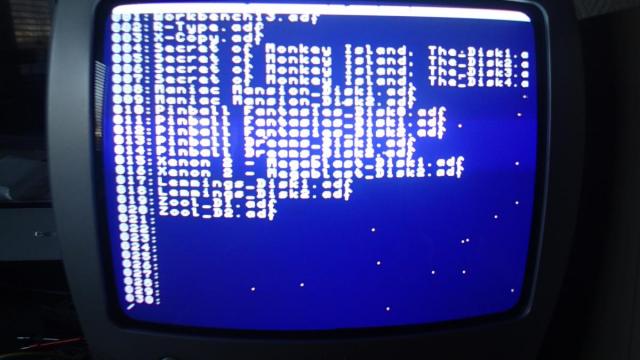
Now copy the SELECTOR.ADF file and some other ADF images to the USB drive. If you boot up your Amiga computer, this is the screen you should see. Select some images and reboot. The buttons on the Gotek drive will let you select the number of the disk.
After building in the Gotek drive into Amiga 500.